Water can turn a reliable outdoor lift into a costly repair project when it reaches the pit, controls, or supporting structure. Exterior elevator drainage starts with site grading, not with a pump installed after construction.
Property owners and project decision-makers should plan for roof runoff, surface water, groundwater, heavy storms, and power interruptions before selecting the lift location. The final drainage layout, discharge point, electrical work, waterproofing, and code compliance must be reviewed by qualified local professionals.
Key Takeaways
- Place the elevator on high, well-drained ground whenever the site allows it.
- Direct roof and surface runoff away from the shaft, pit, landing, and foundation.
- Treat pit drainage, waterproofing, sump pumps, alarms, and backup power as one system.
- Discharge collected water where it won't erode soil, flood nearby property, or undermine footings.
- Have the elevator contractor, structural professional, drainage designer, and local authority review the plans together.
Start With a Complete Site Water Assessment
The best lift location isn't always the shortest route from the house to the lower level. A few feet of elevation can make drainage easier, reduce pumping, and keep stormwater away from the elevator structure.
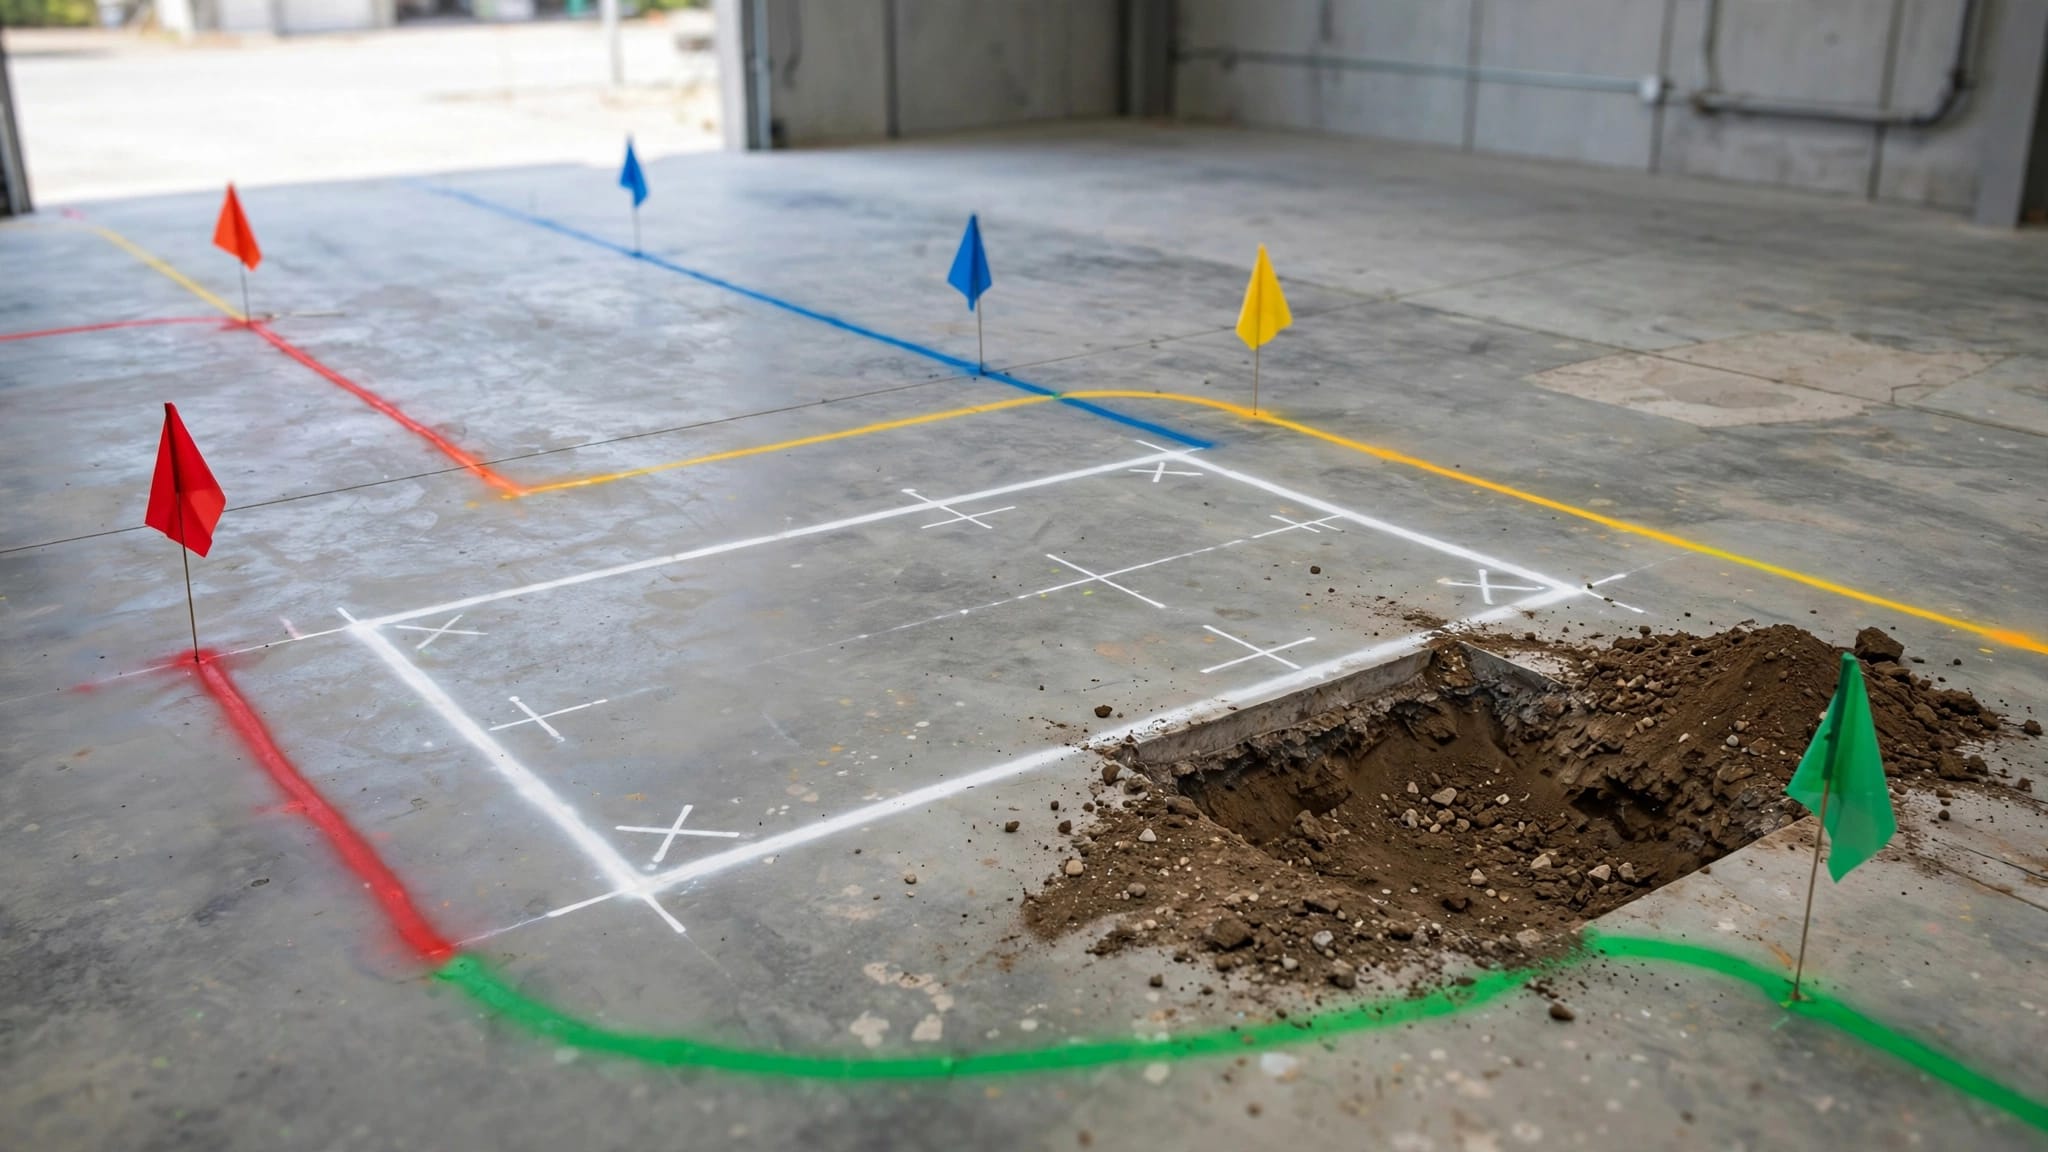
Begin by documenting existing ground levels around the proposed shaft. A surveyor or civil professional can identify high and low points, the direction of runoff, nearby foundations, paved areas, retaining walls, and underground utilities. Review local flood maps as well, particularly for coastal or low-lying properties.
Next, list every likely water source. Rain can arrive directly on the shaft, landing, and lift platform. Roof gutters may release large volumes near the structure. Sloped driveways and patios can send fast-moving runoff toward the elevator. Irrigation overspray, clogged drains, rising groundwater, and storm surge can create additional problems.
A site review should answer several practical questions:
- Does the proposed elevator sit above the surrounding finished grade?
- Where does water flow during a major rainstorm?
- Is the seasonal water table close to the planned pit?
- Can a gravity drain reach an approved discharge point?
- What happens when the electrical supply fails?
- Will future landscaping or paving change the drainage pattern?
Existing homes need extra care because new concrete, walls, and access paths can redirect water. A drainage plan that works on paper may fail if a nearby downspout empties against the lift foundation.
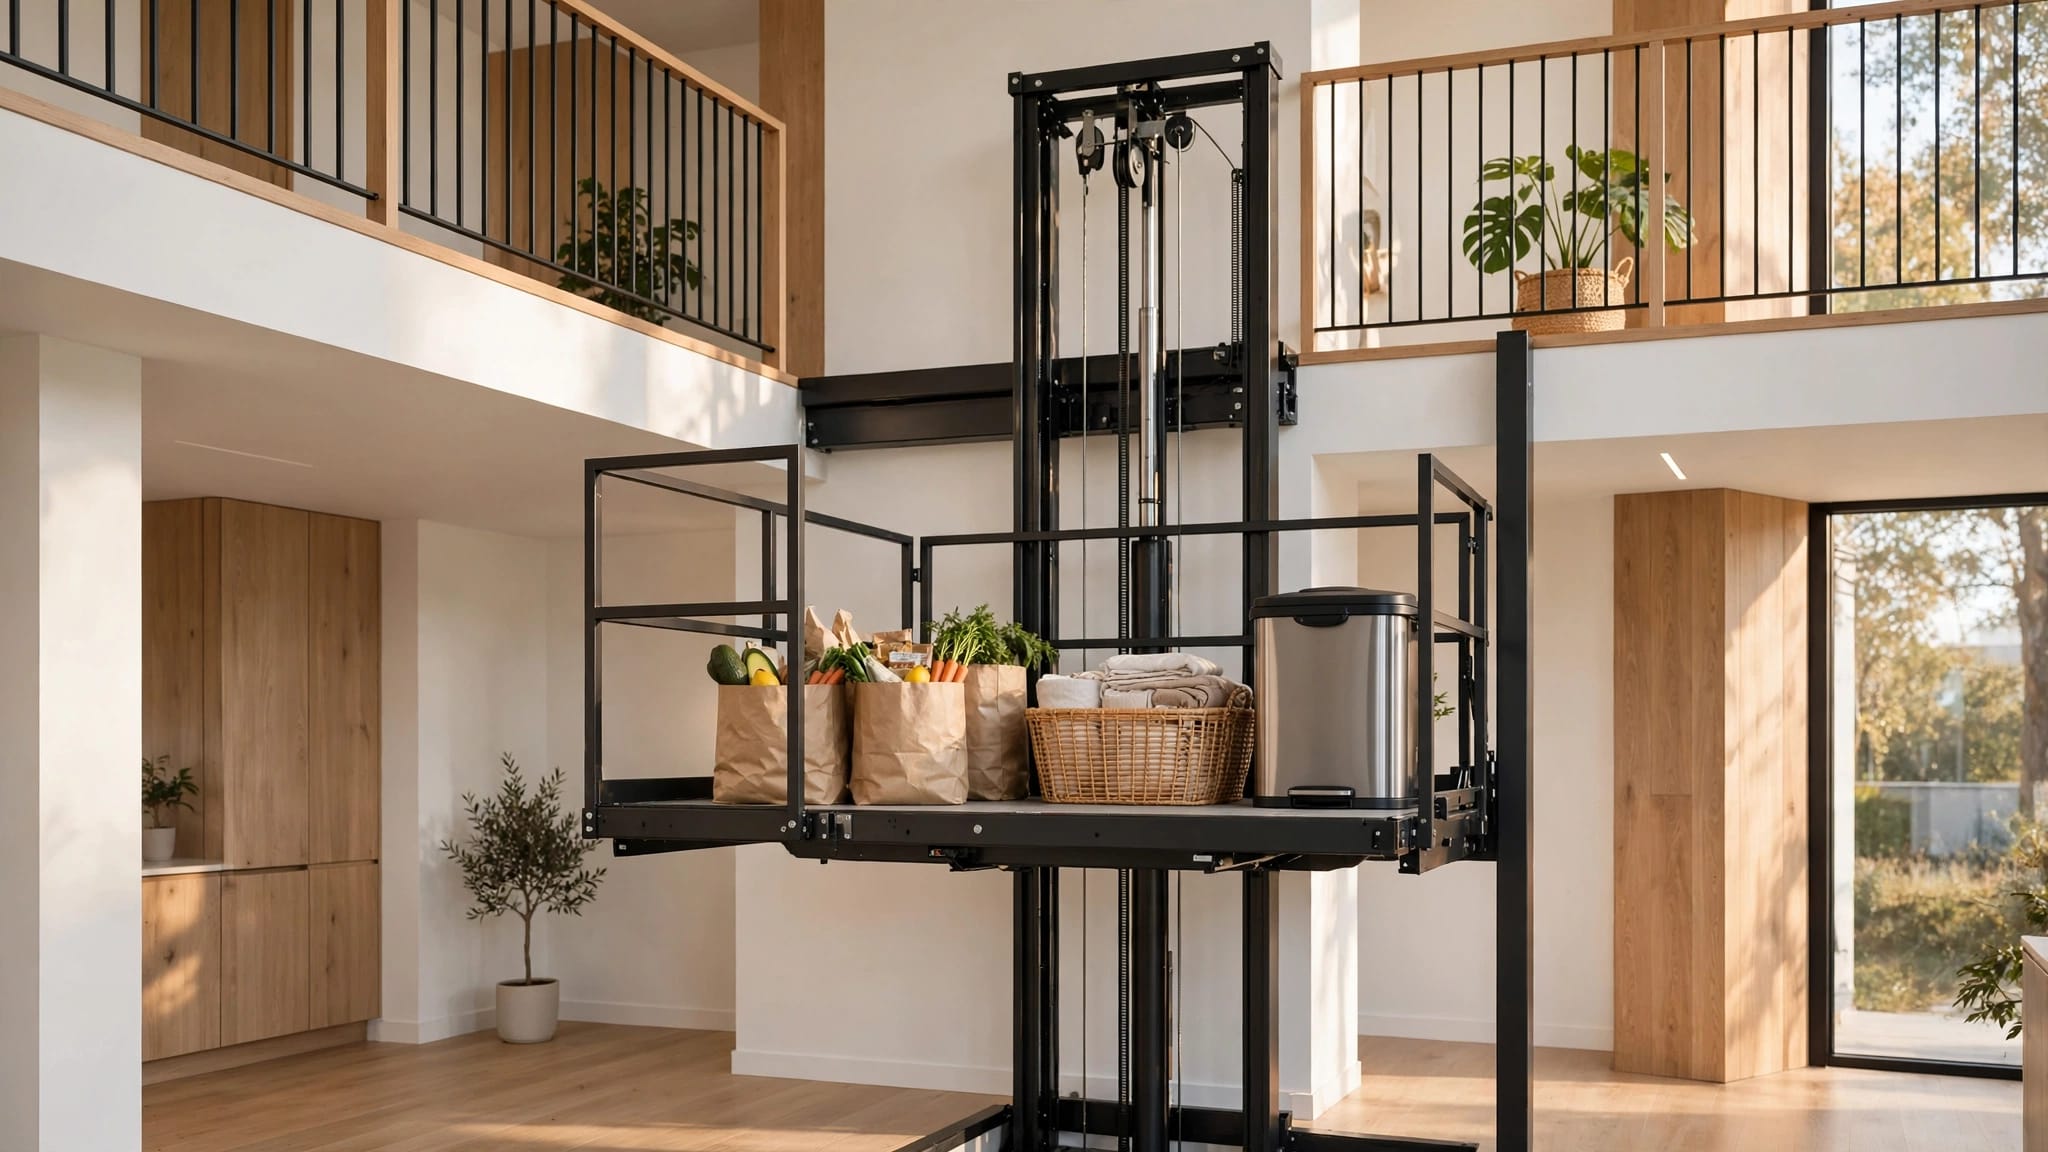
For a cargo lift, account for delivery carts, pallet jacks, and loading activity. Their routes need firm, reasonably level surfaces, but those surfaces still require positive drainage. Passenger elevators and vertical platform lifts also need accessible approaches without standing water, slippery algae, or drain grates that create a trip hazard.
Set Grades and Surface Drains Before Construction
The surface around an exterior elevator should guide water away from the shaft and toward a planned collection point. Slab edges, walkways, landings, and nearby soil should work together instead of creating a low pocket around the lift.
Your designer will set finished elevations and slopes based on local conditions, accessibility rules, paving materials, and the elevator manufacturer's requirements. Avoid choosing a slope by eye. A surface can appear flat while still sending water toward the pit entrance.
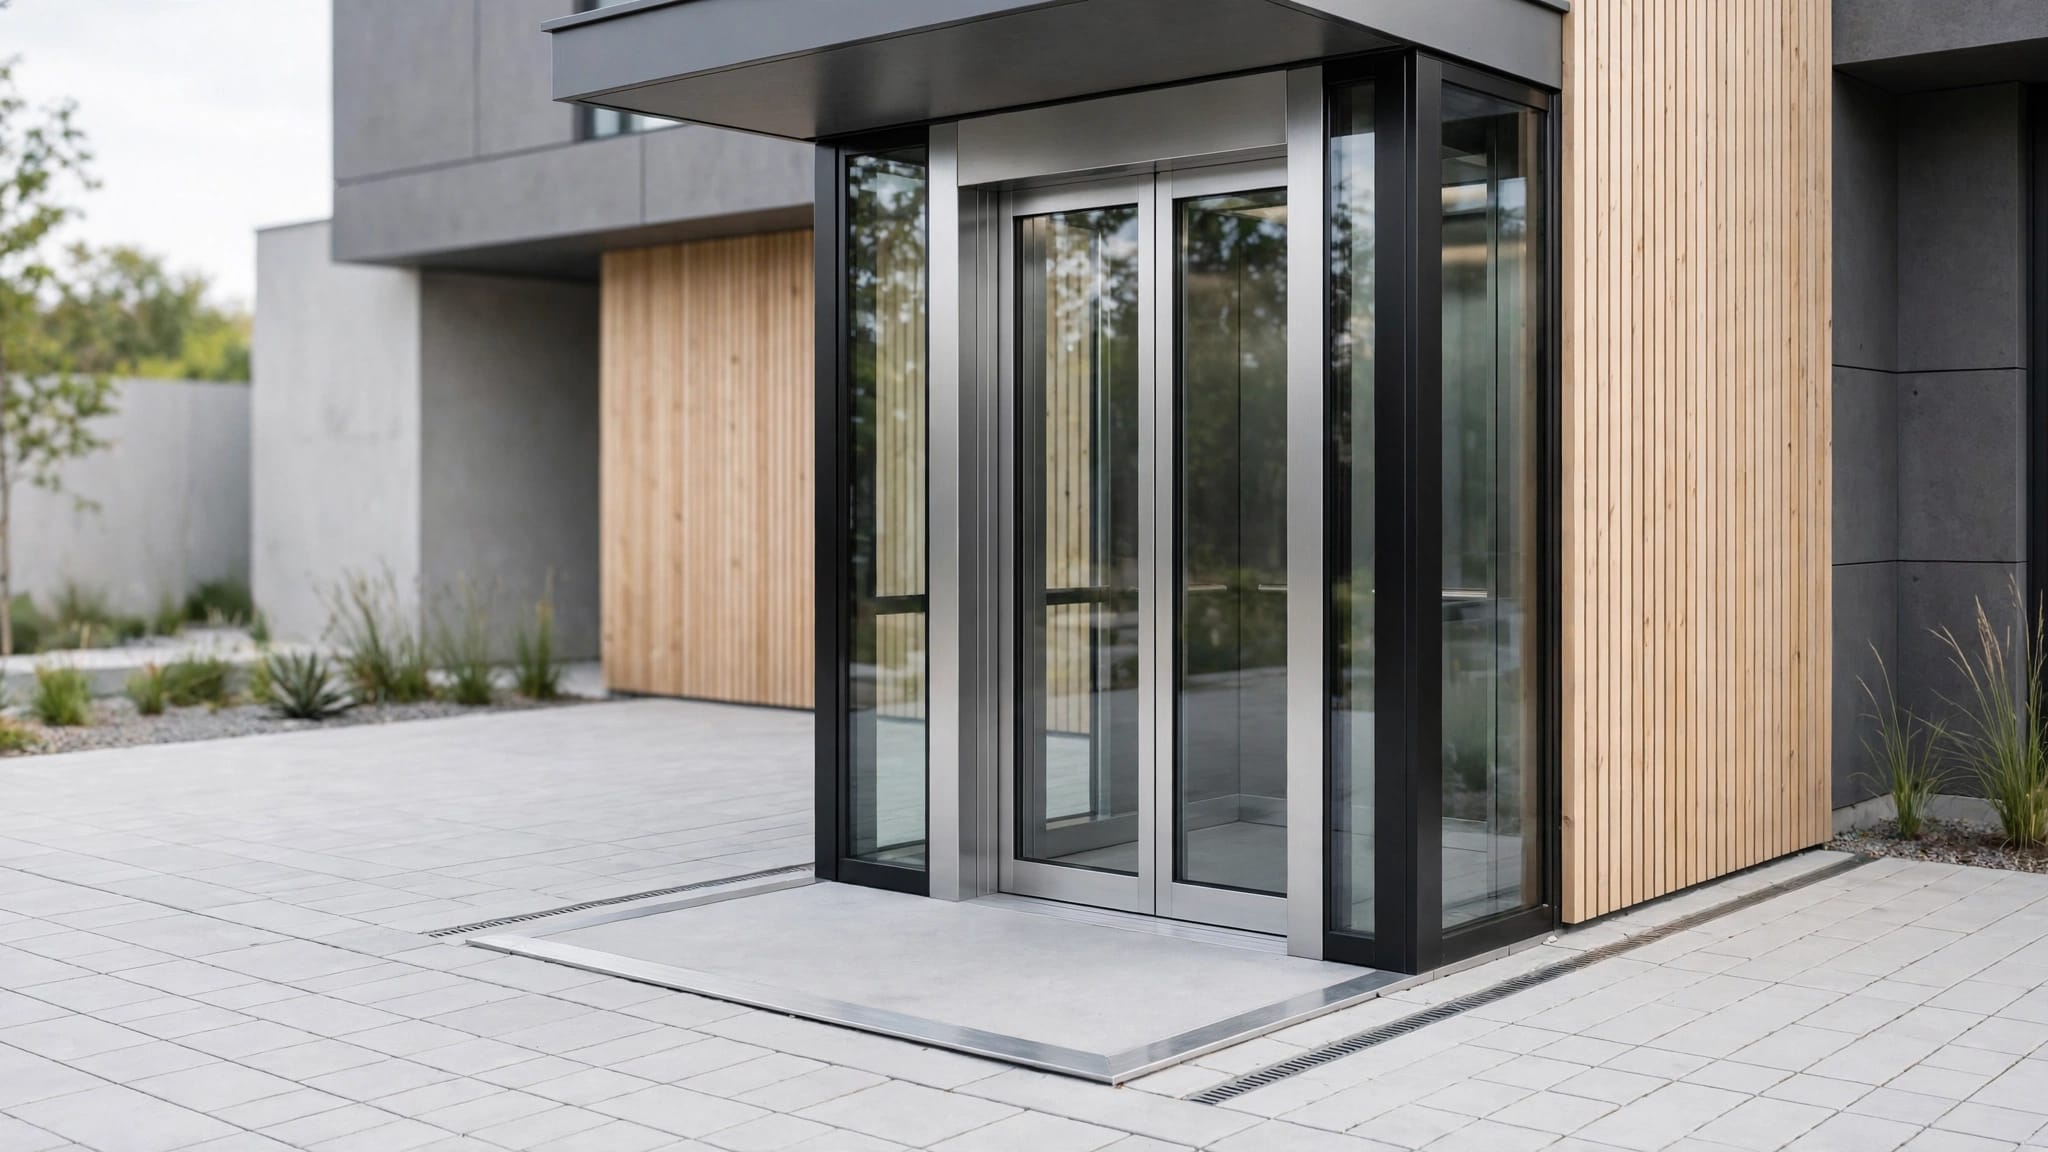
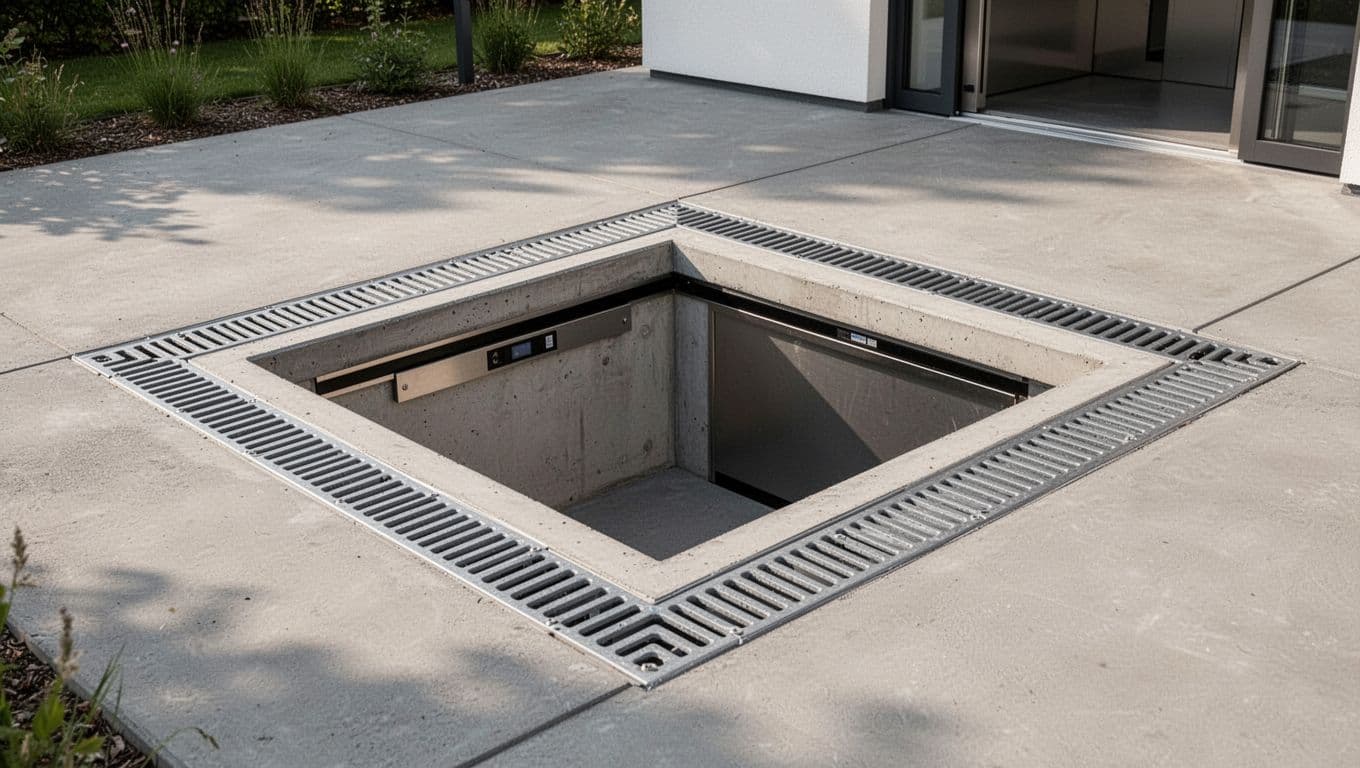
Keep the top of the elevator structure, landing, and door threshold out of the natural runoff path. Where a walkway approaches the lift, a trench drain or channel drain may collect water before it reaches the landing. The grate should sit securely and fit the accessibility requirements for the route.
Roof water deserves separate attention. Gutters should carry water to downspouts that release into a proper drainage system or approved outlet. Never aim a downspout at the elevator base. During a strong storm, one roof section can send more water toward the lift than the surrounding patio.
A channel drain can capture surface runoff near the elevator base, but it can't replace proper grading or pit waterproofing. Leaves, sand, and debris can block any open grate, so provide access for cleaning and avoid placing the drain where landscaping will cover it.
Swales, catch basins, area drains, and retaining features may help on larger properties. The right choice depends on soil, available fall, rainfall, property lines, and the local stormwater system. In a tight urban site, a pumped system may be necessary. On a sloped property, gravity drainage may offer a simpler solution.
Pay attention to erosion. Fast-moving water leaving a pipe can wash away soil beside the foundation, even when the elevator pit stays dry. Use a suitable outlet structure, stable surface, or approved connection that slows and controls the discharge.
Design the Pit as a Waterproof System
Some exterior elevators are installed with a pit, while other lift designs use limited or no below-grade excavation. The drainage plan changes with the equipment, travel height, foundation design, and local requirements.
When a pit is part of the project, the concrete walls and floor need protection against water pressure and seepage. The structural and waterproofing professionals may specify sealed joints, waterstops, coatings, membranes, or other measures. These details matter most at wall-to-floor joints, construction joints, penetrations, and locations where conduits enter the pit.
A sump basin and pump can remove water that reaches the pit, but they shouldn't be the only defense. Waterproofing limits the amount of water entering. Surface drains handle rain before it reaches the structure. The sump system manages the water that still gets through.
The pump should match the expected inflow, vertical lift, pipe length, and discharge route. A small residential pump may not suit a site with a high water table or intense stormwater flow. Your contractor should also select a basin location that remains accessible for inspection and service without interfering with elevator components.
Power failure planning matters for any outdoor lift. A pump connected to ordinary power may stop during the same storm that produces the most water. Depending on local rules and the project risk, the design may include an emergency power source, a second pump, a high-water alarm, or remote notification. A qualified electrician must coordinate these features with the elevator controls and required safety systems.
The pit should never become a storage area for tools, cleaning chemicals, or loose materials. Stored items can block the pump, damage equipment, or prevent technicians from reaching safety components. Keep access clear and inspect the pit after heavy rain.
Drainage details can also affect equipment selection. Outdoor screw-drive and hydraulic systems have different maintenance concerns, and hydraulic equipment may require additional attention if oil enters collected water. Review the elevator technical installation FAQ with your elevator contractor, then confirm the selected system fits the site's weather and drainage conditions.
A sump pump manages water that reaches the pit. Good grading and waterproofing keep much of that water away in the first place.
Plan a Safe, Approved Discharge Point
Moving water out of the pit is only half the drainage job. The discharge point must protect the elevator foundation, nearby structures, property boundaries, and people using the site.
Never terminate a discharge pipe beside the elevator footing. Water released there can saturate backfill, erode soil, or migrate beneath the foundation. It can also create a muddy or icy walking surface near the lift.
Possible discharge arrangements include an approved storm drain connection, a properly designed surface outlet, or a permitted infiltration system. Each option depends on local rules and site conditions. A drywell, for example, needs suitable soil and enough separation from foundations, wells, property lines, and groundwater. Local authorities may prohibit certain connections or require permits.
Backflow also deserves attention. A storm system can surcharge during a major event and push water toward the elevator instead of accepting it. The drainage designer and plumbing professional can determine whether the system needs a check valve, air gap, elevated discharge, or another form of protection.
Keep discharge pipes visible or accessible where practical. Hidden pipes are harder to inspect, and a crushed or disconnected line can send water into the foundation area. Add cleanouts where the layout needs them, and protect exposed piping from equipment traffic, landscaping, and freezing conditions.
Hydraulic lifts require a separate water-quality discussion. If oil or another contaminant could enter the pit, don't send that liquid directly into a storm drain or onto the ground. Ask the elevator contractor and local environmental authority about containment, separation, collection, and disposal requirements.
The same principle applies to wash-down water. Cleaning a platform or shaft should never flush sand, grease, oil, or debris into a drain without an approved treatment plan.
Coordinate Drainage With the Full Elevator Design
Drainage works best when it appears on the same project drawings as the foundation, elevator shaft, access route, electrical conduits, and stormwater layout. Late changes often create conflicts. A drain may land where a footing is needed, a pump discharge may cross a utility, or a grate may interfere with an accessible doorway.
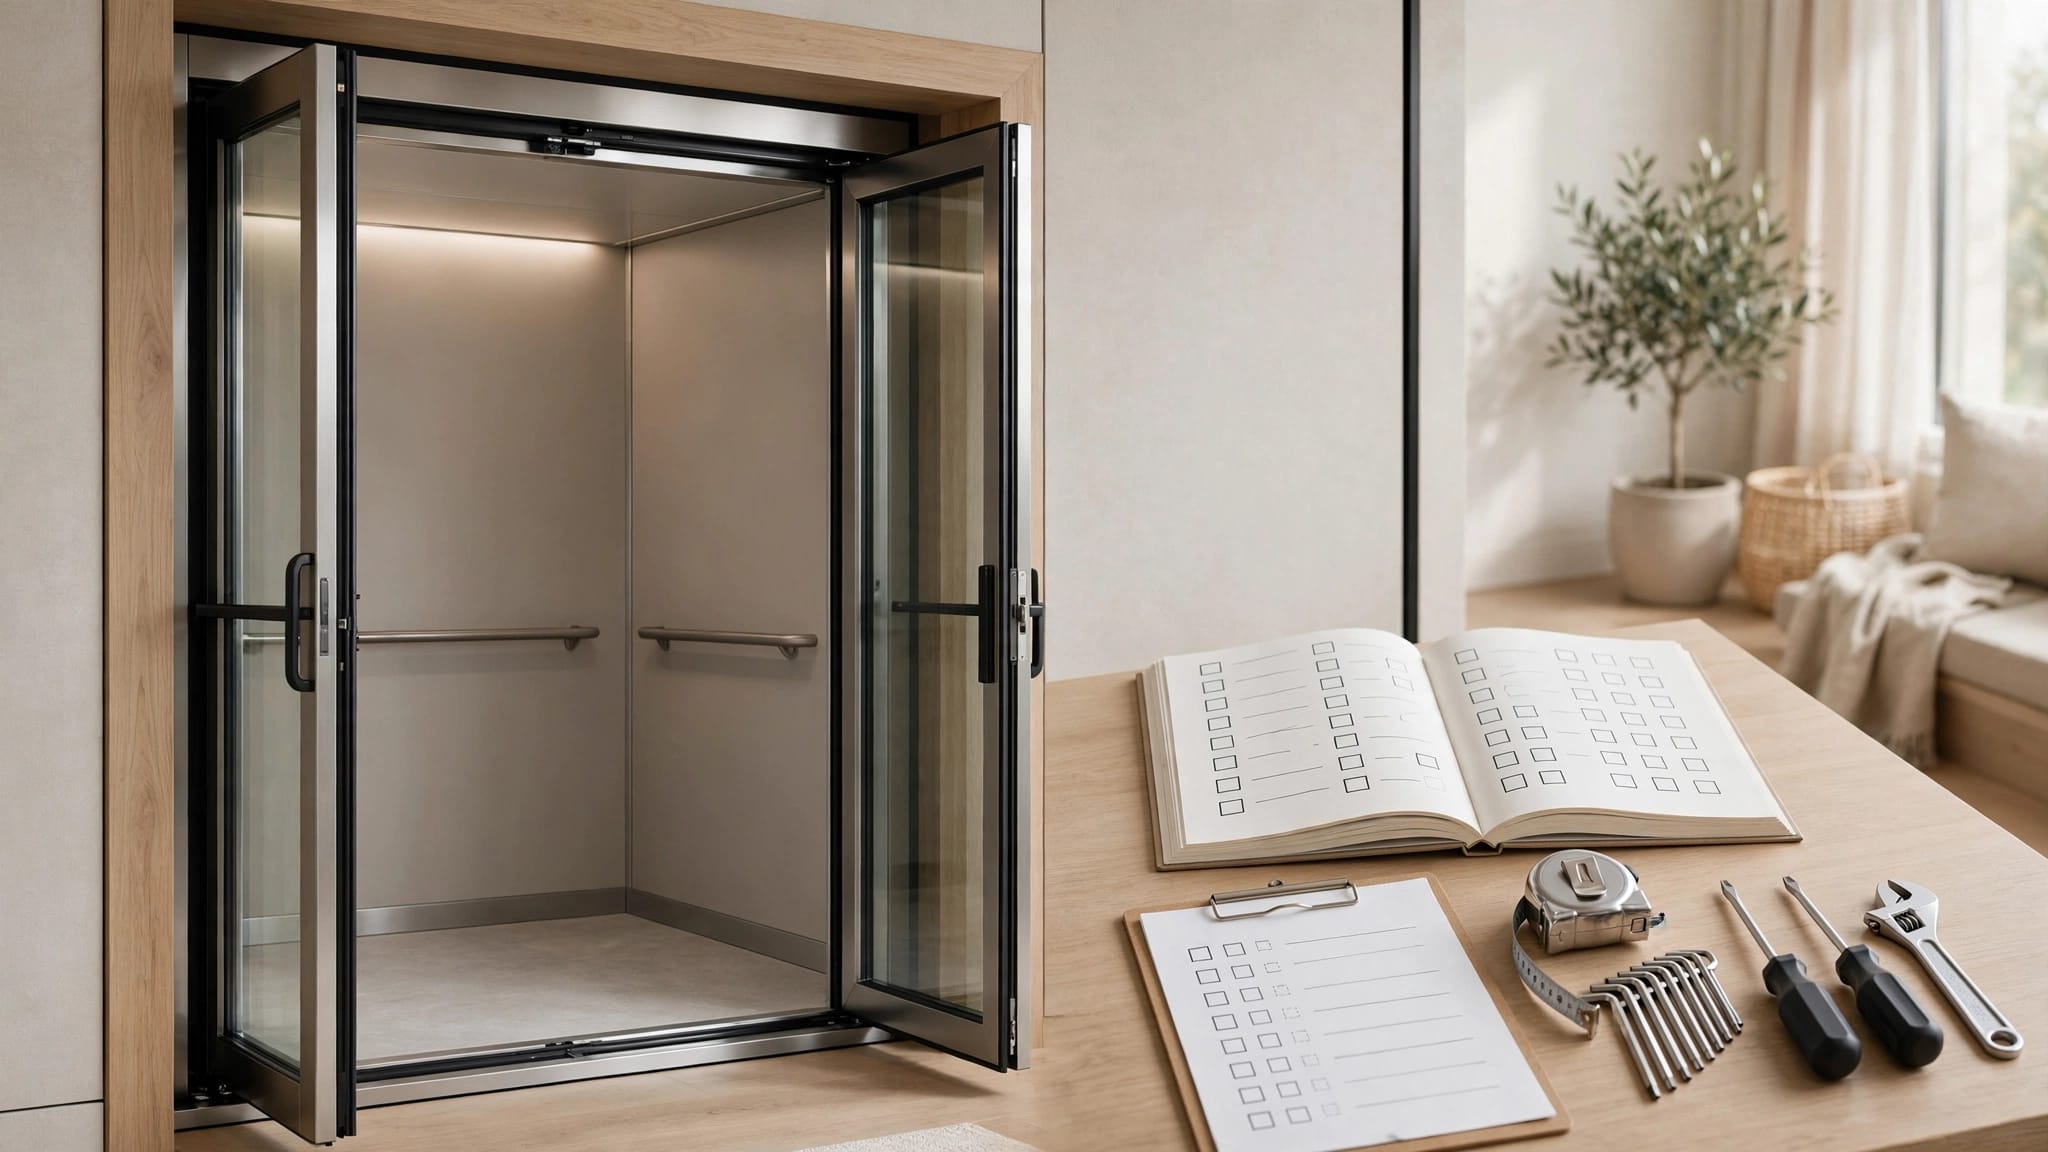
Before construction begins, ask the project team to show:
- Finished grades around the elevator and landings
- Roof drainage and downspout locations
- Pit waterproofing details and penetrations
- Sump basin, pump, alarm, and service access
- Electrical circuits and backup power provisions
- Discharge piping, outlet protection, and cleanouts
- Required inspections, permits, and testing
The elevator manufacturer should confirm clearance around the pit, platform, guide rails, doors, controls, and safety equipment. The structural professional should confirm that drainage penetrations won't weaken the foundation or compromise waterproofing. The local building department, floodplain office, or authority having jurisdiction will determine which permits and inspections apply.
During construction, photograph concealed waterproofing and drainage work before backfill or slab placement. Test the surface drains with clean water, confirm that water flows away from the shaft, and verify that the pump activates correctly. The team should also test the alarm and confirm where the discharge appears.
After installation, include drainage in the regular lift maintenance plan. Clear leaves and sand from grates, inspect the sump basin, test the float switch, check the discharge outlet for erosion, and look for cracks or damp spots inside the pit. Schedule an inspection before hurricane season or the property's wettest period.
Conclusion
A dependable exterior elevator starts with a dry, stable installation area. Good drainage combines high finished grades, controlled surface runoff, sealed pit construction, reliable pumping, and a discharge point that won't damage the foundation.
Treat water management as part of the elevator design instead of an accessory added later. With qualified local professionals reviewing the site, equipment, electrical work, and code requirements, your lift can handle daily cargo and passenger use without turning every major storm into an emergency.
Recent Posts