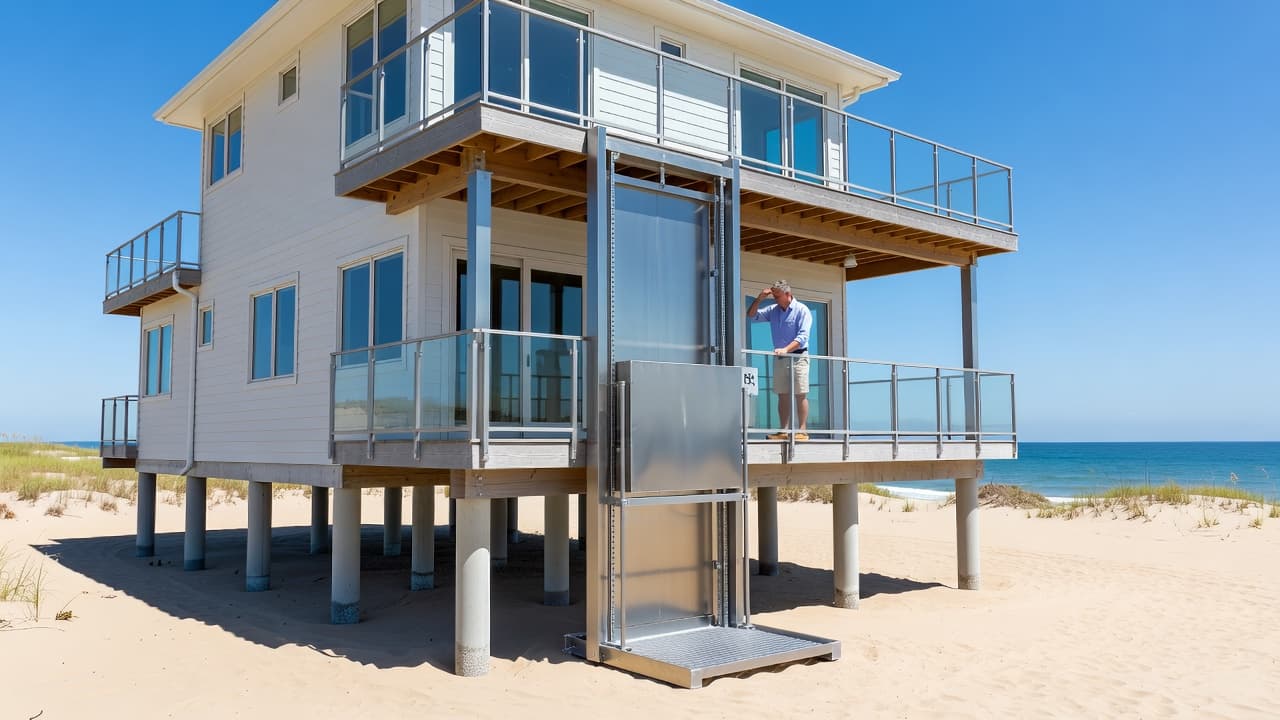

Stairs are fine until they aren't. On an elevated home, they can turn groceries, laundry, beach gear, or a wheelchair into a daily burden.
An outdoor lift retrofit can solve that without tearing the house apart. The right setup depends on the structure, the landing height, the weather, and how the lift will be used, especially on coastal homes, flood-zone homes, and properties with long stair runs.
Before you compare models, start with the house itself.
Key Takeaways
- An outdoor lift retrofit starts with the structure, not the product brochure.
- Cargo lifts, vertical platform lifts, and passenger elevators solve different problems.
- Coastal and flood-prone homes need special attention to corrosion, drainage, and placement.
- Permits, electrical work, and structural changes can affect the budget as much as the lift.
- The best results come from a qualified installer, a structural professional, and local code officials.
Assessing Your Home for an Outdoor Lift Retrofit
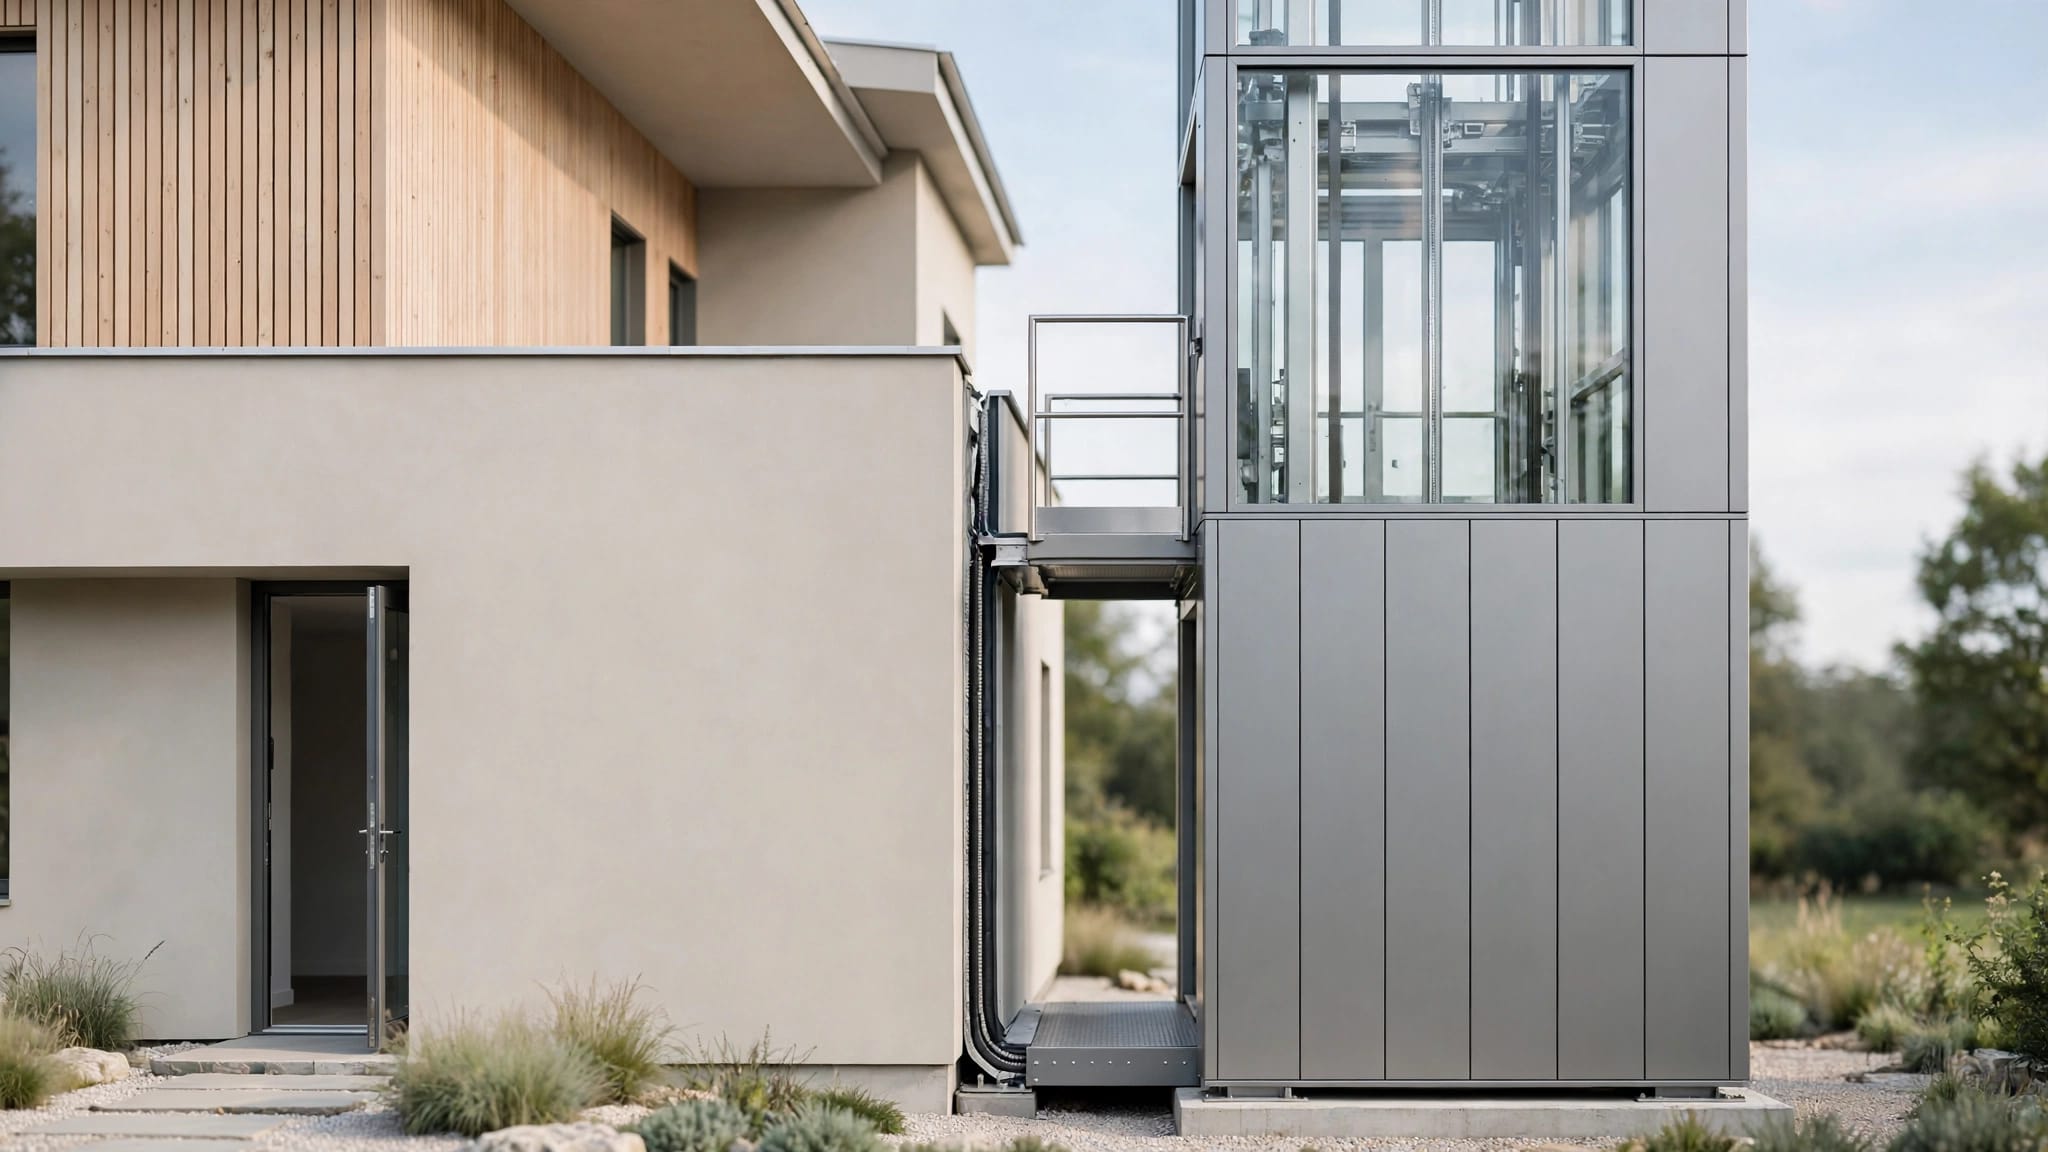
The first question is whether the home has a solid place to tie in the lift. A porch, balcony, or upper landing often works, but the framing behind it matters more than the finish on top. Narrow side yards, low eaves, and utility lines can push the lift to another wall or change the lift type entirely.
A qualified installer should measure the rise, the clear space at both ends, and the route the platform or cab will travel. A structural contractor or engineer may also need to check beams, posts, and connections, because an elevated home carries load in a different way than a slab house.
If the home sits near water, drainage and corrosion exposure belong in the first conversation. A flood-prone house may need equipment placement above expected water levels and an access plan that still works when the ground is wet. A long stair run is often a strong sign that a lift will make daily life easier.
Choosing the Right Lift Type for the Job
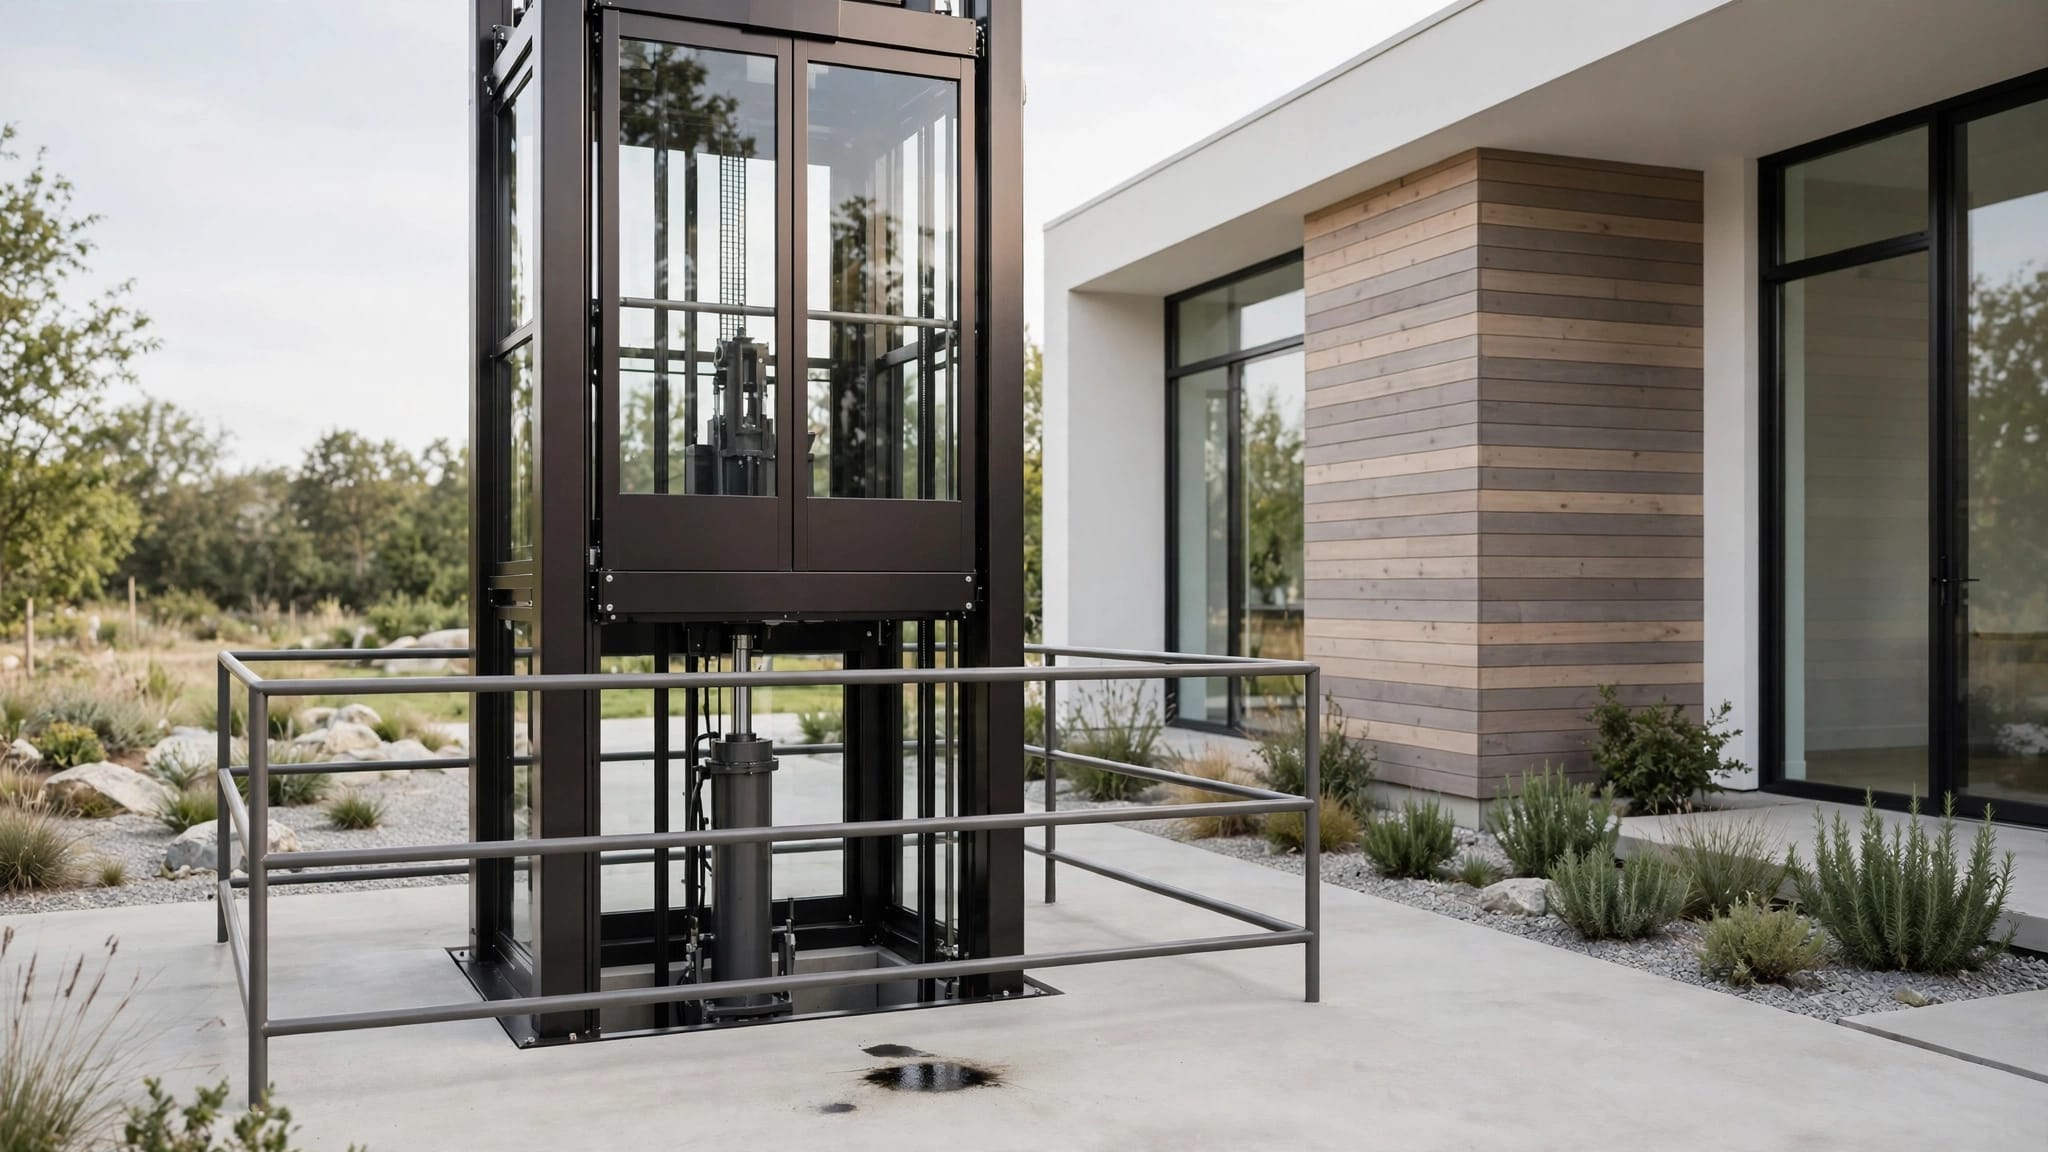
Cargo lifts, vertical platform lifts, and passenger elevators all solve different problems, so the first job is matching the machine to the task. If the labels blur together, the understanding cargo lift and elevator differences page is a helpful reference.
| Lift type | Best use | Typical location | Main advantage |
|---|---|---|---|
| Cargo lift | Groceries, luggage, tools, supplies | Side wall, porch, balcony, landing | Simple way to move goods between levels |
| Vertical platform lift | Wheelchair access for shorter rises | Next to a porch, landing, or stair run | Direct access without a full elevator shaft |
| Passenger-compliant elevator | Regular people traffic and a more finished setup | Larger retrofit with more room | Higher comfort and broader daily use |
A cargo lift is often the cleanest answer when the goal is moving supplies. A vertical platform lift makes more sense when accessibility is the main need. A passenger elevator fits homes where people will ride it often and the owner wants a more complete, everyday-use setup.
Cargo lifts
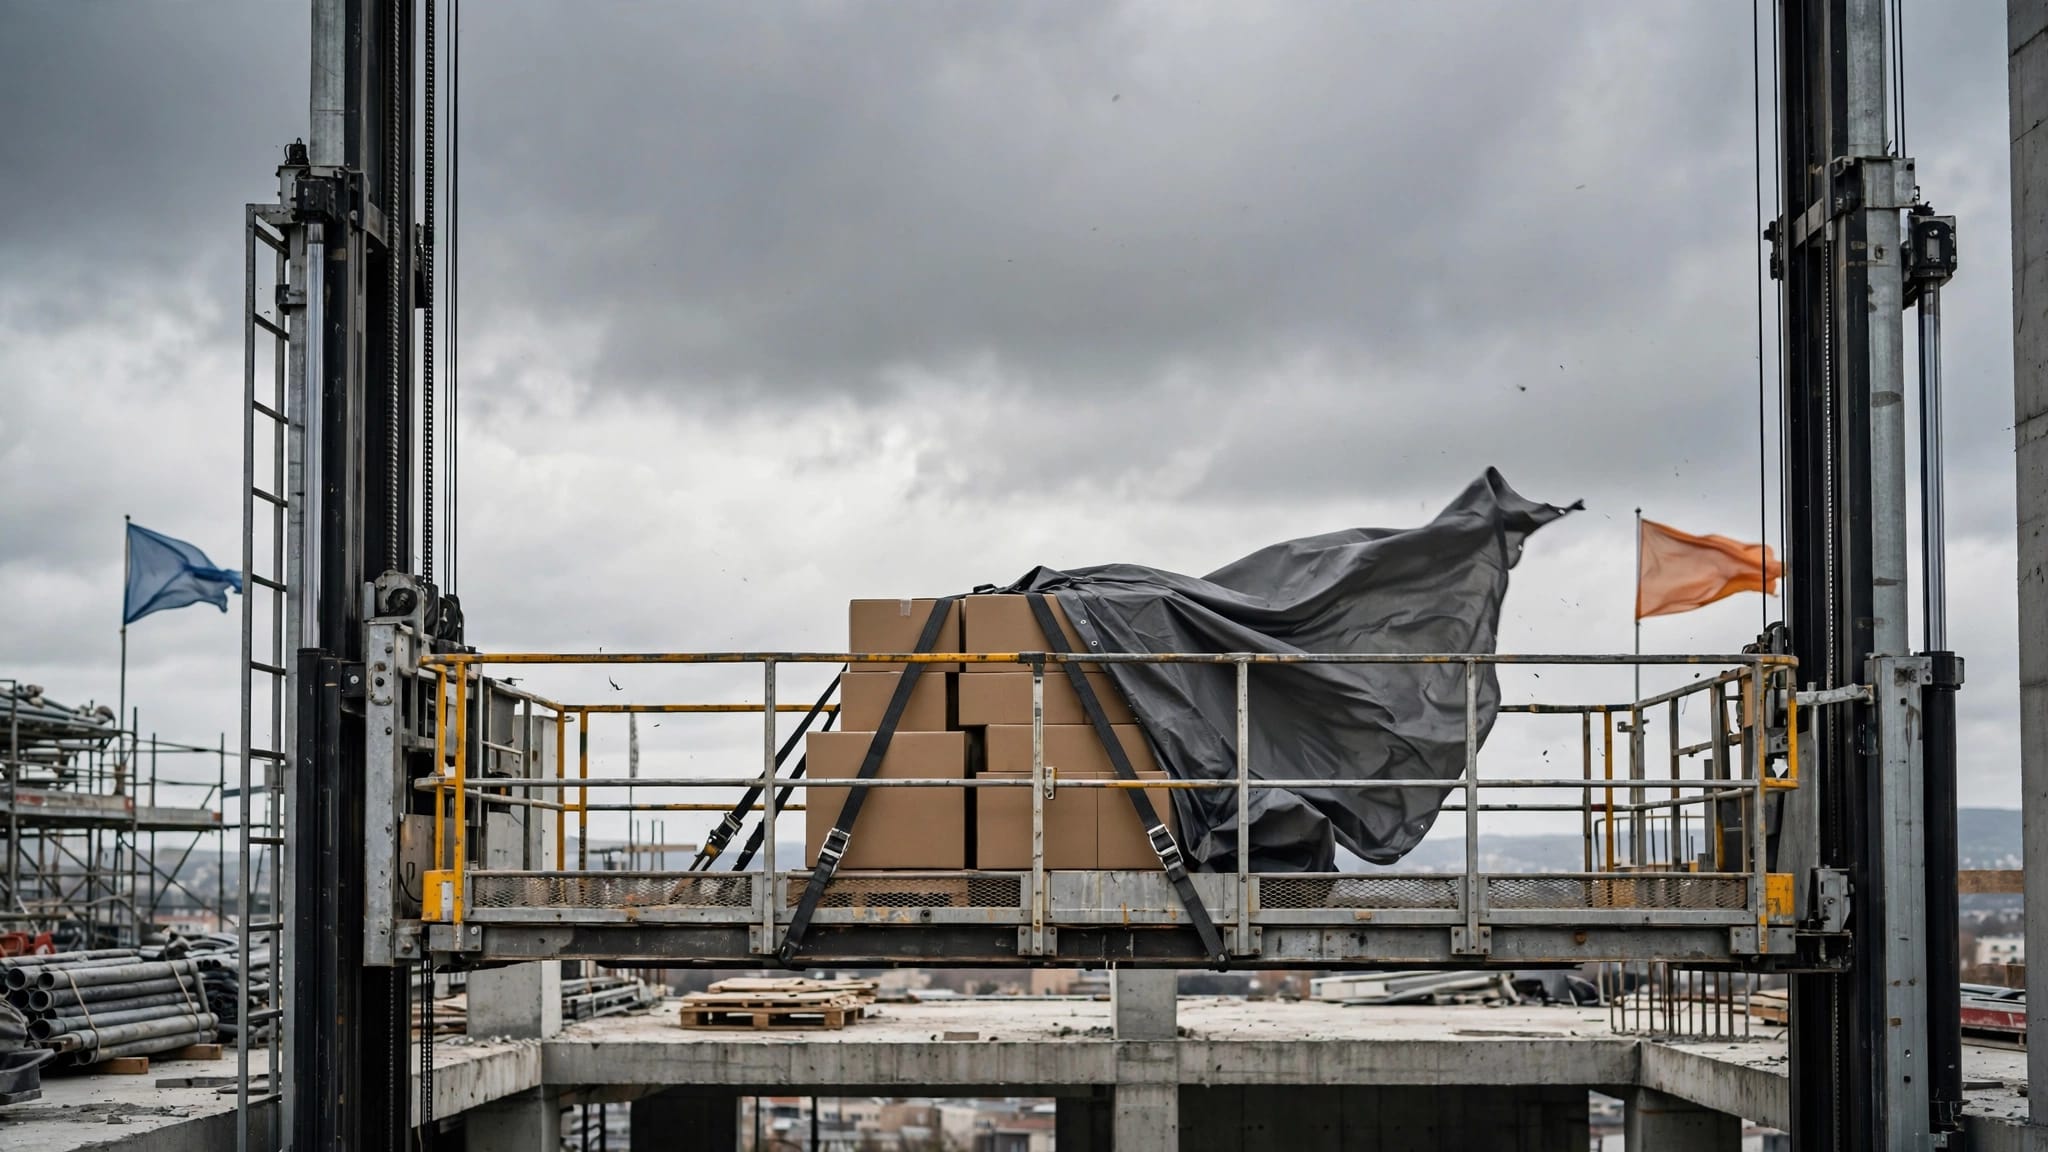
Cargo lifts handle boxes, groceries, trash bins, tools, and renovation supplies. They work well in rental homes, beach houses, and elevated properties that need a dependable way to move materials between levels. Because they are built for goods, they should never be treated as a passenger solution.
Vertical platform lifts
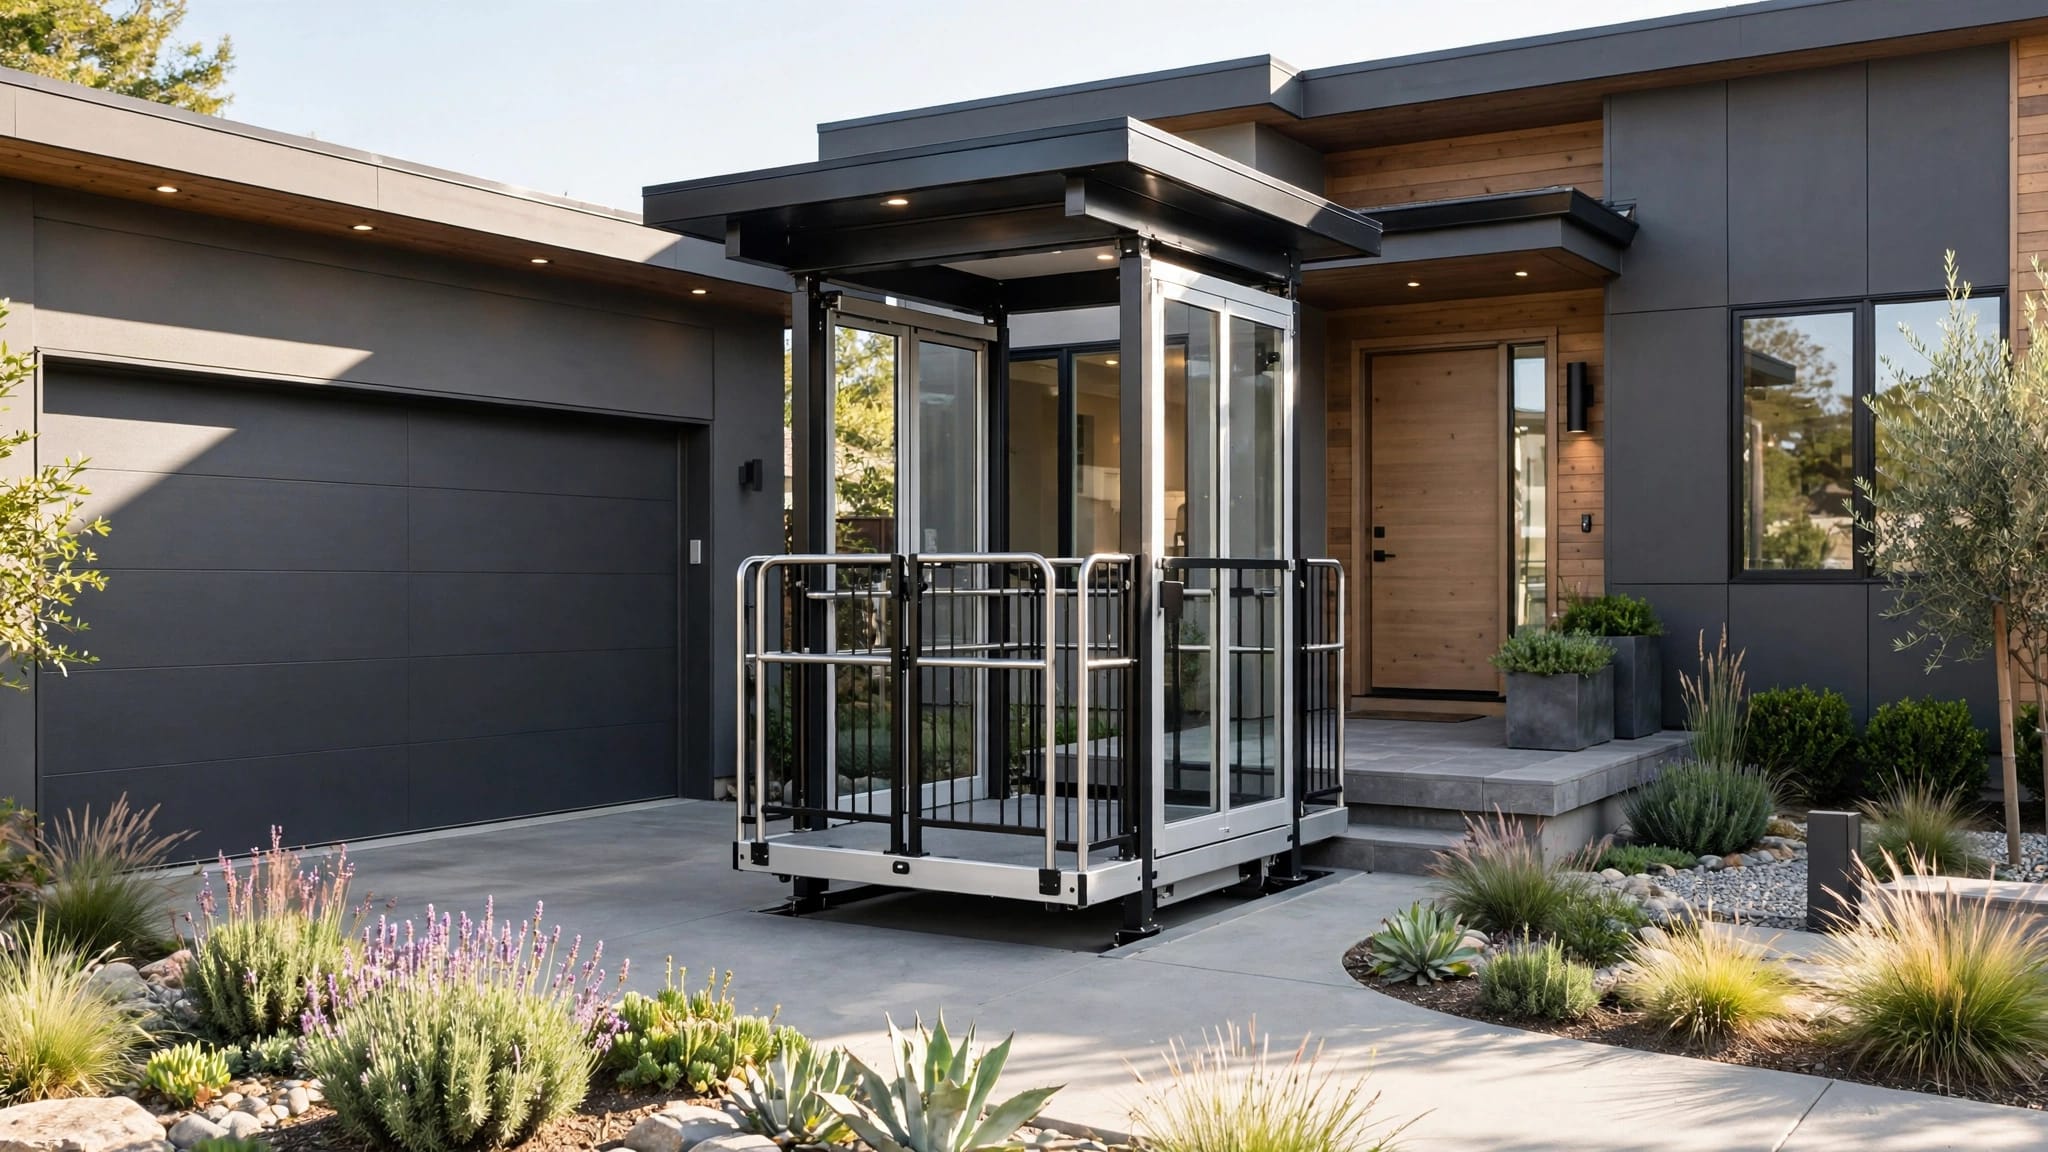
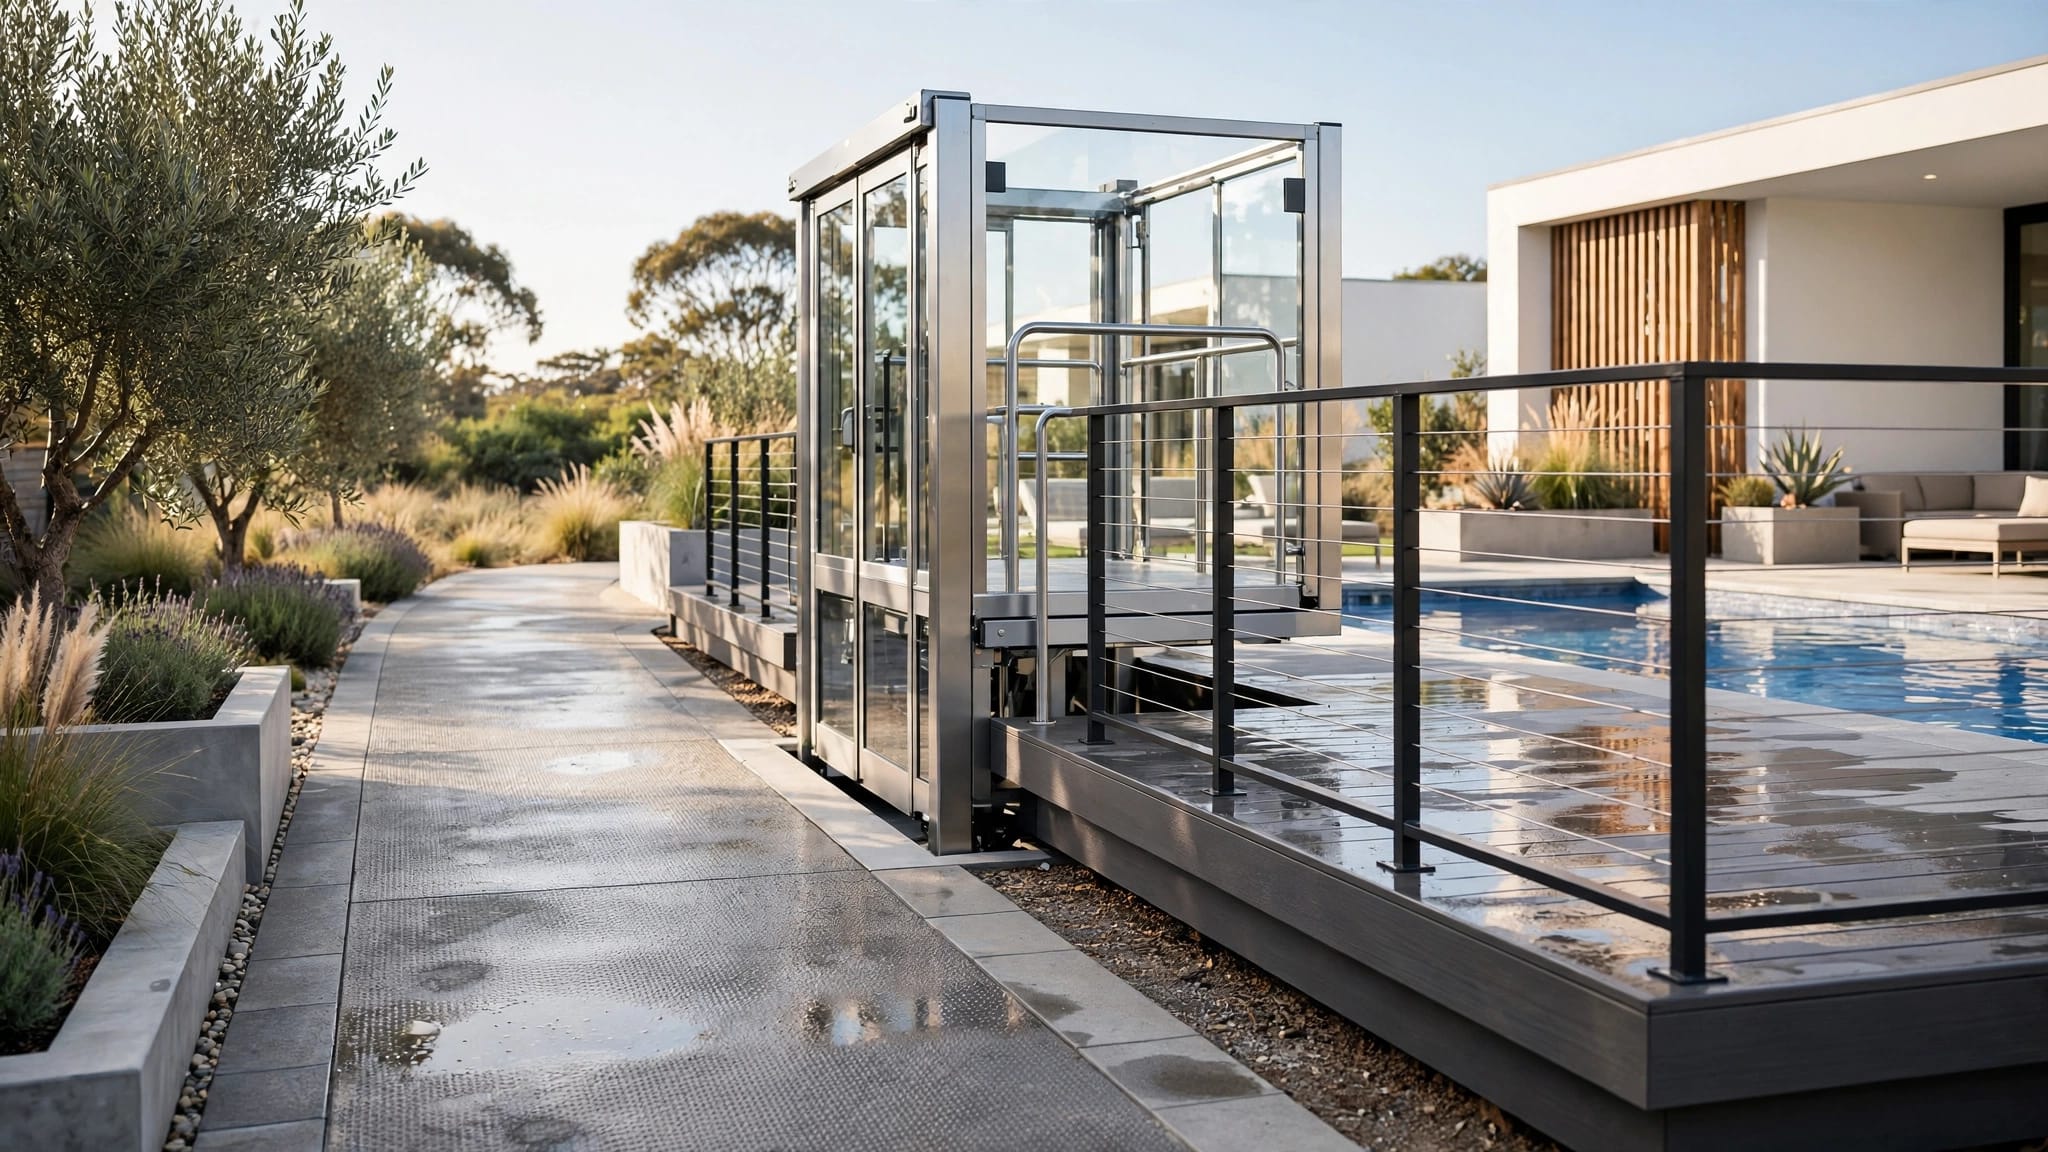
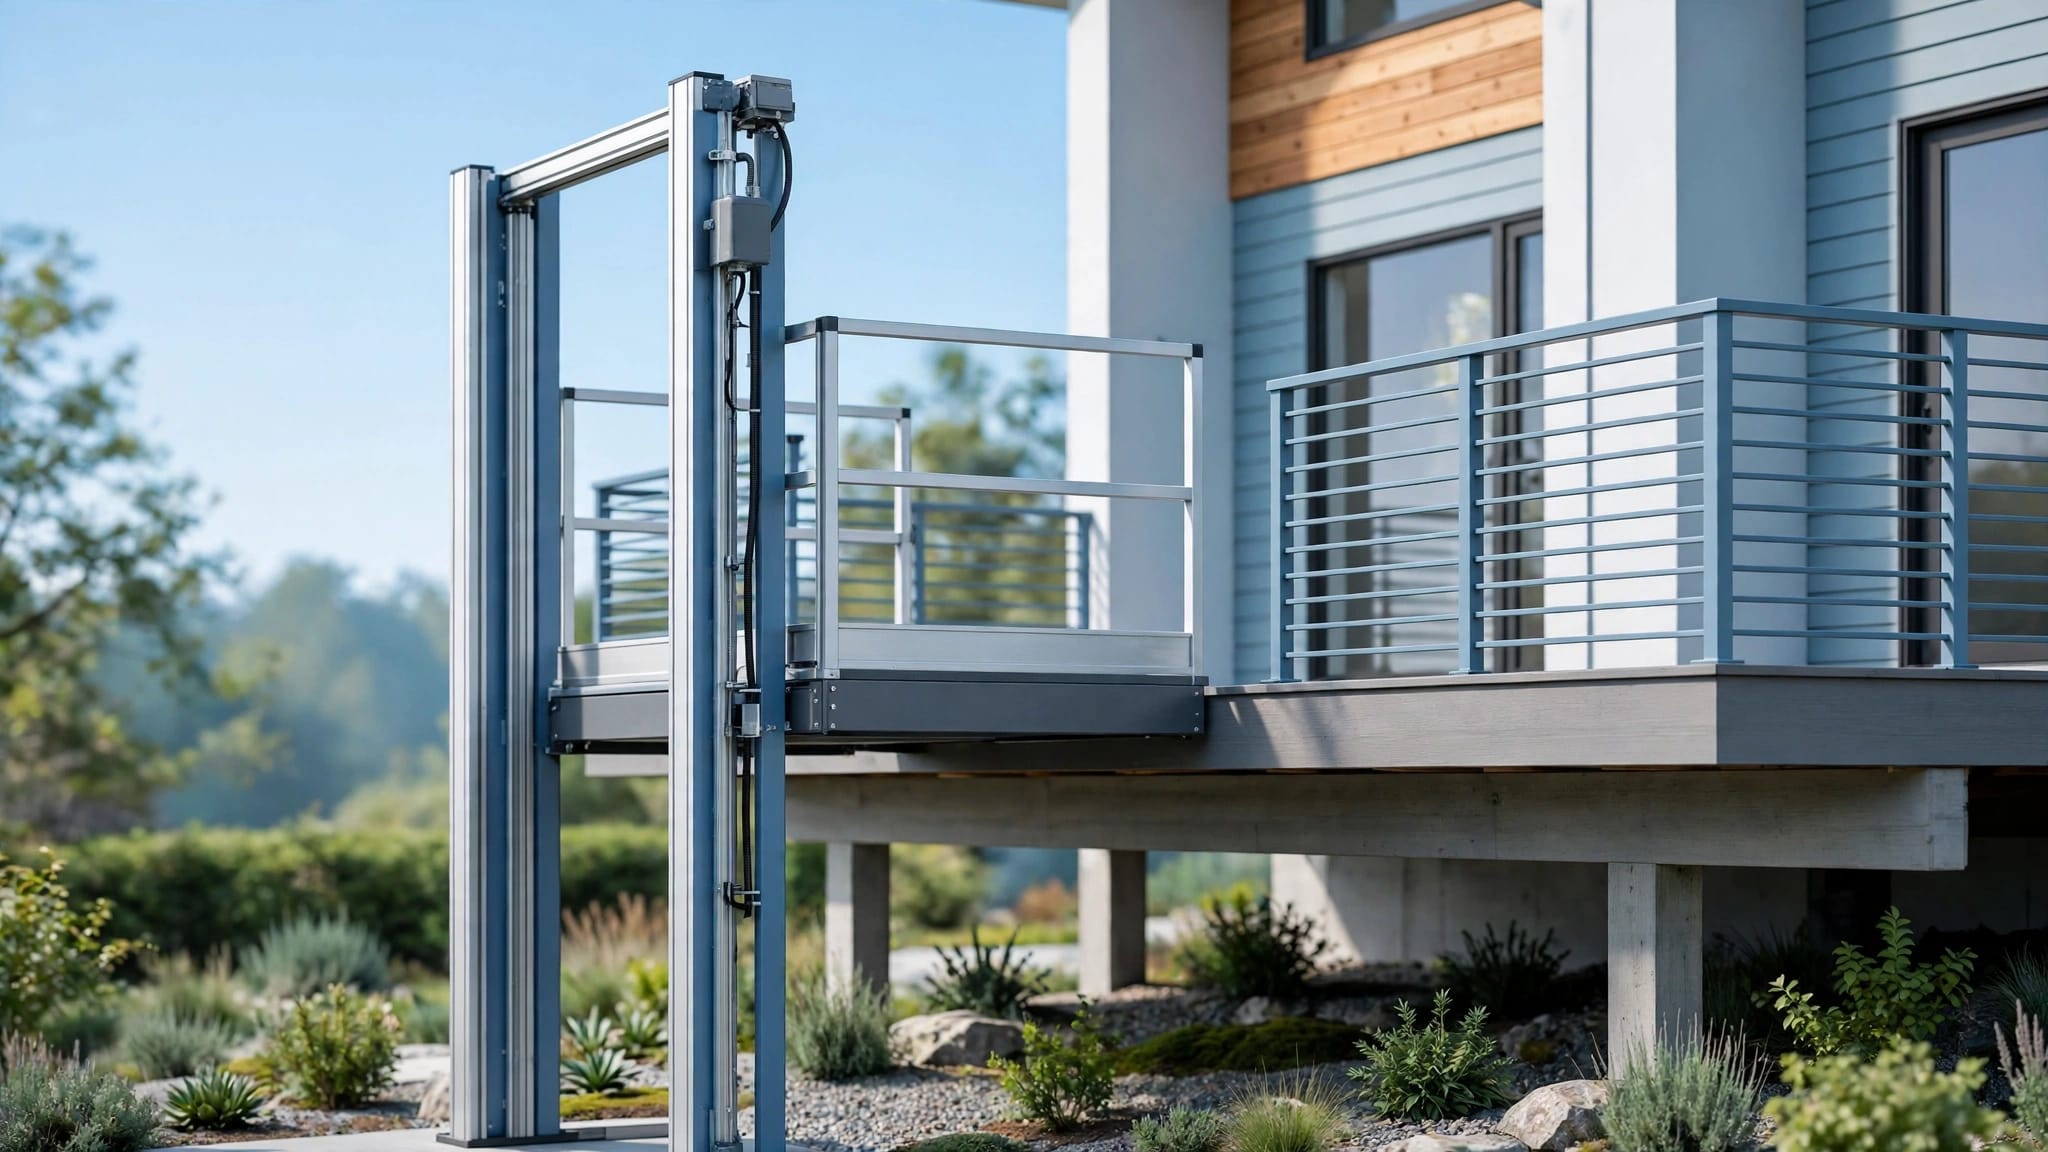
Vertical platform lifts are common when accessibility matters and the rise is modest. The platform has to fit the chair or walker, the controls need to be reachable, and the landings need enough room for safe entry and exit. If the home needs a short, direct accessibility path, this is often the simplest route.
Passenger-compliant elevators
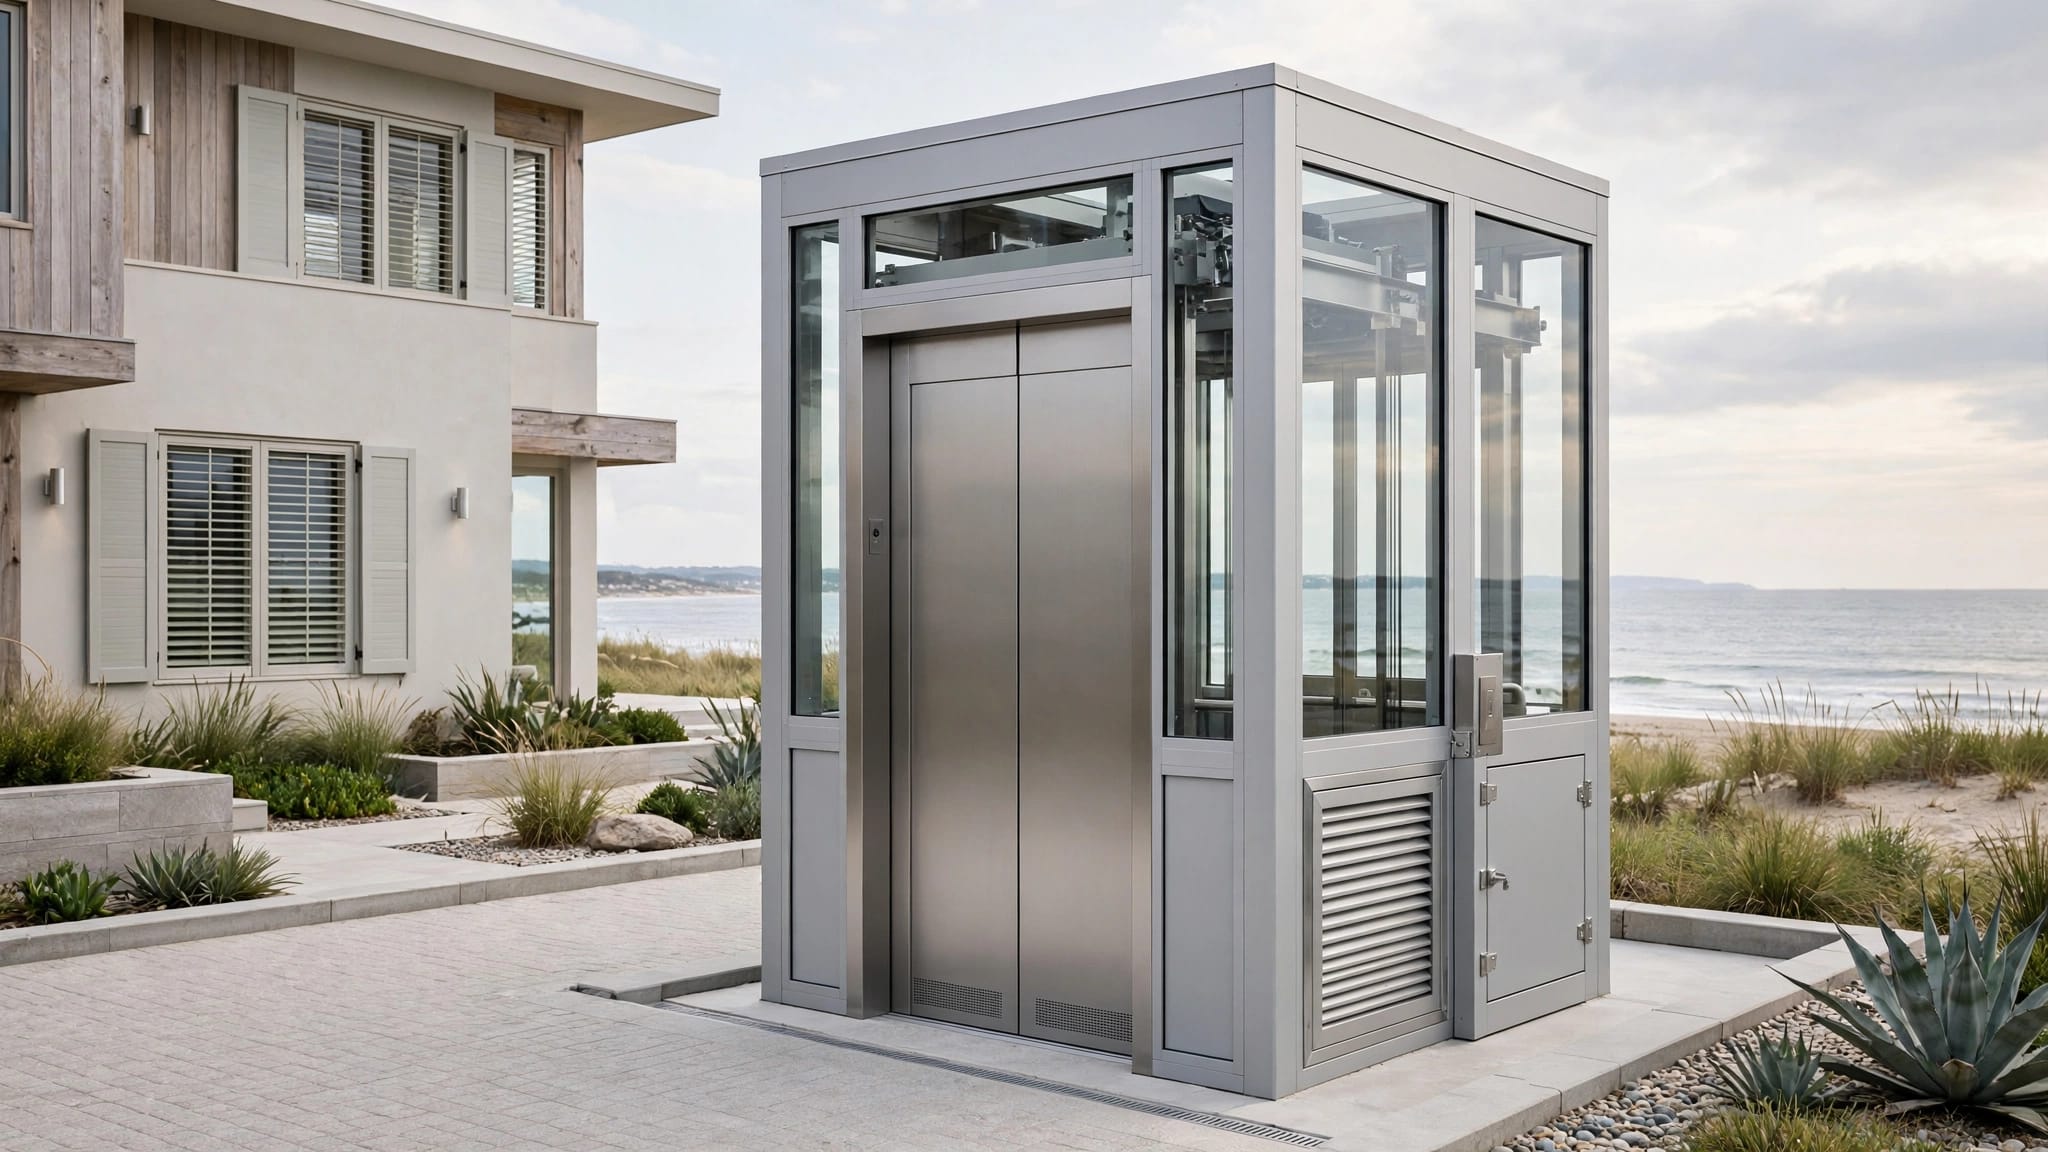
Passenger elevators take more planning, more space, and more code review, but they also bring a higher level of comfort and convenience. They make sense when the lift will be used throughout the day, when guests and family members need easy access, or when the home already has room for a fuller shaft or enclosed system.
The right choice comes down to three questions: who rides, what rides, and how often it happens. Answer those first, and the short list gets much easier.
Site Constraints That Shape the Retrofit
No two elevated homes are alike. That is why site constraints matter so much in an outdoor lift retrofit.
A lift that fits the opening but misses the landing solves the wrong problem.
Coastal homes often face salt air, wind, and constant humidity. Hardware, finishes, and control boxes need protection, and the lift location should not sit where spray and debris collect.
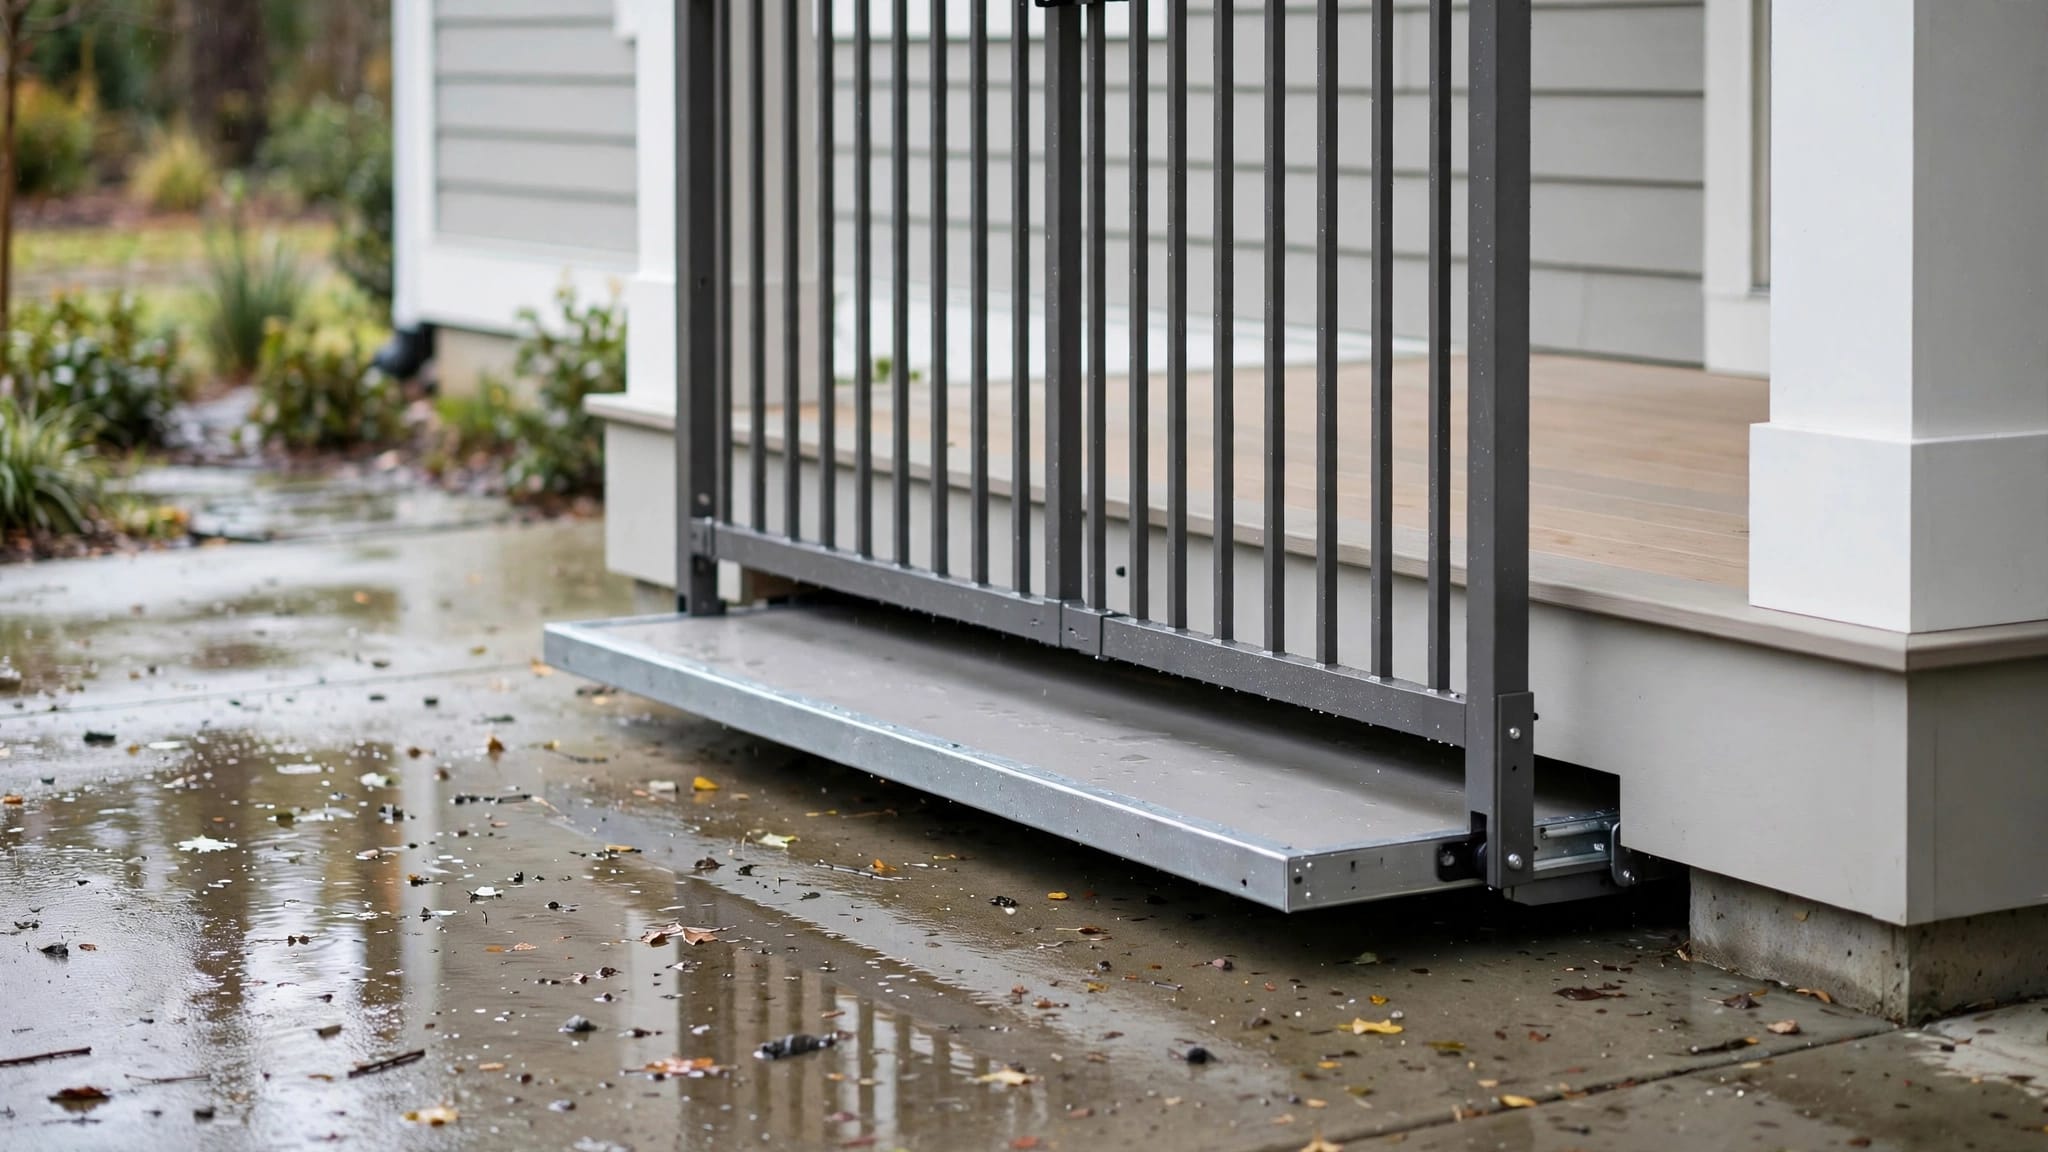
Flood-zone homes bring a different set of concerns. Drainage, standing water, and access during storms can change where the lift belongs. In those homes, owners often need to think about how the equipment sits above grade and how it will be used when the ground level is wet.
Long stair runs create a different kind of pressure. They wear people down every day, which is why they are often the strongest candidates for a retrofit. A lift can make upper floors feel practical again for older adults, guests, and anyone carrying loads.
Tight side yards, low balconies, and crowded utility areas can narrow the options fast. Sometimes the best solution is not the first one that comes to mind. A different wall, a different landing, or a different lift type may fit the house better.
The Retrofit Process, Step by Step
A good retrofit follows a clear path. The details change from house to house, but the order usually stays the same.
- Start with measurements and a site visit.
Measure the vertical rise, the landing sizes, and the available space around the route. The installer should also check door swings, roof overhangs, and any obstructions near the path. - Review the structure before picking equipment.
A porch, balcony, or exterior wall may need reinforcement before anything goes up. This is where a structural contractor or engineer can save time and reduce guesswork. - Confirm permitting and code requirements early.
Local code officials can clarify what needs review, what drawings are required, and which type of lift fits the intended use. This step is especially important when the lift is for accessibility or when the home sits in a stricter coastal zone. - Plan the electrical and support work.
Many retrofits need new power, a disconnect, lighting, or control wiring. If the installation calls for concrete pads, framing changes, or landing modifications, those pieces should happen before the equipment arrives. - Install the lift and the safety features.
The lift, gates, controls, and landing hardware need to line up cleanly. The installer should also check that the user can reach the controls without awkward stretching or narrow turns. - Test, train, and document the system.
A careful handoff matters. The homeowner should know how to run the lift, how to stop it, what to do if power fails, and when to schedule service.
That sequence sounds simple, but each step protects the next one. Skipping the review stage often leads to expensive changes later.
Safety Details That Deserve Attention
Outdoor lifts should be easy to use, but the safety plan behind them needs real attention. That starts with the lifting system itself. Ask how the brake works, how the load is supported, and what keeps the lift steady if something goes wrong.
Redundant cables, strong braking, and secure gates matter on exterior equipment. So do emergency stop controls, level landings, and clear instructions. If the lift is for a wheelchair user, the platform shape, approach path, and gate placement need careful thought.
A short checklist can help during product review:
- A brake system that holds the lift securely.
- Gates or doors that stay locked during movement.
- Controls that are easy to reach at both levels.
- Weather-protected switches and wiring.
- Non-slip flooring or platform surface.
- A load rating that matches real use.
Maintenance matters just as much as the original install. Outdoor equipment sees more dirt, moisture, and temperature swings than indoor equipment. Ask who will inspect it, how often service should happen, and which parts need the most regular attention.
Weather, Salt, and Floodwater Change the Design
Salt air punishes weak finishes long before it shows up in a brochure.
That is why outdoor lifts in coastal areas need more than a basic paint finish. Marine-grade materials, stainless hardware, corrosion-resistant coatings, and sealed electrical components all help the equipment last longer. The frame may look simple, but the details hidden in the joints and boxes matter a lot.
Storm prep matters too. In hurricane-prone regions, the lift should have a clear shutdown routine, and the owner should know what needs to be secured before high winds or heavy rain. If the home is in a flood-prone area, the design should keep sensitive parts away from standing water and splash zones.
Drainage is easy to overlook. Water should not pool around the base, track, or landing. When it does, corrosion speeds up and maintenance gets harder. A well-placed outdoor lift should fit the weather as well as the house.
Budgeting for an Outdoor Lift Retrofit
The equipment price is only one part of the total. Site conditions often move the budget more than the lift model itself.
| Budget factor | What affects it | Why it matters |
|---|---|---|
| Structural work | Reinforcement, framing changes, new footings | Older elevated homes may need extra support |
| Electrical work | New circuits, controls, disconnects, lighting | Power access can change labor time |
| Lift type | Cargo lift, VPL, or passenger elevator | More complex systems usually cost more |
| Weather protection | Coatings, sealed components, covers, corrosion-resistant parts | Coastal homes need stronger exterior durability |
| Permits and inspections | Drawings, reviews, revisions, final sign-off | Approval steps add time and coordination |
A short, open install usually costs less than a tight retrofit beside a stair tower or under a balcony. So does a site with easy equipment access. If installers have to work around narrow walkways, steep grades, or hard-to-reach corners, labor can climb quickly.
Plan for maintenance too. Outdoor systems benefit from regular service, especially in salty or wet environments. A little yearly attention is a better deal than a big repair after neglect.
Working with the Right Team
The best outdoor lift retrofit is a team effort. A qualified installer should know how the lift mounts, how it is powered, and how it ties into the existing structure. A structural professional can confirm whether the home needs reinforcement. An electrician can handle the power side. Local code officials can clarify the permit path.
Manufacturer experience matters too. If you want to see how an exterior-mounted system is described and built for porches and balconies, Veranda 'Vator company background gives a useful sense of the kind of detail a retrofit needs.
When you compare proposals, ask direct questions:
- Have you installed outdoor lifts on elevated homes like mine?
- What structural changes do you expect?
- How will you handle permits and inspections?
- What service plan comes after the install?
A clear proposal should explain what gets touched, what stays in place, and what the owner needs to do next. If the answers stay vague, keep looking.
Conclusion
An outdoor lift retrofit works best when the house leads the design. Structure, access, lift type, weather exposure, and budget all need to line up before the first piece goes in.
That is why the safest projects start with measurements and code review, not a catalog search. A coastal home, a flood-zone house, and a long stair run can each point to a different solution.
When the right team reviews the site, an elevated home can gain access without losing its character. Start with the structure, and the lift will have a much better chance of fitting the home for years to come.
Recent Posts