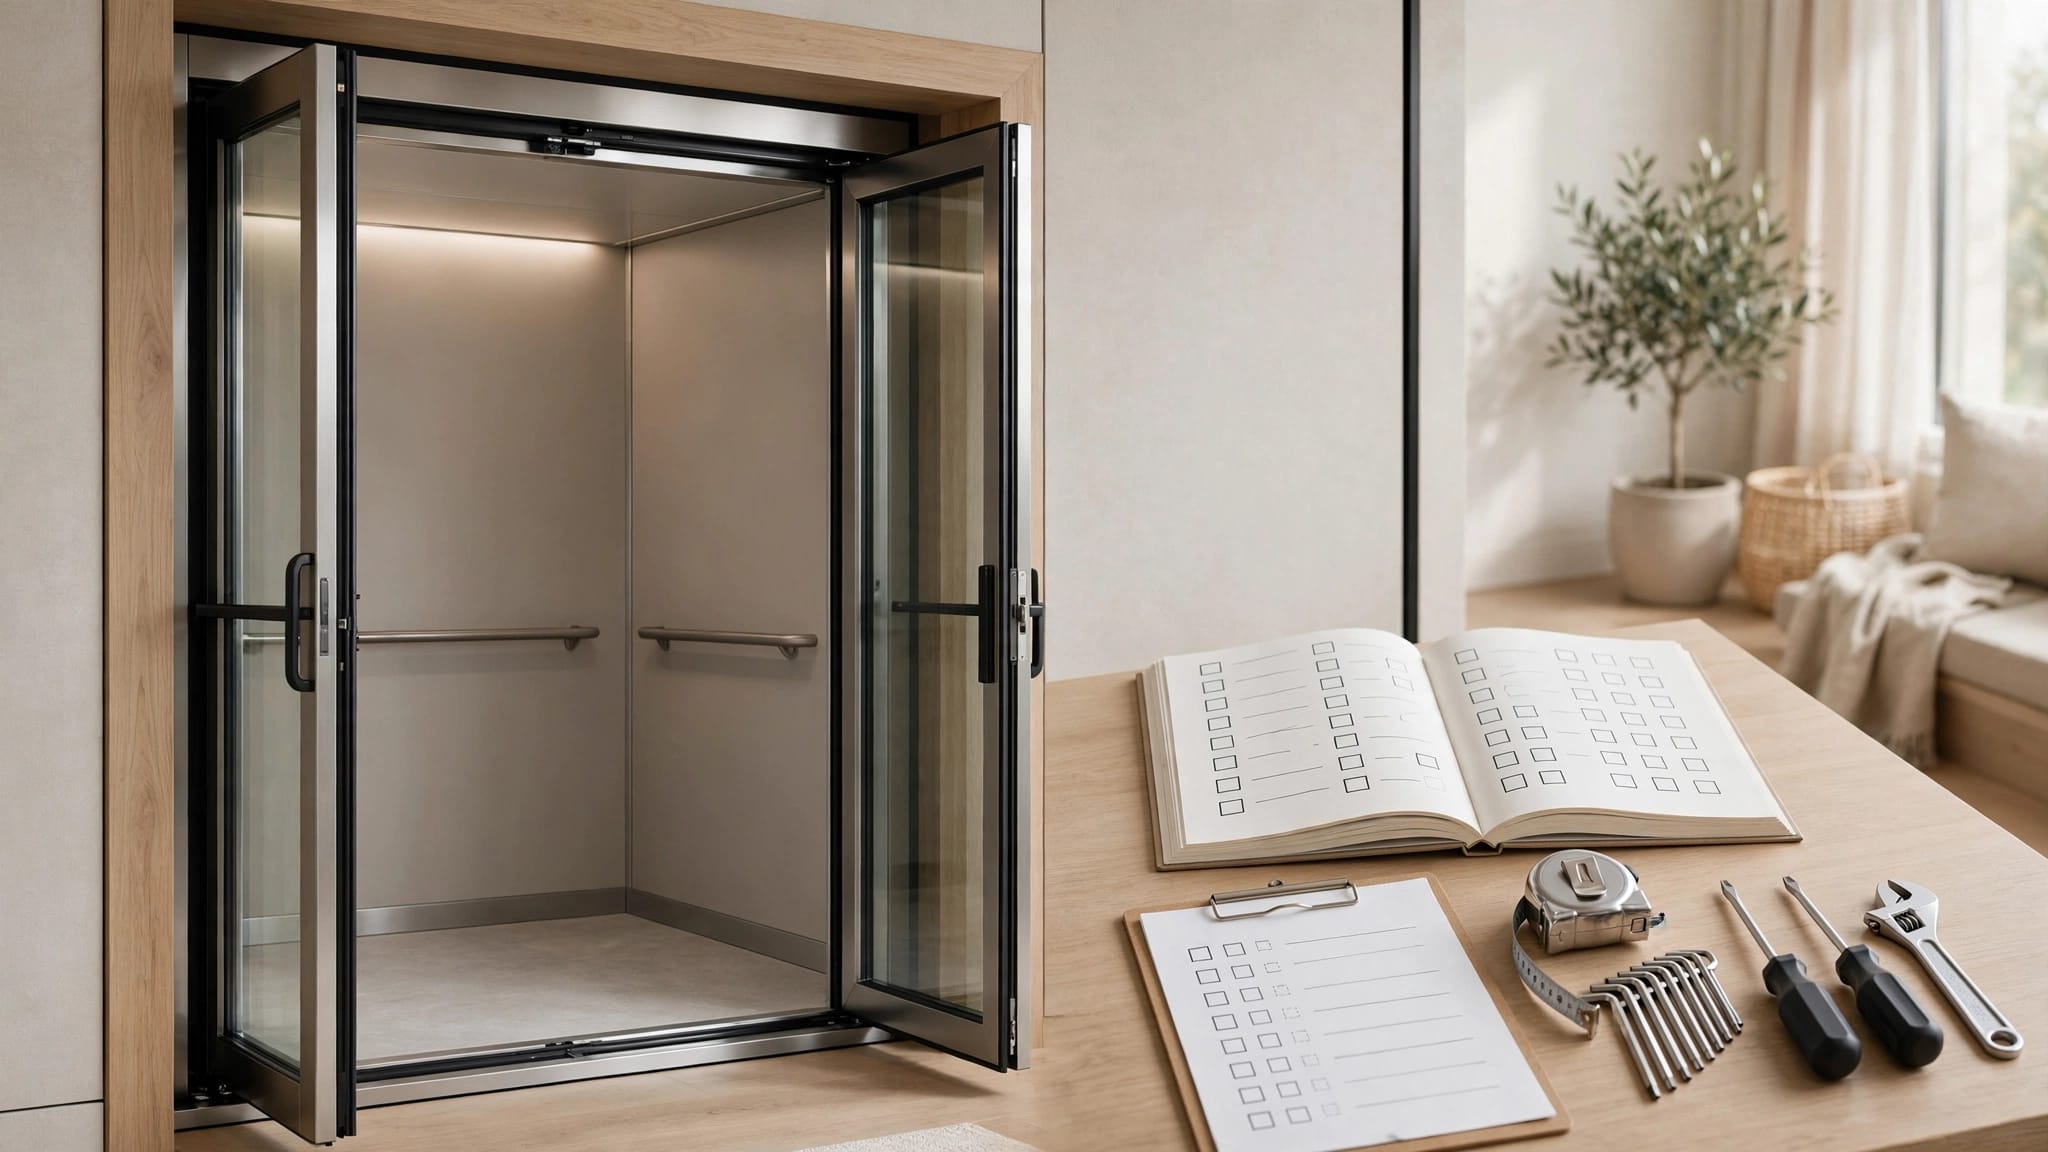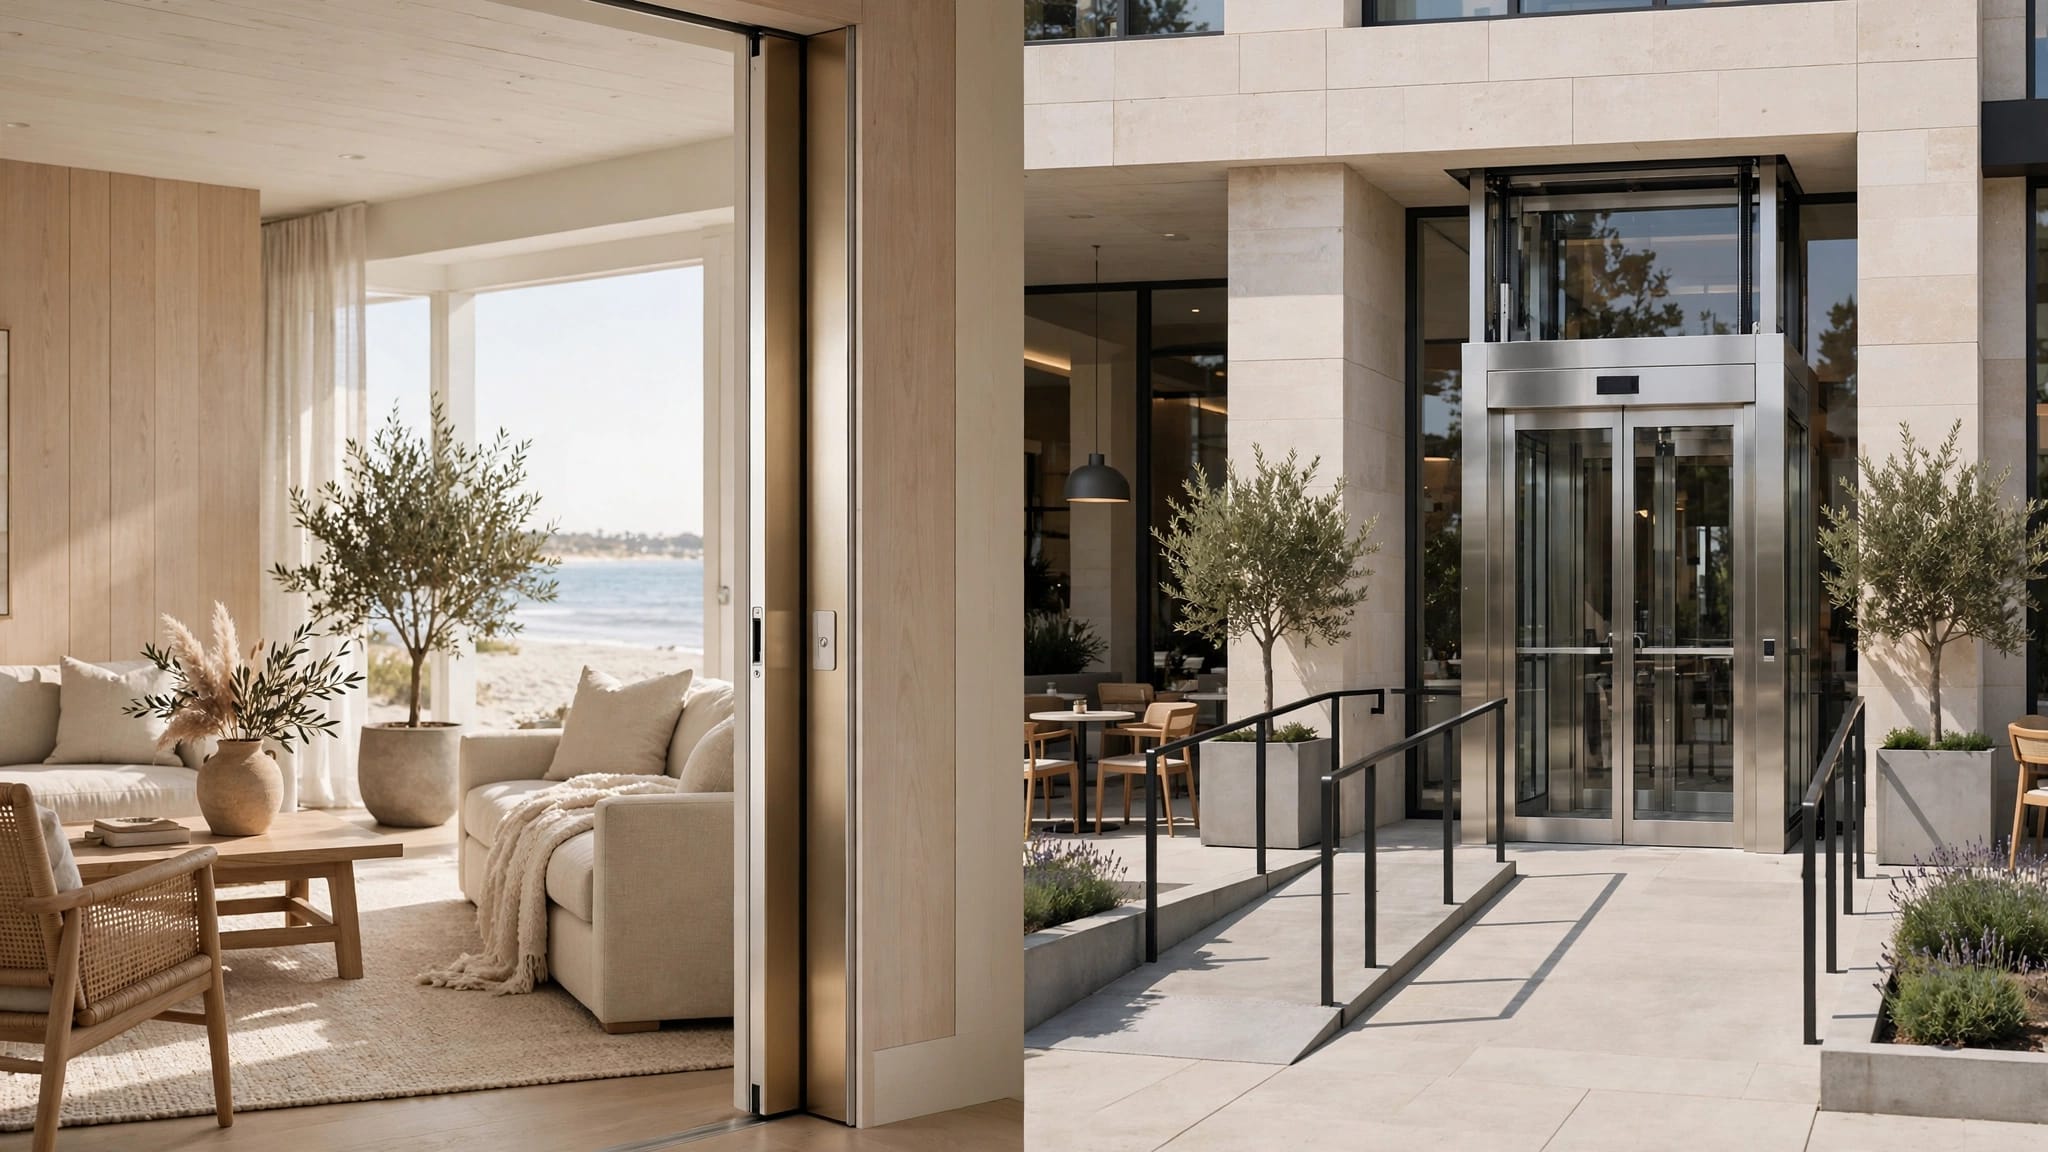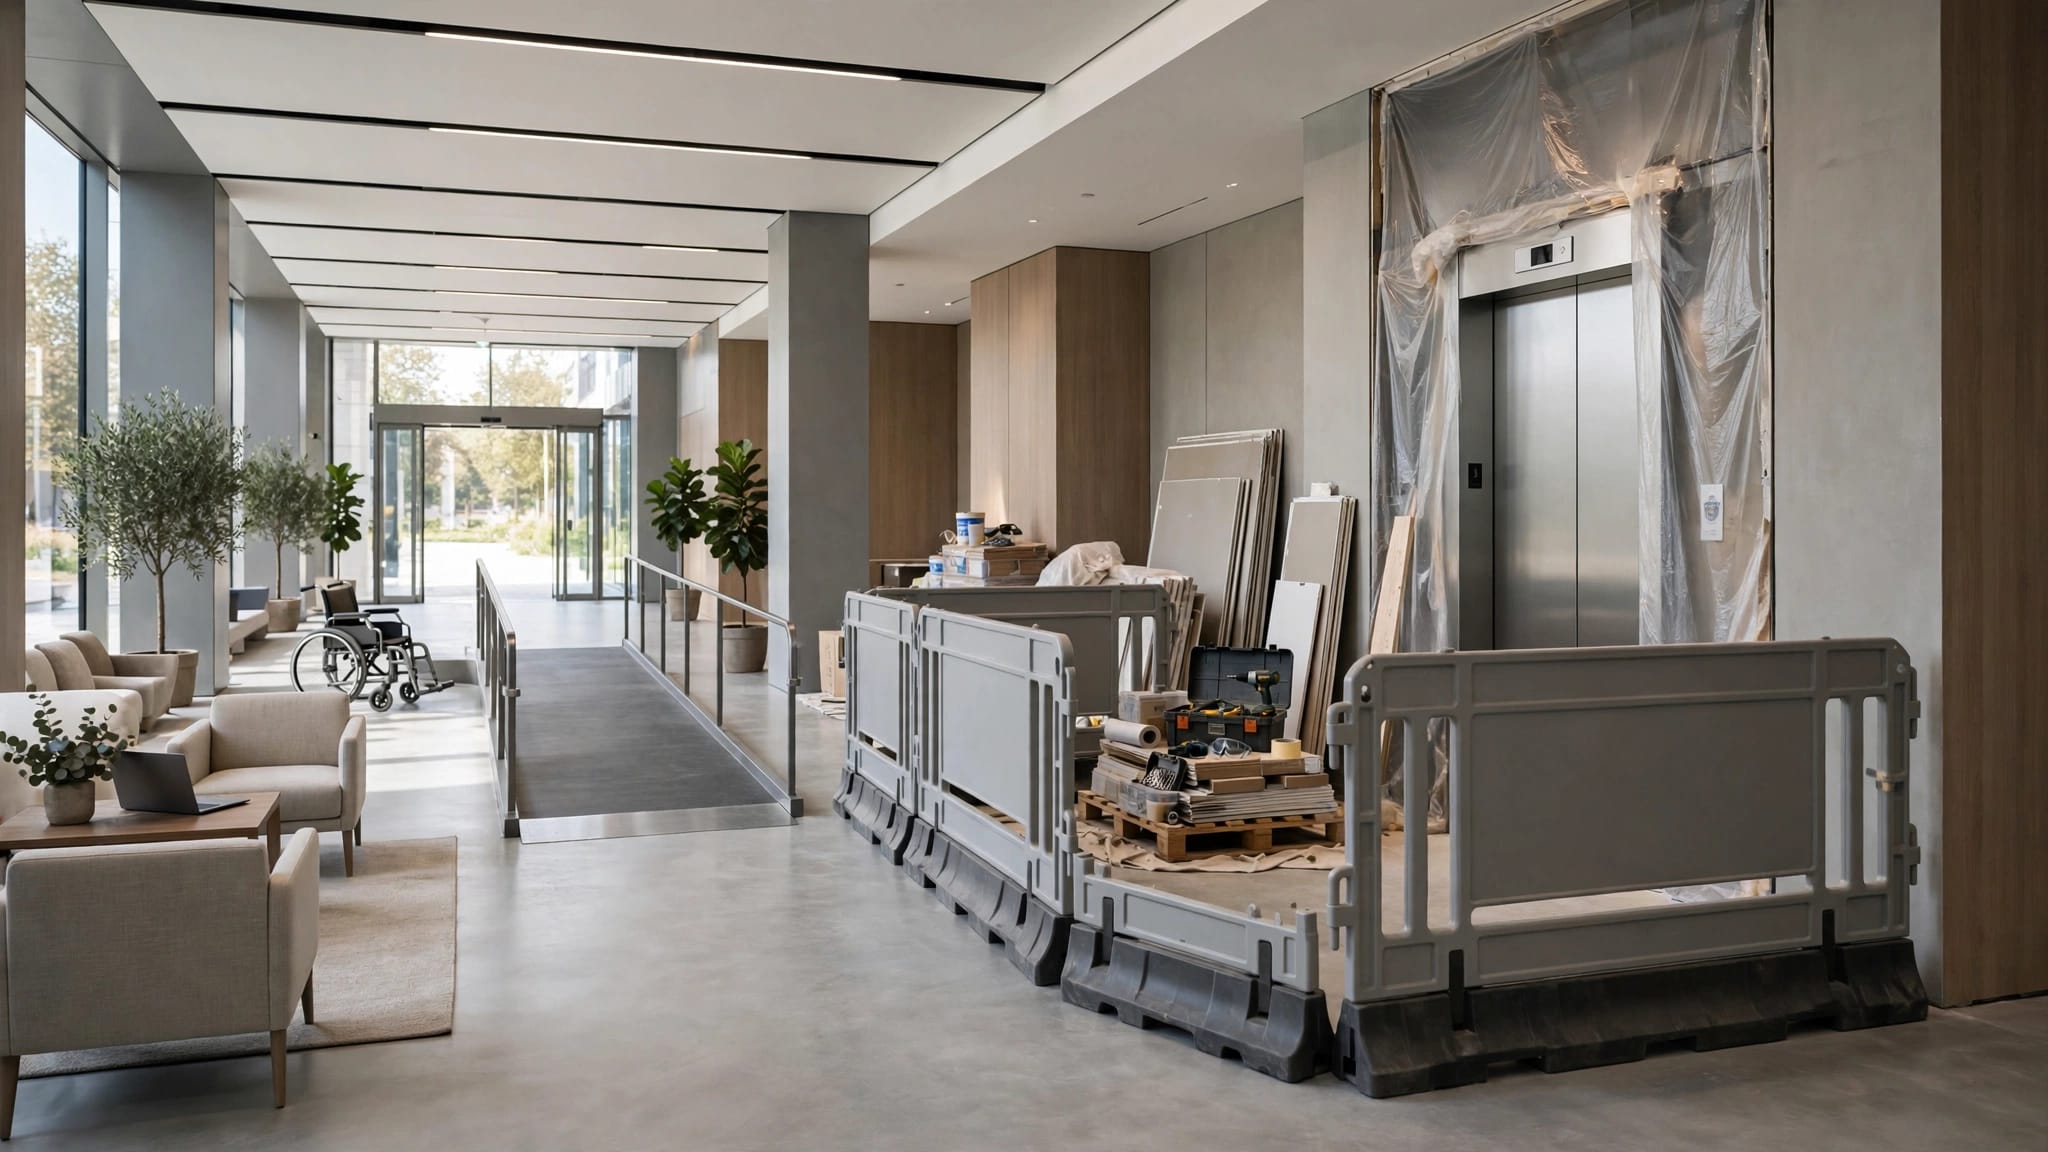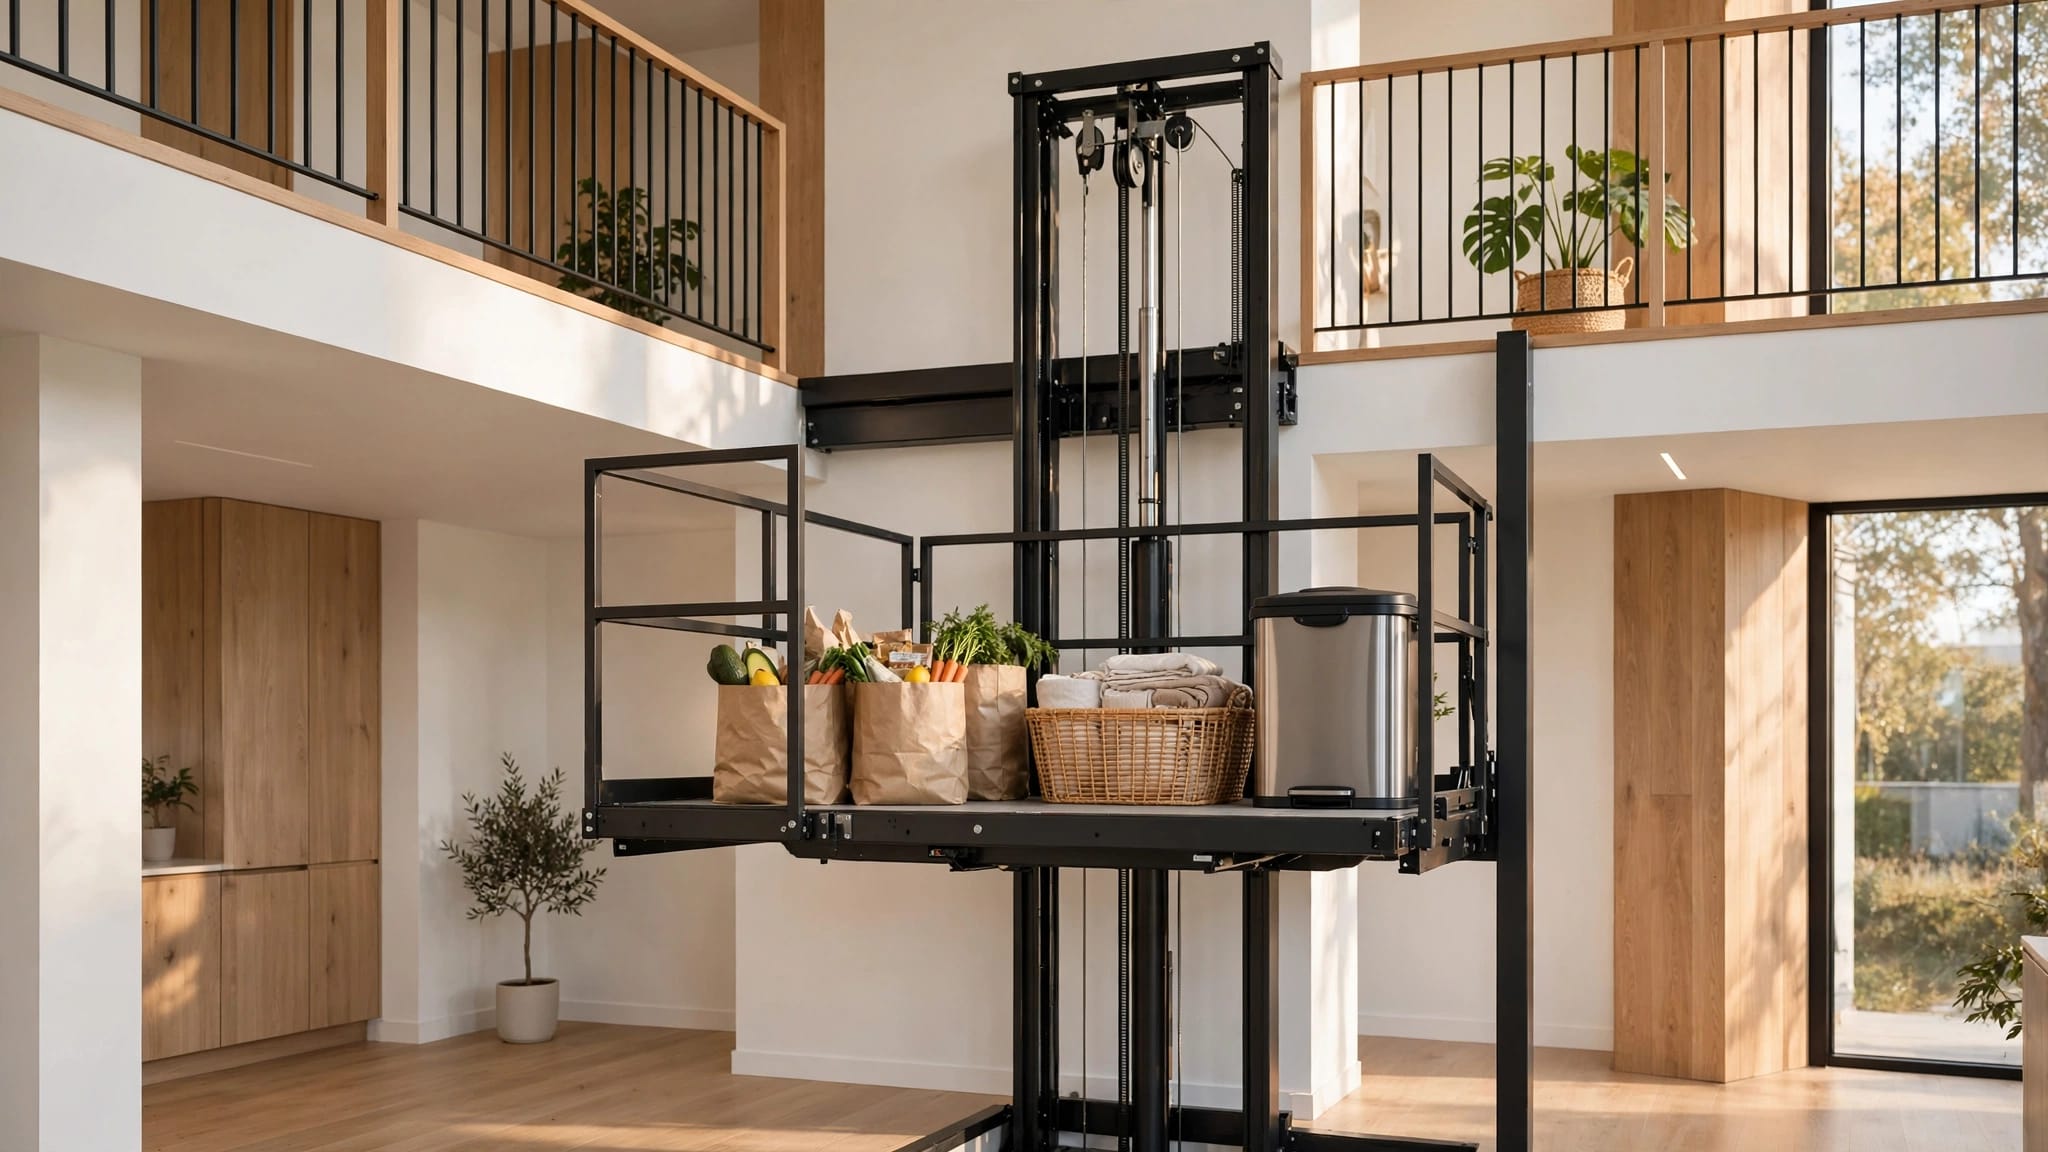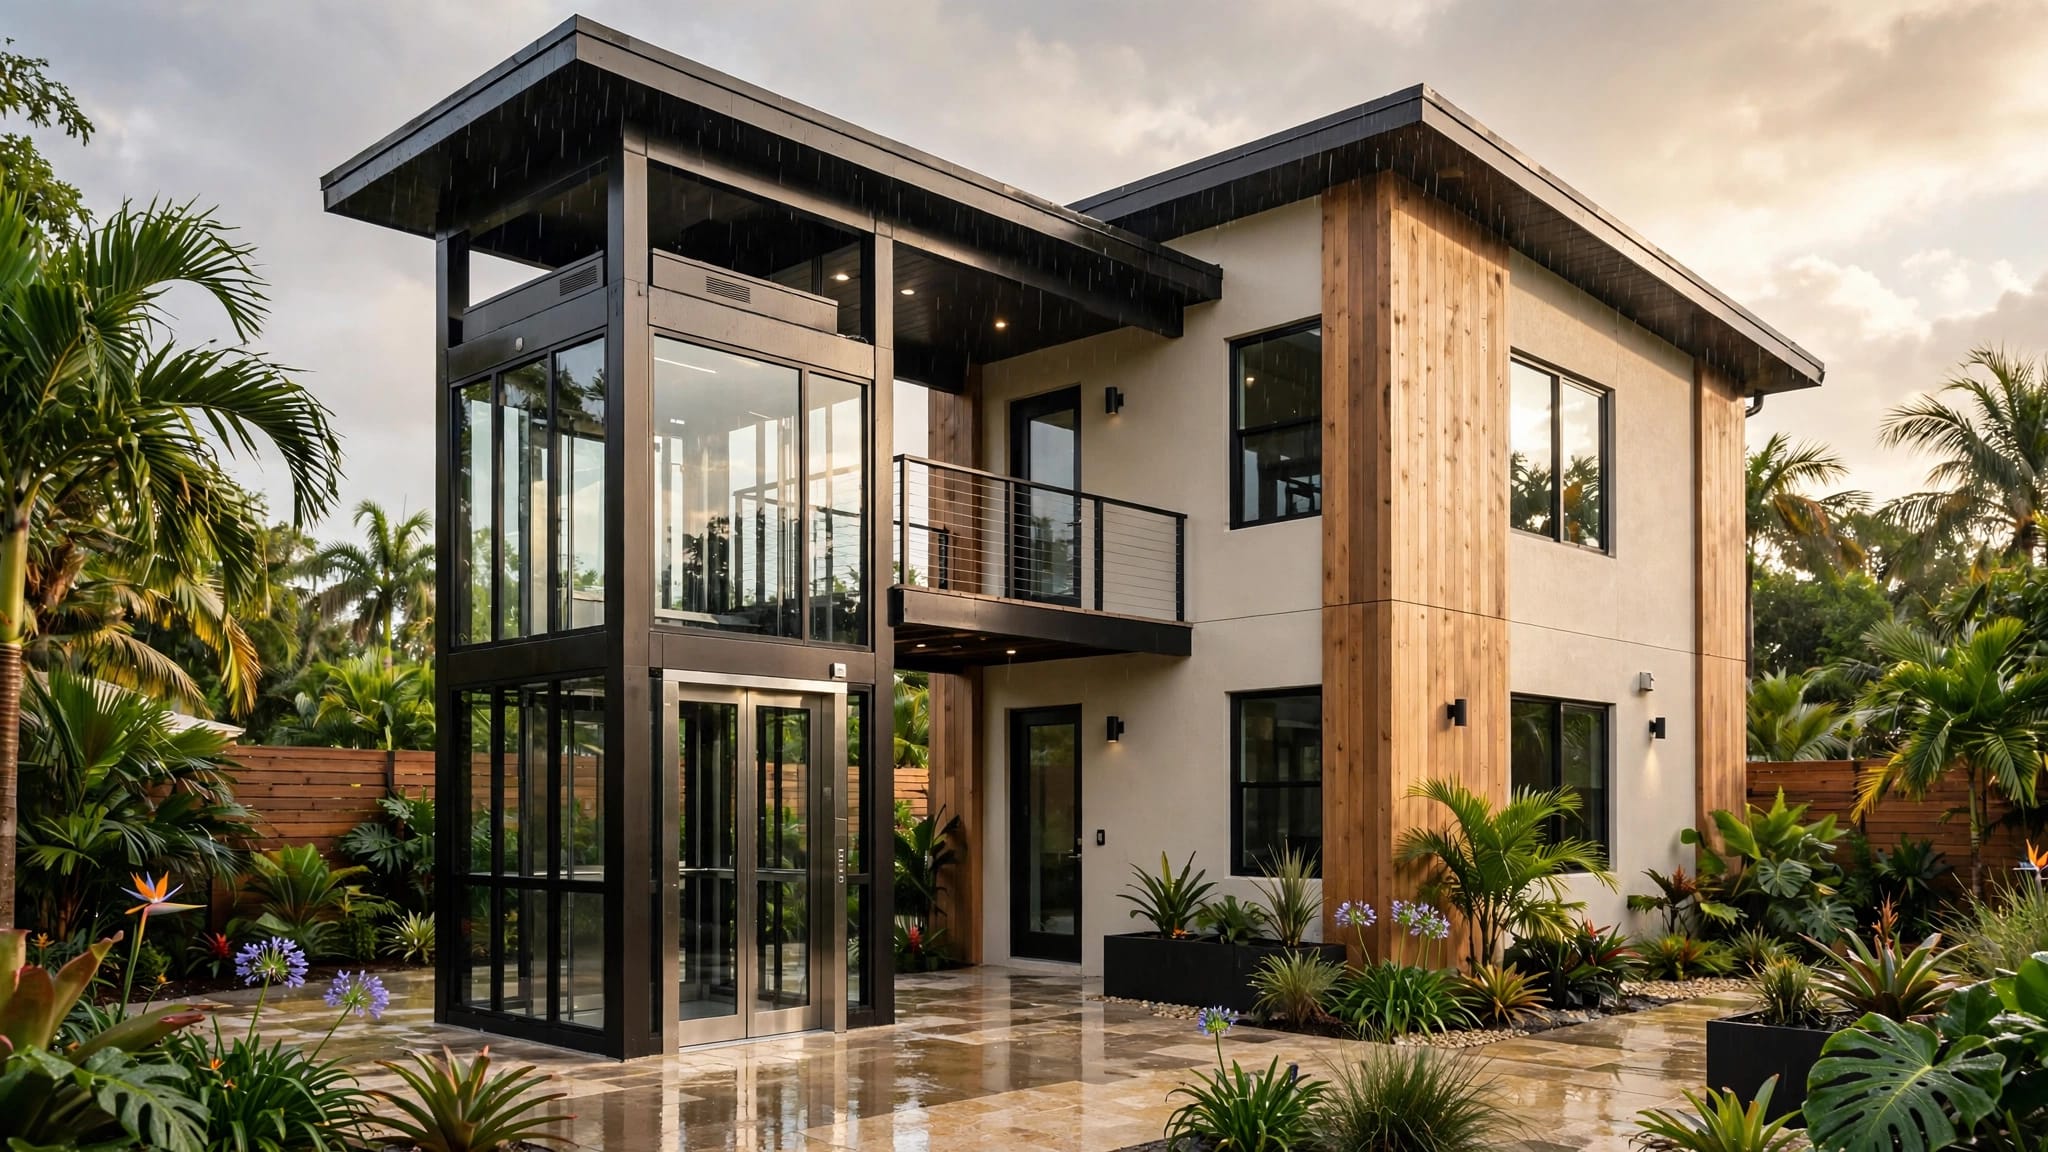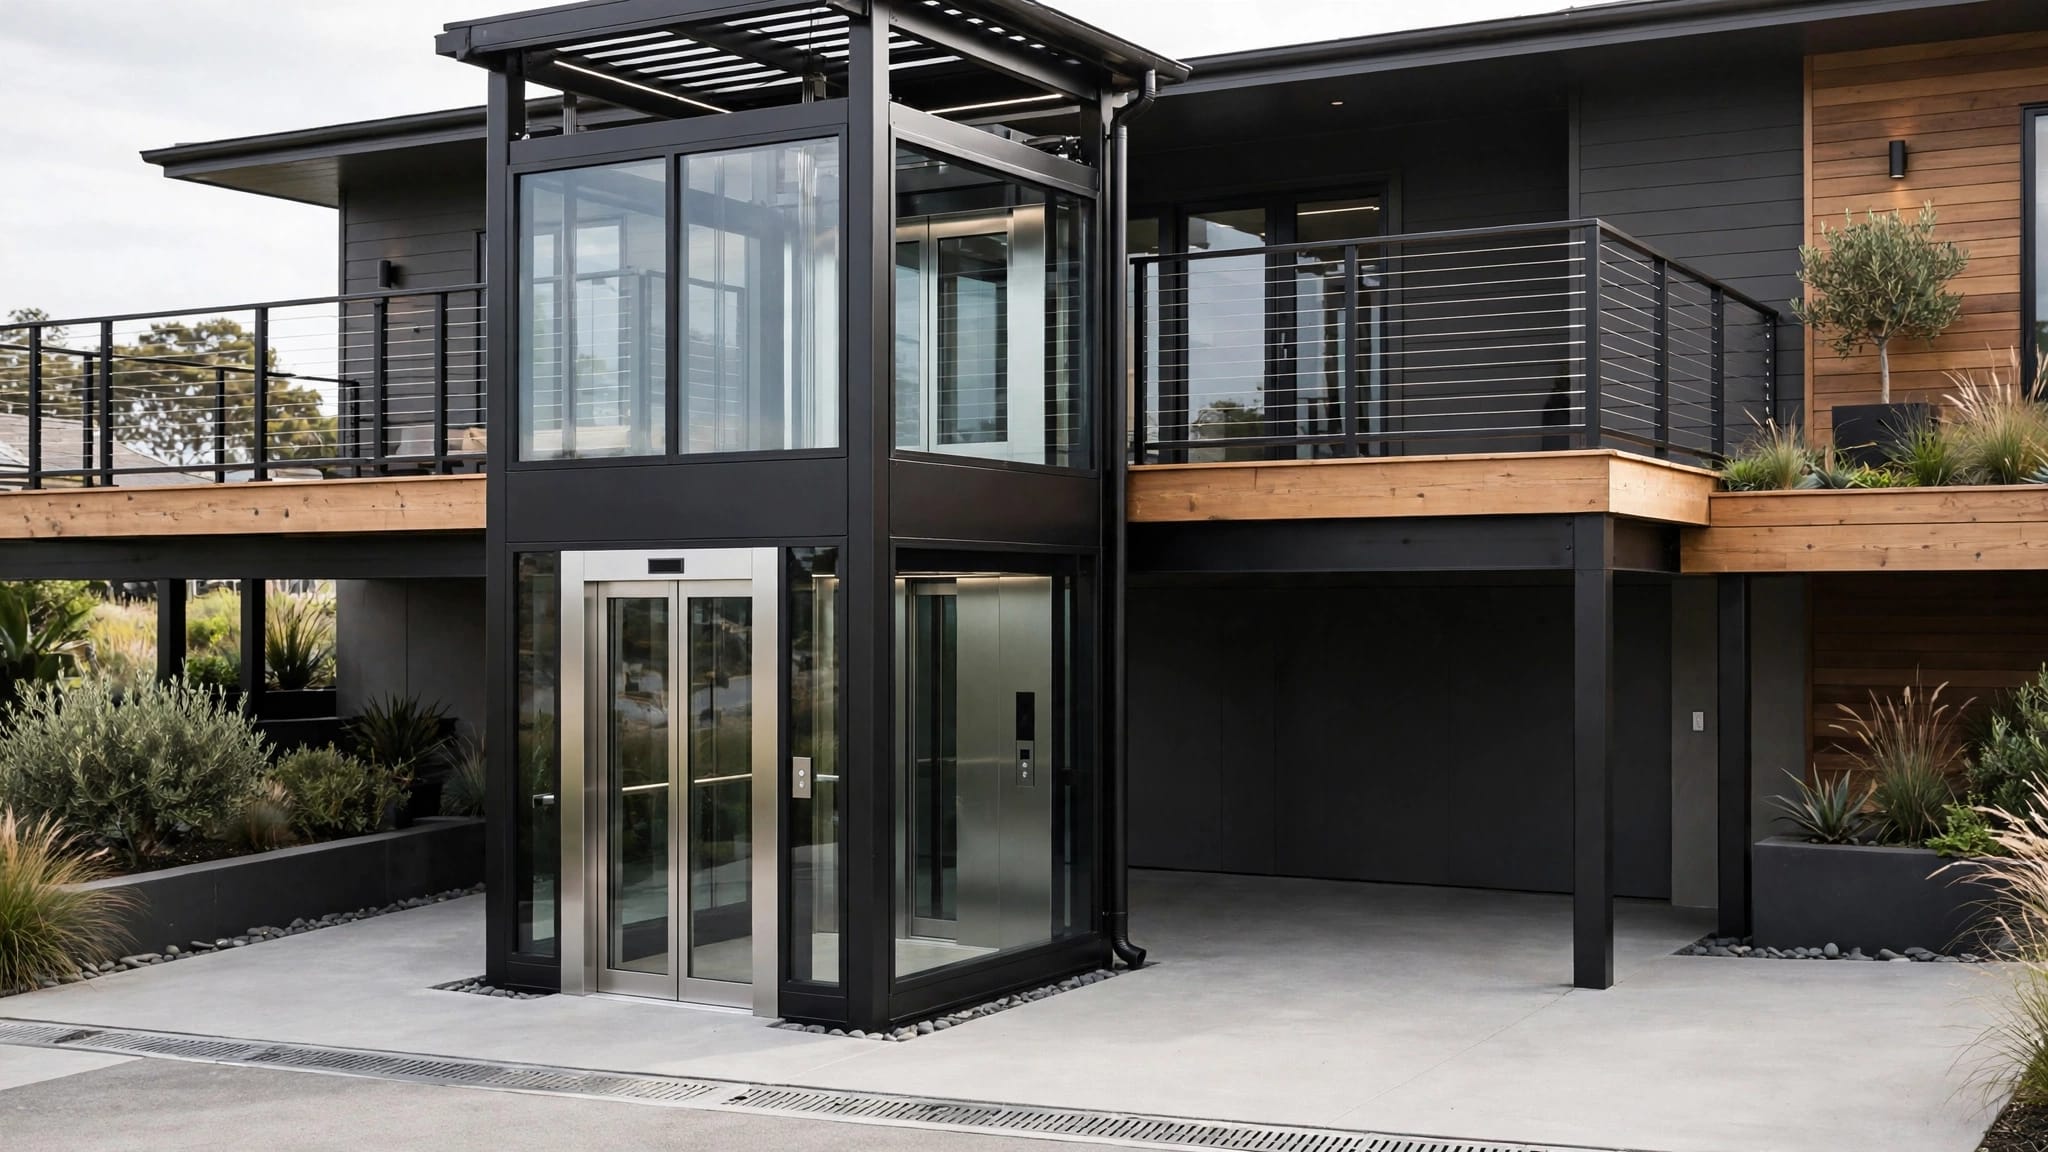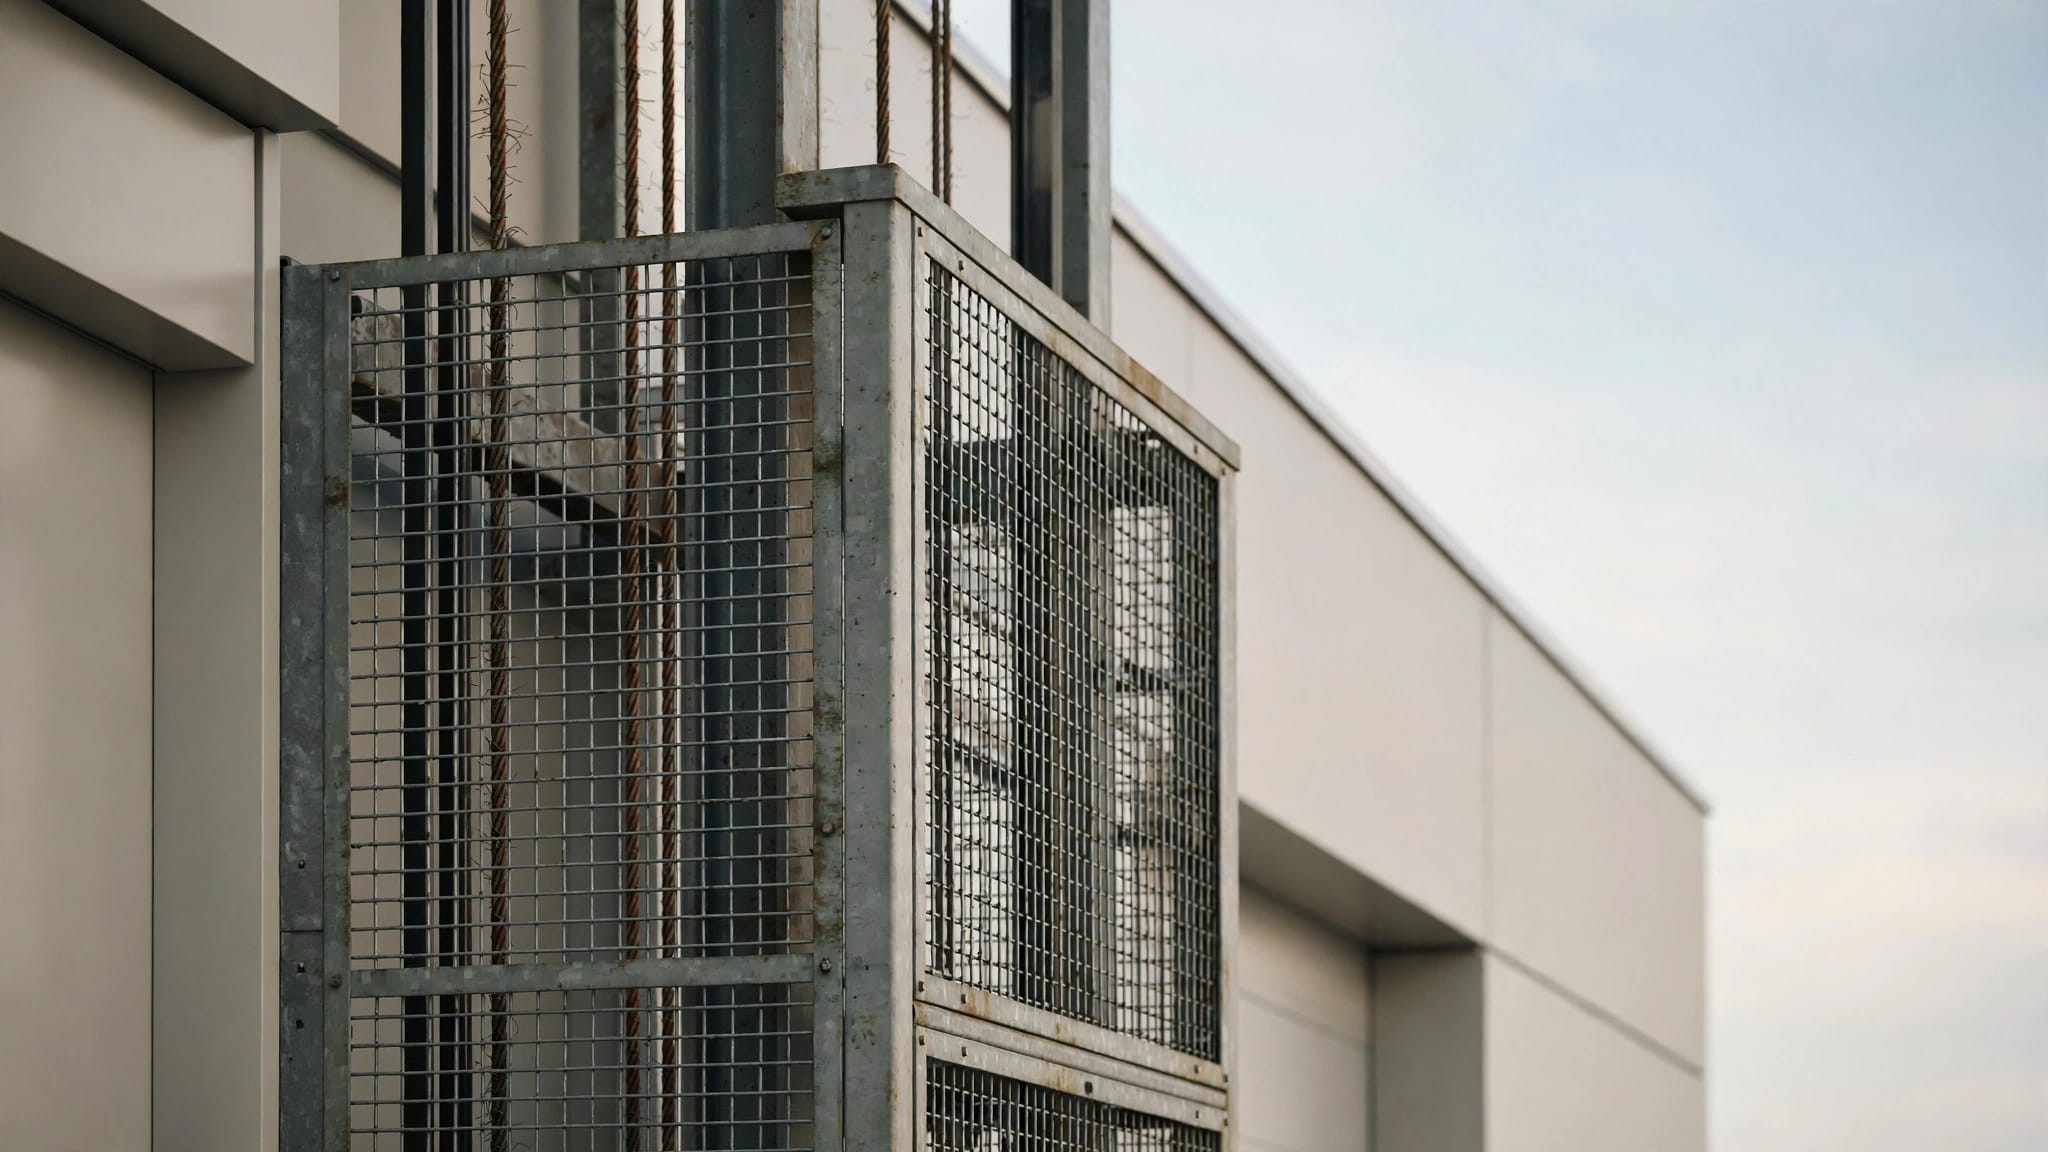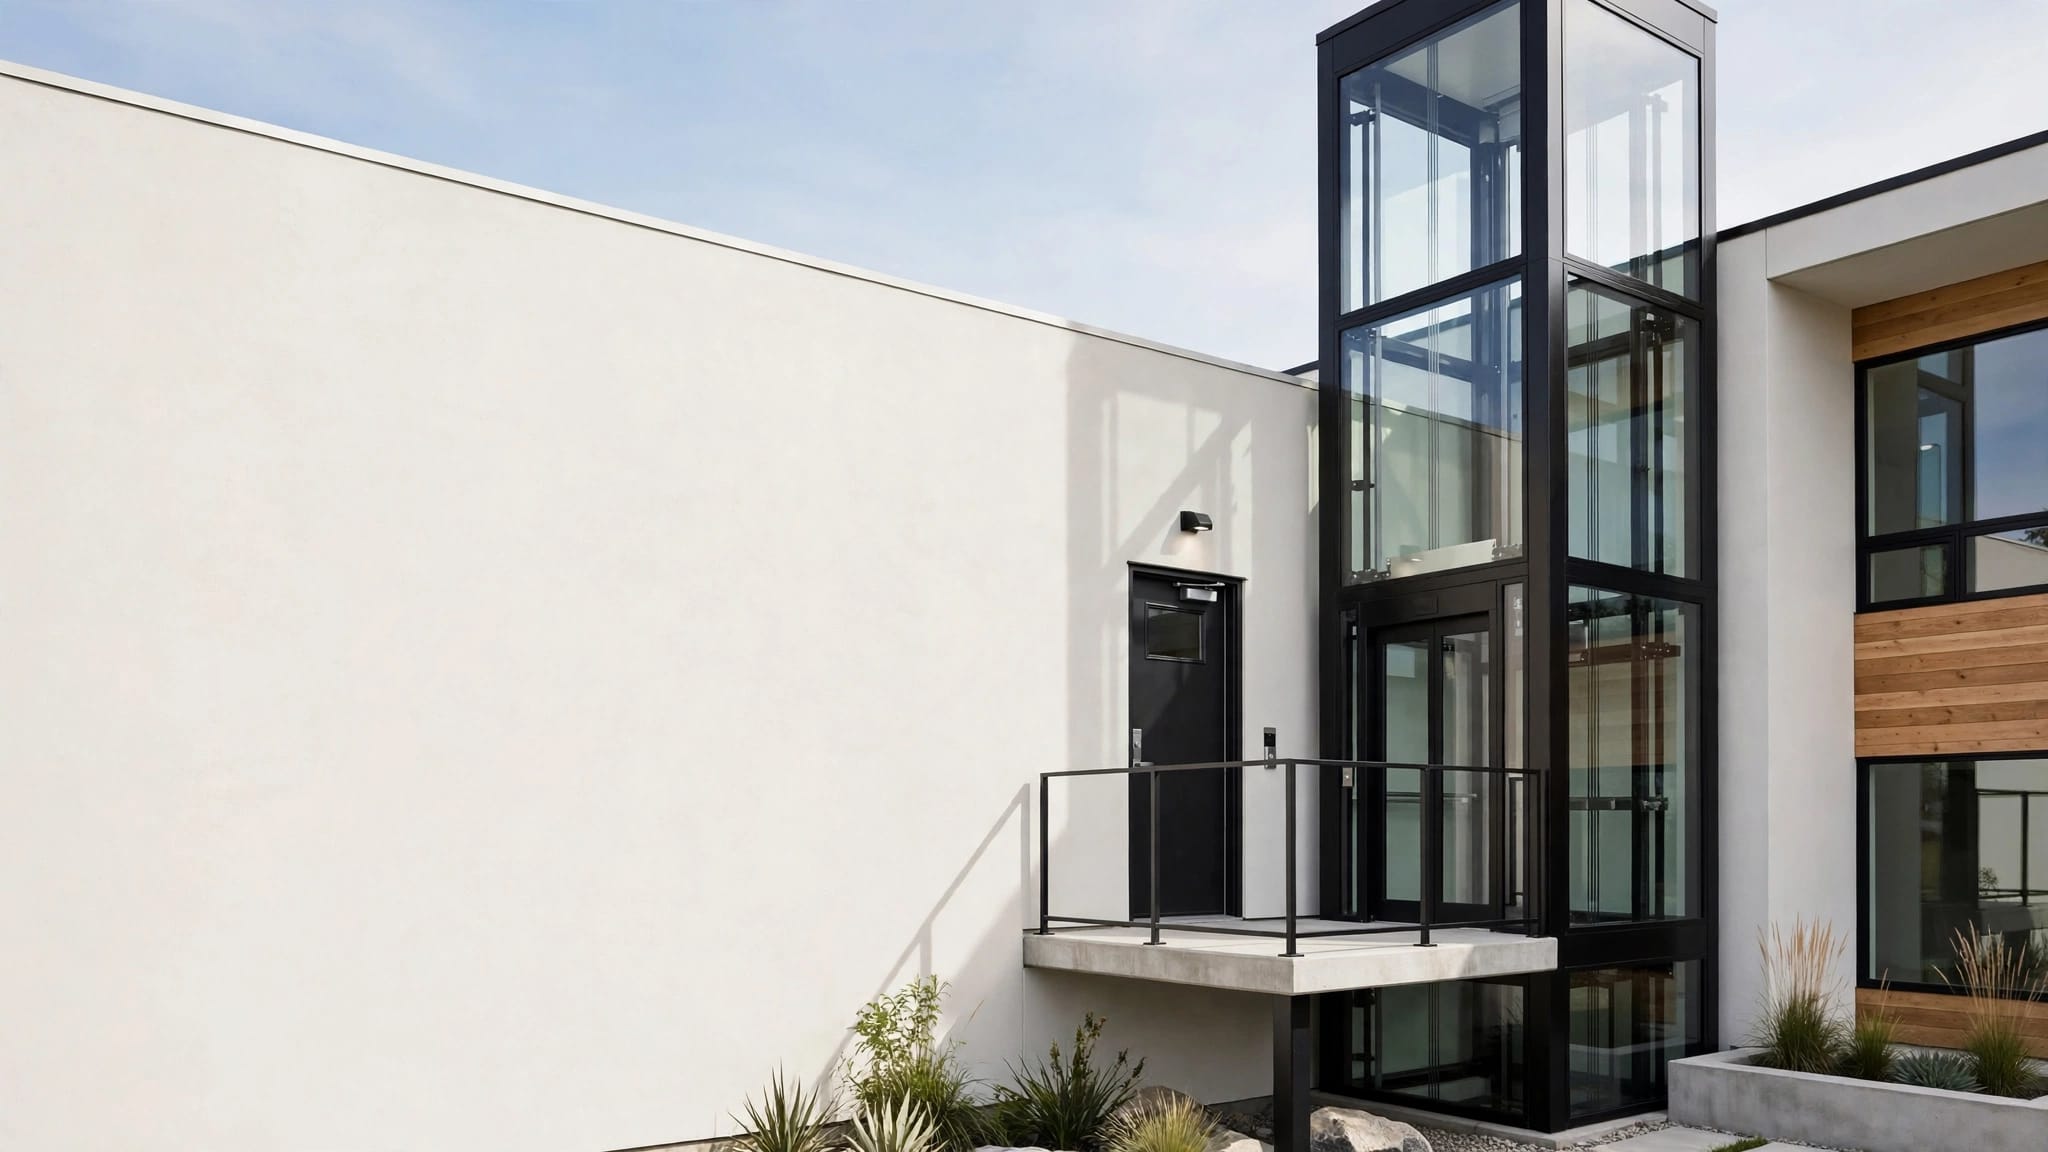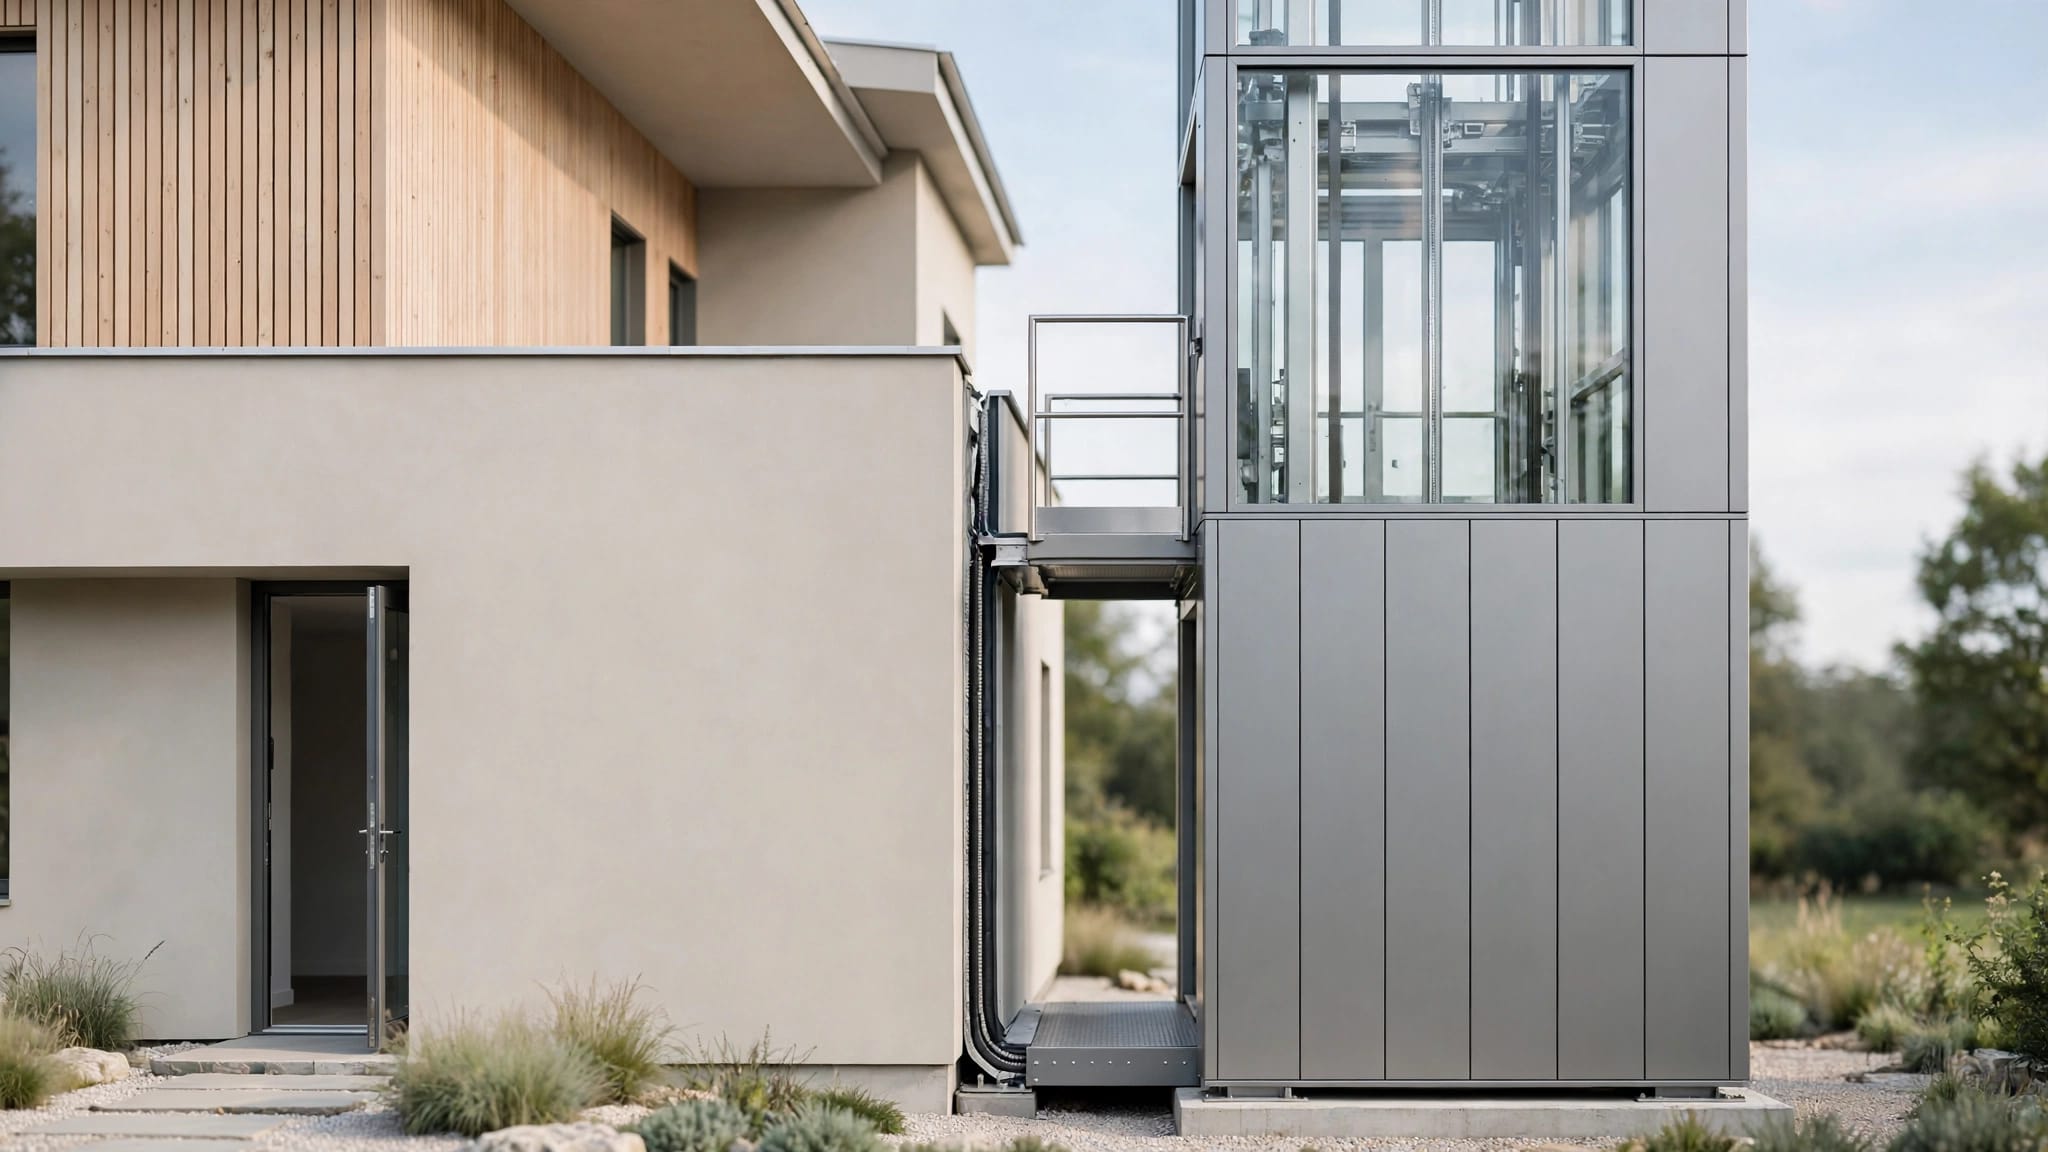
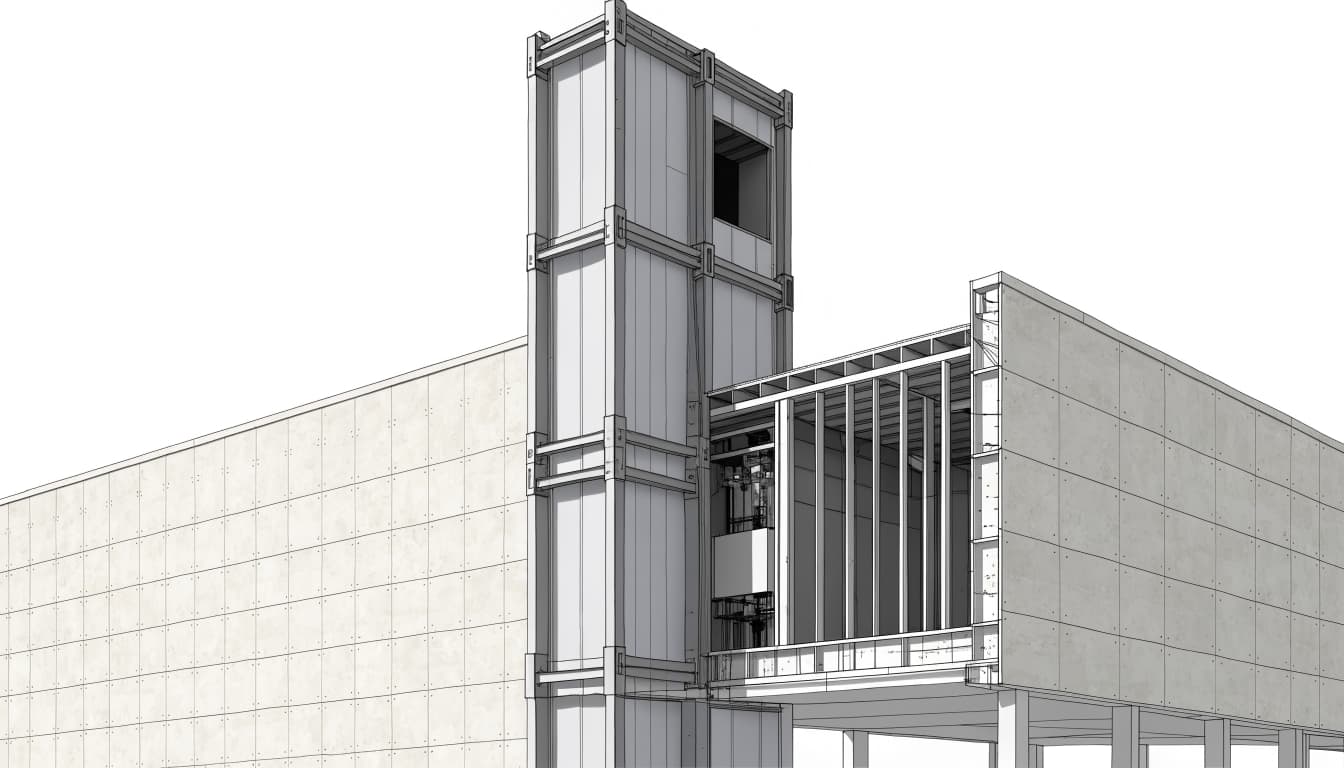
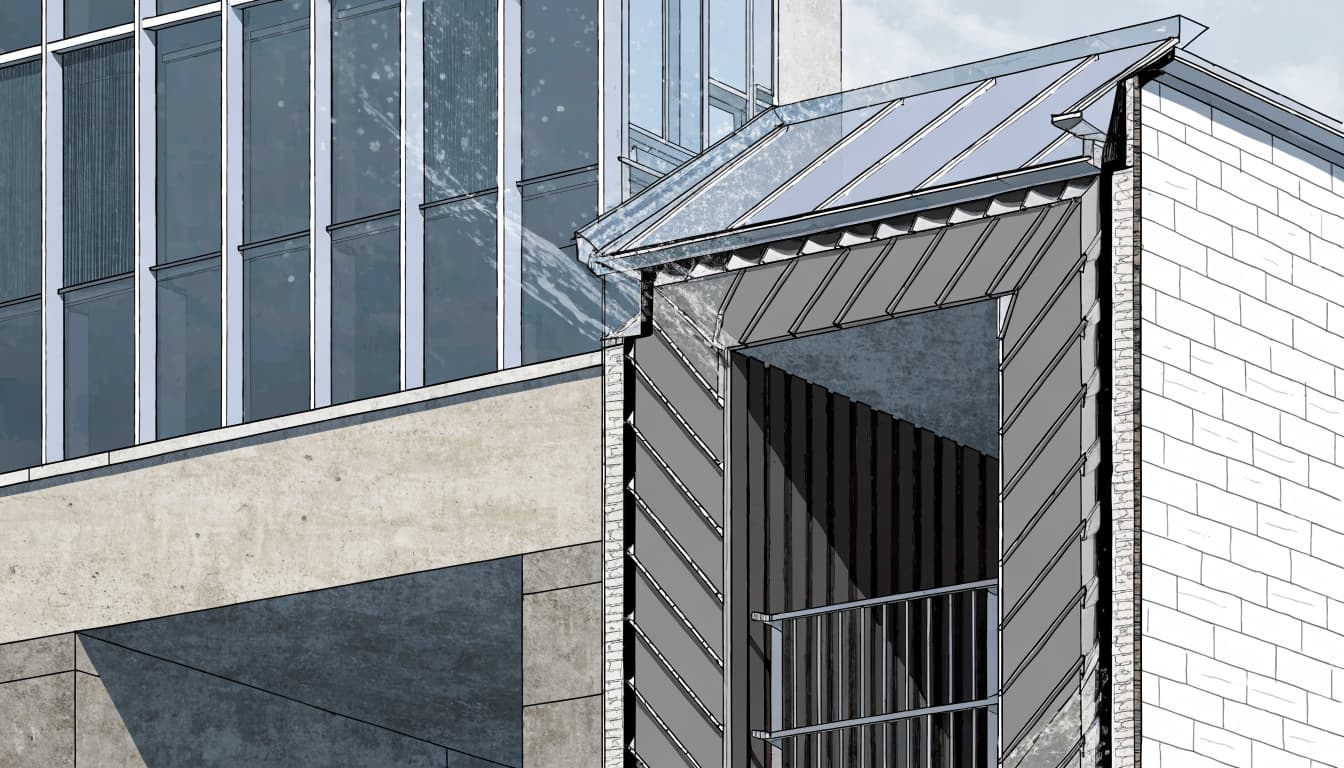
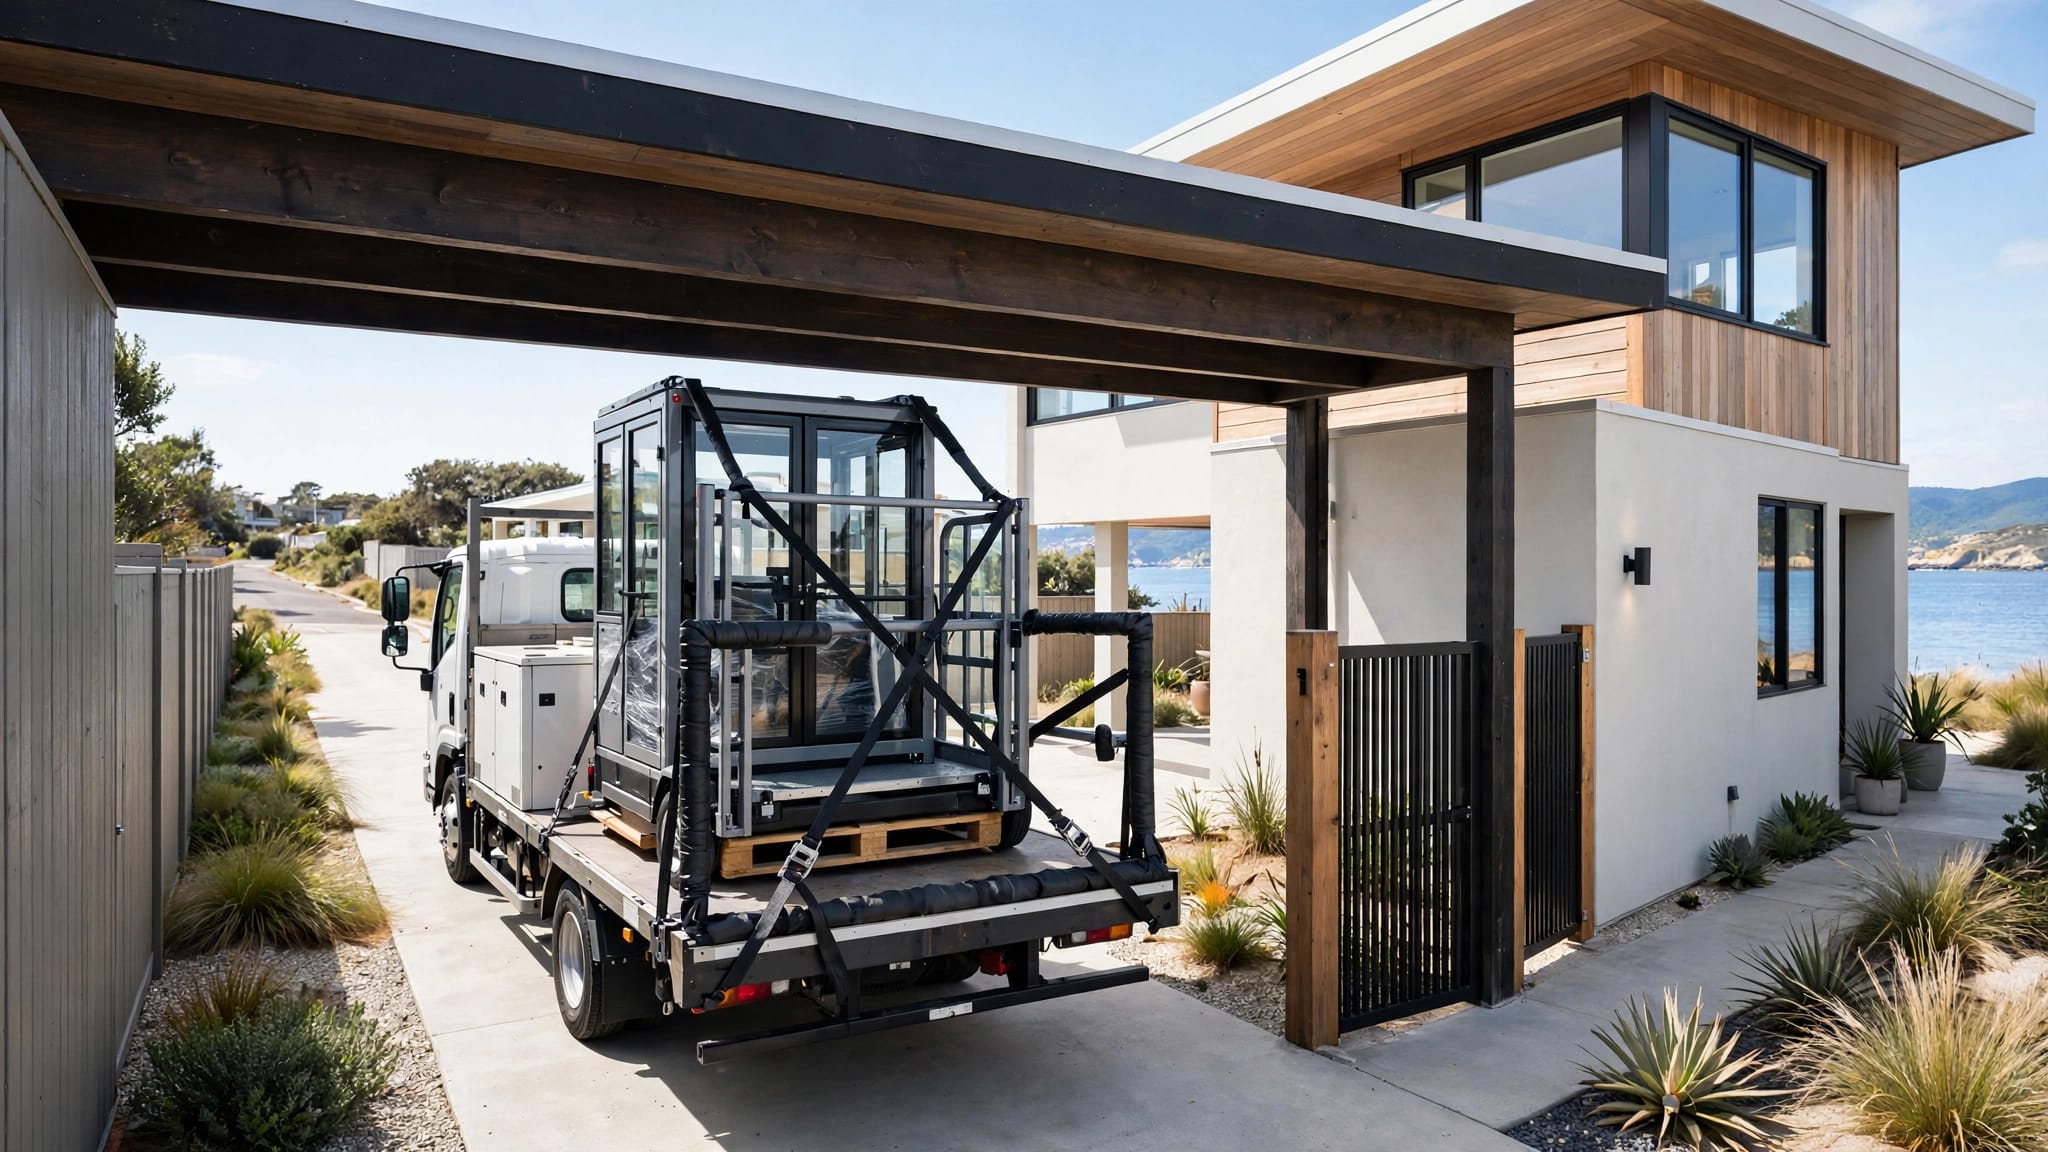
An exterior lift tower has to work with the building behind it, not only look good beside it. The cladding affects where the tower fits, how its connection to the building is detailed, and how crews preserve weather protection during installation.
Good planning treats lift tower cladding as part of the project from the start. That gives the design team time to coordinate the facade, structure, drainage, landings, and service access before construction locks in the details.
How cladding shapes the lift tower plan
Cladding is the building's outer finish, such as siding, stucco, or another facade material. A lift tower may sit alongside this surface or connect to a building at one or more landings. Either way, the facade affects the space available and the details needed where the tower meets the building.
A tower that looks like a late addition can disrupt windows, decks, or exterior paths. A planned location can preserve those features while creating a practical route between floors.
Choose the tower location early
Start by mapping the lift's route and the building's entry points. Consider how people will reach each landing, whether a door will open onto a clear space, and how the tower will affect nearby windows or shared paths. A side or rear location may reduce visual impact, but setbacks and utility locations still shape the available choices.
The building's existing structure also matters. An attached tower and a freestanding tower have different coordination needs, so settle the general approach early. Our guidance to compare freestanding and house-attached outdoor lift towers covers the main planning differences.
Treat the facade as part of the design
Cladding thickness and finish affect how the tower sits against the building and how the landings meet the facade. A drawing should show the proposed lift alongside the actual wall, roof edge, trim, and nearby features. That makes it easier to spot awkward transitions before material is ordered.
Coordinate the tower with the building structure
The cladding finish and the tower's structural support do different jobs. The exterior finish should not be treated as the support for lift loads. Instead, the lift's foundation and any building attachment need to be considered alongside the wall structure and landing design.
This distinction matters even when the tower stands close to the building. A small gap or a visible joint does not reveal what lies behind the facade or how the building and tower may move relative to each other.
Decide whether the tower is attached or freestanding
A house-attached tower may meet an exterior wall, deck, or existing landing. The connection must be coordinated with the structure beneath the finish, not just the visible siding or stucco. A freestanding tower may reduce the need for a building connection, but it still needs a suitable foundation and properly planned landings.
The choice affects where the lift can sit and how it relates to doors, decks, and upper floors. It also shapes the facade treatment around the tower.
Share one coordinated design
The project drawings should identify the lift location, landings, structural supports, exterior finish, and building connections together. When dimensions or finishes change, update the drawings so the current design reflects the actual tower-to-wall relationship.
An exterior elevator also needs a coordinated review of its foundation, attachment points, landings, and wind exposure. Those considerations are part of choosing an outdoor or indoor home elevator, not details to leave until the facade is complete.
Plan facade openings and landing transitions
Where the lift meets the building, cladding has to stop, return, or transition around a landing opening. The design should show how the doorway, wall finish, and lift enclosure relate. Without those details, crews may face conflicting assumptions about where one trade's work ends and another's begins.
A careful layout also helps prevent an awkward step between the landing and the building entry. The lift's door, the building opening, and the approach space need to work together for the intended users.
Keep the entry usable
The approach to each landing should remain clear after trim, cladding, and other finishes are installed. A facade detail that narrows the route or creates an obstruction can make everyday use harder, including for someone using a wheelchair or moving bulky cargo.
For cargo lifts, the landing needs to accommodate the intended loading route. For passenger elevators and vertical platform lifts, the approach and entry should suit the people who will use them. Set those conditions in the plan before fixing the facade opening.
Avoid finish-driven field changes
A thicker finish or a relocated trim detail can change the way the lift meets a wall. If the design team changes the facade after the lift drawings are prepared, the affected dimensions and interfaces need to be coordinated again. Otherwise, installers may have to work around a mismatch between the opening and the lift.
Keep the lift information and architectural drawings aligned. The goal is a finished transition that looks deliberate while preserving safe access.
Protect against rain and manage drainage
Exterior cladding is part of the weather barrier, but it doesn't protect lift equipment by itself. Rain, wind-driven spray, sunlight, salt air, and standing water can affect exposed parts of an outdoor lift. The tower and facade design should account for how water reaches the base, landings, and equipment areas.
A protective enclosure can help limit exposure, but it needs to work with ventilation, drainage, and service access. A poorly planned cover may trap moisture or direct water toward the platform, controls, or drive equipment.
Show how water moves around the tower
The drawings should account for roof runoff, surface drainage, and water around the lift foundation and landings. The facade treatment should not block drainage routes or send water into a joint between the tower and building. Where the lift meets an exterior wall, the weather interface should be designed with the wider building envelope in mind.
These details are easier to coordinate before siding, stucco, or other finishes are installed. A clear design also helps avoid placing a drain, conduit, or other building feature where it conflicts with the tower.
Match protection to the site
An outdoor lift on a coastal property faces different exposure than one in a sheltered inland location. Salt air and wind-driven rain call for appropriate choices in exposed materials and protective details. However, no finish removes the need for care and inspection.
A full enclosure and a weather cover offer different levels of protection and access. Compare exterior lift enclosures and weather covers when deciding how the tower should be protected.
Preserve access for maintenance and service
Cladding can make an exterior tower look integrated, but it shouldn't conceal parts that need routine access. The layout should leave a practical route to the lift's service areas and avoid details that require removing permanent facade materials for ordinary maintenance.
This is especially important when a screen wall or decorative panel surrounds the tower. A clean appearance helps only if the design still allows safe access to the lift and its equipment.
Avoid sealing in service points
Before finalizing the facade, identify where the lift's controls and other serviceable equipment will sit. Keep those locations accessible without dismantling siding, decking, or permanent construction. The equipment layout varies by lift model, so coordinate it with the actual lift drawings rather than assuming a generic tower arrangement.
The same care applies to the space around landings and gates. Landscaping, stored items, or later-installed screening can gradually block access if the project doesn't define a clear approach.
Keep ventilation and drainage in view
A screen or enclosure can change airflow around the lift. If it restricts ventilation or traps moisture, it may create problems even when the exterior looks finished. Likewise, a panel should not block a drain or prevent access to a service area.
Treat appearance, weather protection, and maintenance as connected design decisions. The right balance depends on the lift and its installation environment.
Choose a finish that fits the building and the lift
The tower's finish can echo the house or commercial building without copying every exterior detail. Matching a facade color, trim tone, or nearby structural element may help the lift feel more intentional. However, finish choices should also suit the lift's exposure and leave operational features unobstructed.
For example, a visually pleasing screen is a poor solution if it blocks a landing, restricts ventilation, or makes service access difficult. Function should guide the appearance choices.
Present the actual proposed finish
For a homeowners association review or a similar approval process, a proposal is more useful when it shows the lift in context. An elevation or photo simulation can show its scale, placement, and finish beside the existing siding, stucco, trim, railing, and roof.
Consider views from neighboring windows, patios, and shared areas. A location that aligns with an existing deck post or stair structure may appear more integrated than one placed in an open yard. Our design considerations for HOA elevator approval describe how placement and visual treatment can shape a proposal.
Don't let screening create new conflicts
Screening can soften the appearance of a tower, but it adds material and may affect clearance, drainage, airflow, and access. It also changes the visual scale of the installation. Plan any screen as part of the lift design rather than adding it after the tower is complete.
The finished result should look considered from the main views while leaving the lift's route and service needs clear.
Sequence cladding and lift installation together
Lift installation depends on prepared site conditions, suitable access, and coordinated building work. If the facade is completed before the team settles the tower interface, installers may have to remove or modify finished materials. If the lift arrives before the opening, landing, or support work is ready, the schedule can stall.
Plan the work so the design, site preparation, and finish installation support one another.
Set responsibilities before work begins
The project team should identify who handles the foundation, building connections, electrical work, exterior finish, and lift installation. Drawings should show the relevant dimensions and interfaces, so the contractor and installers share the same information.
That coordination matters when a wall finish or deck changes after the initial plan. A revision to the roof edge, landing, or cladding can affect the lift interface. Update the coordinated drawings instead of relying on informal assumptions in the field.
Protect finished work during installation
Installation access may require room for equipment and materials near the tower. Plan how crews will reach the work area without damaging finished walls, decks, landscaping, or weather protection. The approach route should remain safe for residents and clear of neighboring property or shared paths.
When the lift is scheduled after facade work, protect the finished cladding and make the planned connection points clear. When installation comes first, coordinate the finish work so it doesn't obstruct the tower or service areas.
Key takeaways for lift tower cladding
- Treat the lift tower, facade, landings, and building structure as one coordinated project.
- Decide early whether the tower will be freestanding or attached to the building.
- Show the openings, finishes, drainage, and access routes on coordinated drawings.
- Keep service points, ventilation, gates, and approaches clear after cladding is installed.
- Choose weather protection and finishes that suit the site without blocking maintenance.
Frequently asked questions
Does exterior cladding support a lift tower?
Cladding is the outer finish, not a substitute for structural support. The tower's foundation and any connection to the building need to be planned with the structure behind that finish.
Can cladding be installed before the lift?
It can be, but the tower location, landing openings, and building interface should be coordinated first. Otherwise, installing the lift may require changes to finished siding, stucco, or trim.
Does a lift enclosure replace the building's cladding?
No. The building facade and lift enclosure serve different purposes. The facade finishes and protects the building, while the lift enclosure protects the lift and defines its operating space. Their junction still needs coordinated weather protection and drainage.
Make the facade and lift work together
Exterior cladding affects more than the tower's appearance. It shapes the landing transitions, weather interfaces, access, and installation sequence. Plan those details before the facade is finished, and the lift can fit the building without making maintenance or daily use harder.
Recent Posts