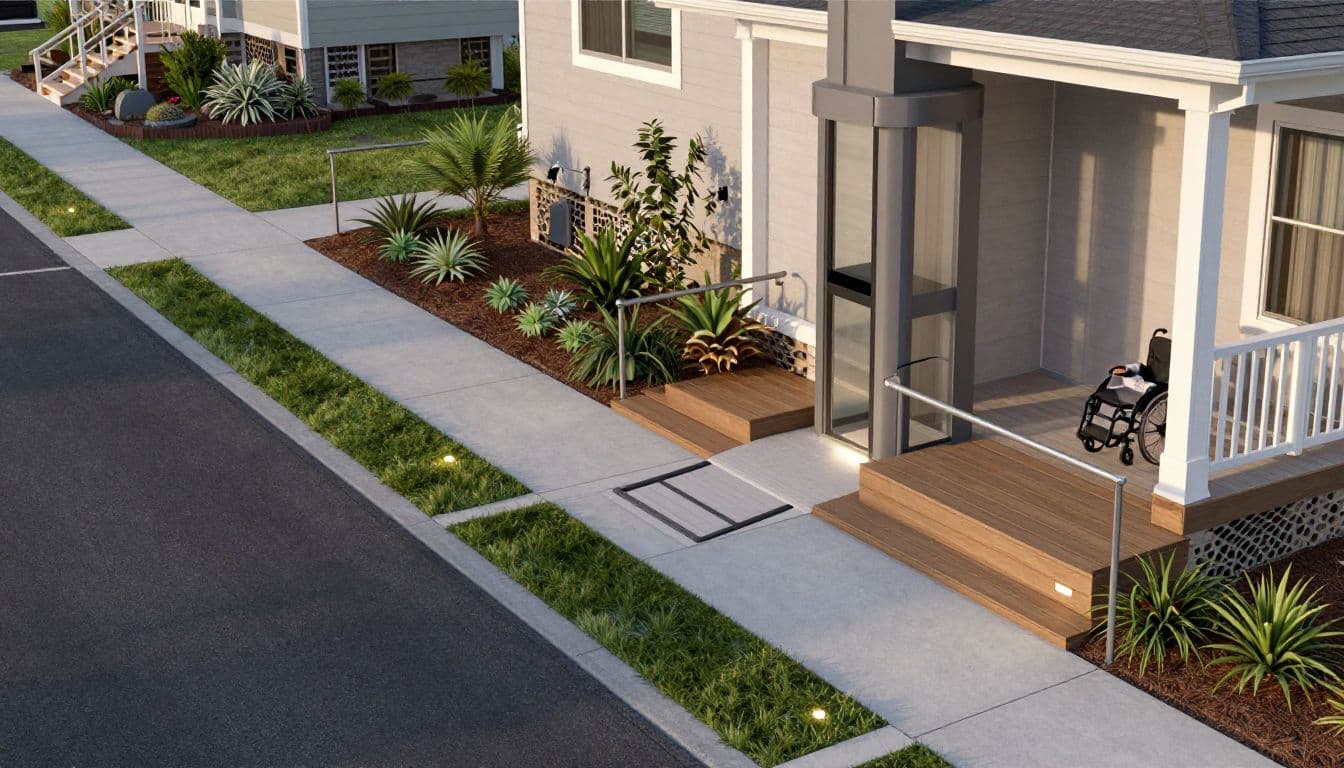
An elevator can remove the challenge of stairs, but only if people can reach it safely in the first place. The path from a driveway, parking area, or patio to an accessible outdoor elevator deserves the same early attention as the lift itself.
For homeowners, builders, and designers, the goal is a route that stays level where possible, drains well, and feels comfortable in every season. A good plan also accounts for wheelchairs, walkers, carts, groceries, luggage, and the person using them.
Start with the full trip, not the elevator tower alone.
Choose the Right Equipment Before Drawing the Route
The route, landing size, controls, gates, and approvals all depend on what the equipment is meant to carry. A lift for boxes and beach gear has different safety requirements than a lift intended for people.
Passenger travel and material handling are different uses
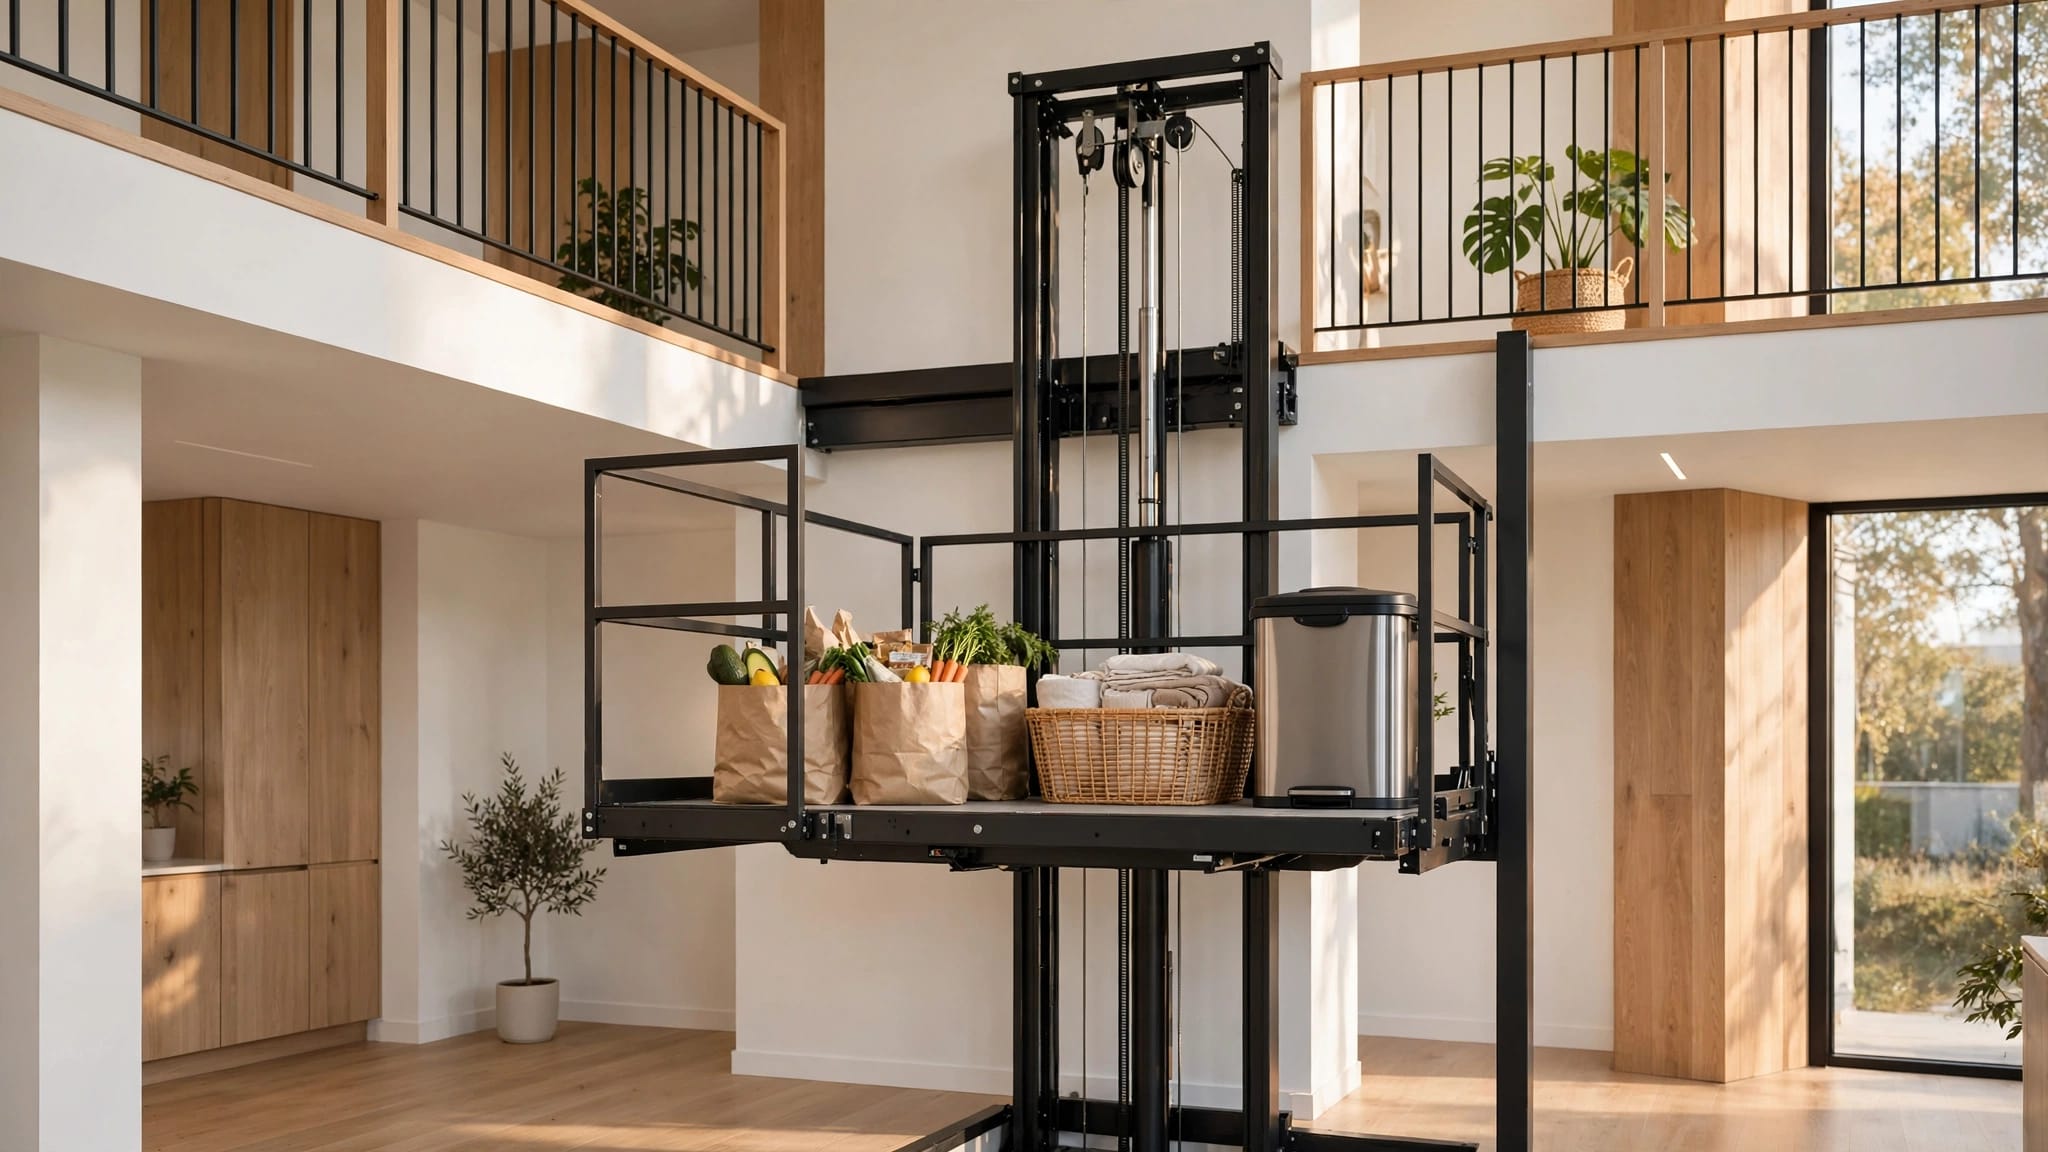
A cargo lift can make raised homes far easier to live with. It can carry groceries, luggage, furniture, tools, and supplies between grade and an upper porch. However, a cargo lift is not automatically approved for riders.
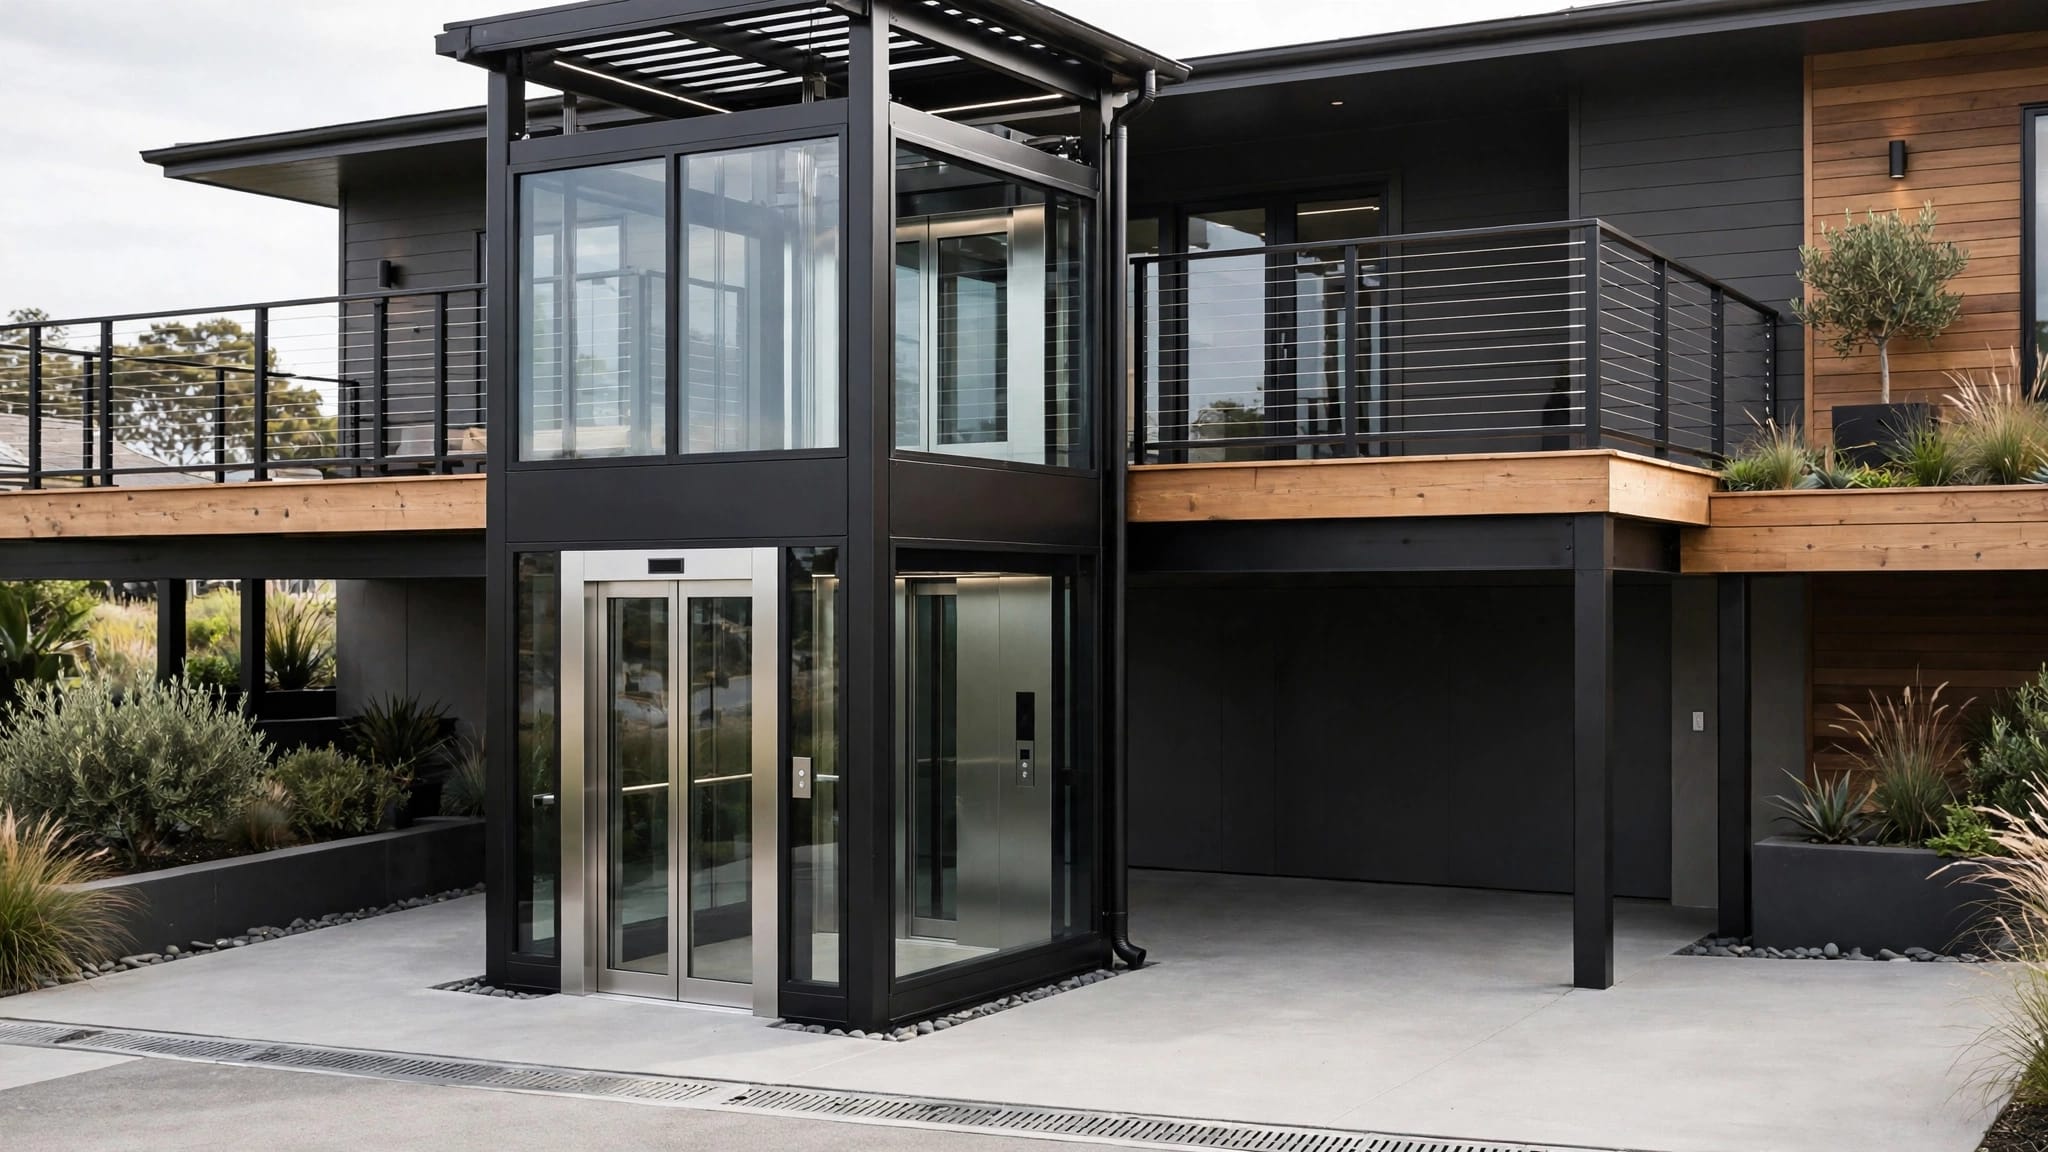
Anyone who needs regular vertical travel should consider a passenger-compliant outdoor elevator or a properly specified vertical platform lift. Review the passenger elevator and cargo lift differences before setting the route dimensions or choosing gates.
A VPL can suit a shorter rise
A vertical platform lift, often called a VPL, can provide wheelchair access to a porch, deck, or entry landing where the travel distance is modest. Its platform has to accommodate the user, mobility device, and safe entry movement.
A full passenger elevator may better suit a multistory home, frequent family use, or longer travel. Manufacturer clearance requirements should shape the route early, because adding turning space after framing or paving is costly.
Map the Entire Accessible Outdoor Elevator Route
An outdoor route should form one continuous, unobstructed connection. Trace the trip from the vehicle drop-off point or driveway to the elevator entrance, then continue it from the upper landing to the home's door.
Avoid treating a stair landing as the default arrival point. A person using a wheelchair, walker, cane, or loaded cart needs a direct approach without steps, abrupt edges, loose gravel, or tight turns.
Walk the route at the site before finalizing plans. Notice where a vehicle door opens, where rainwater moves, and where a person may pause while waiting for the elevator. Also check gates, fences, hose connections, AC equipment, and landscaping that could narrow the usable path later.
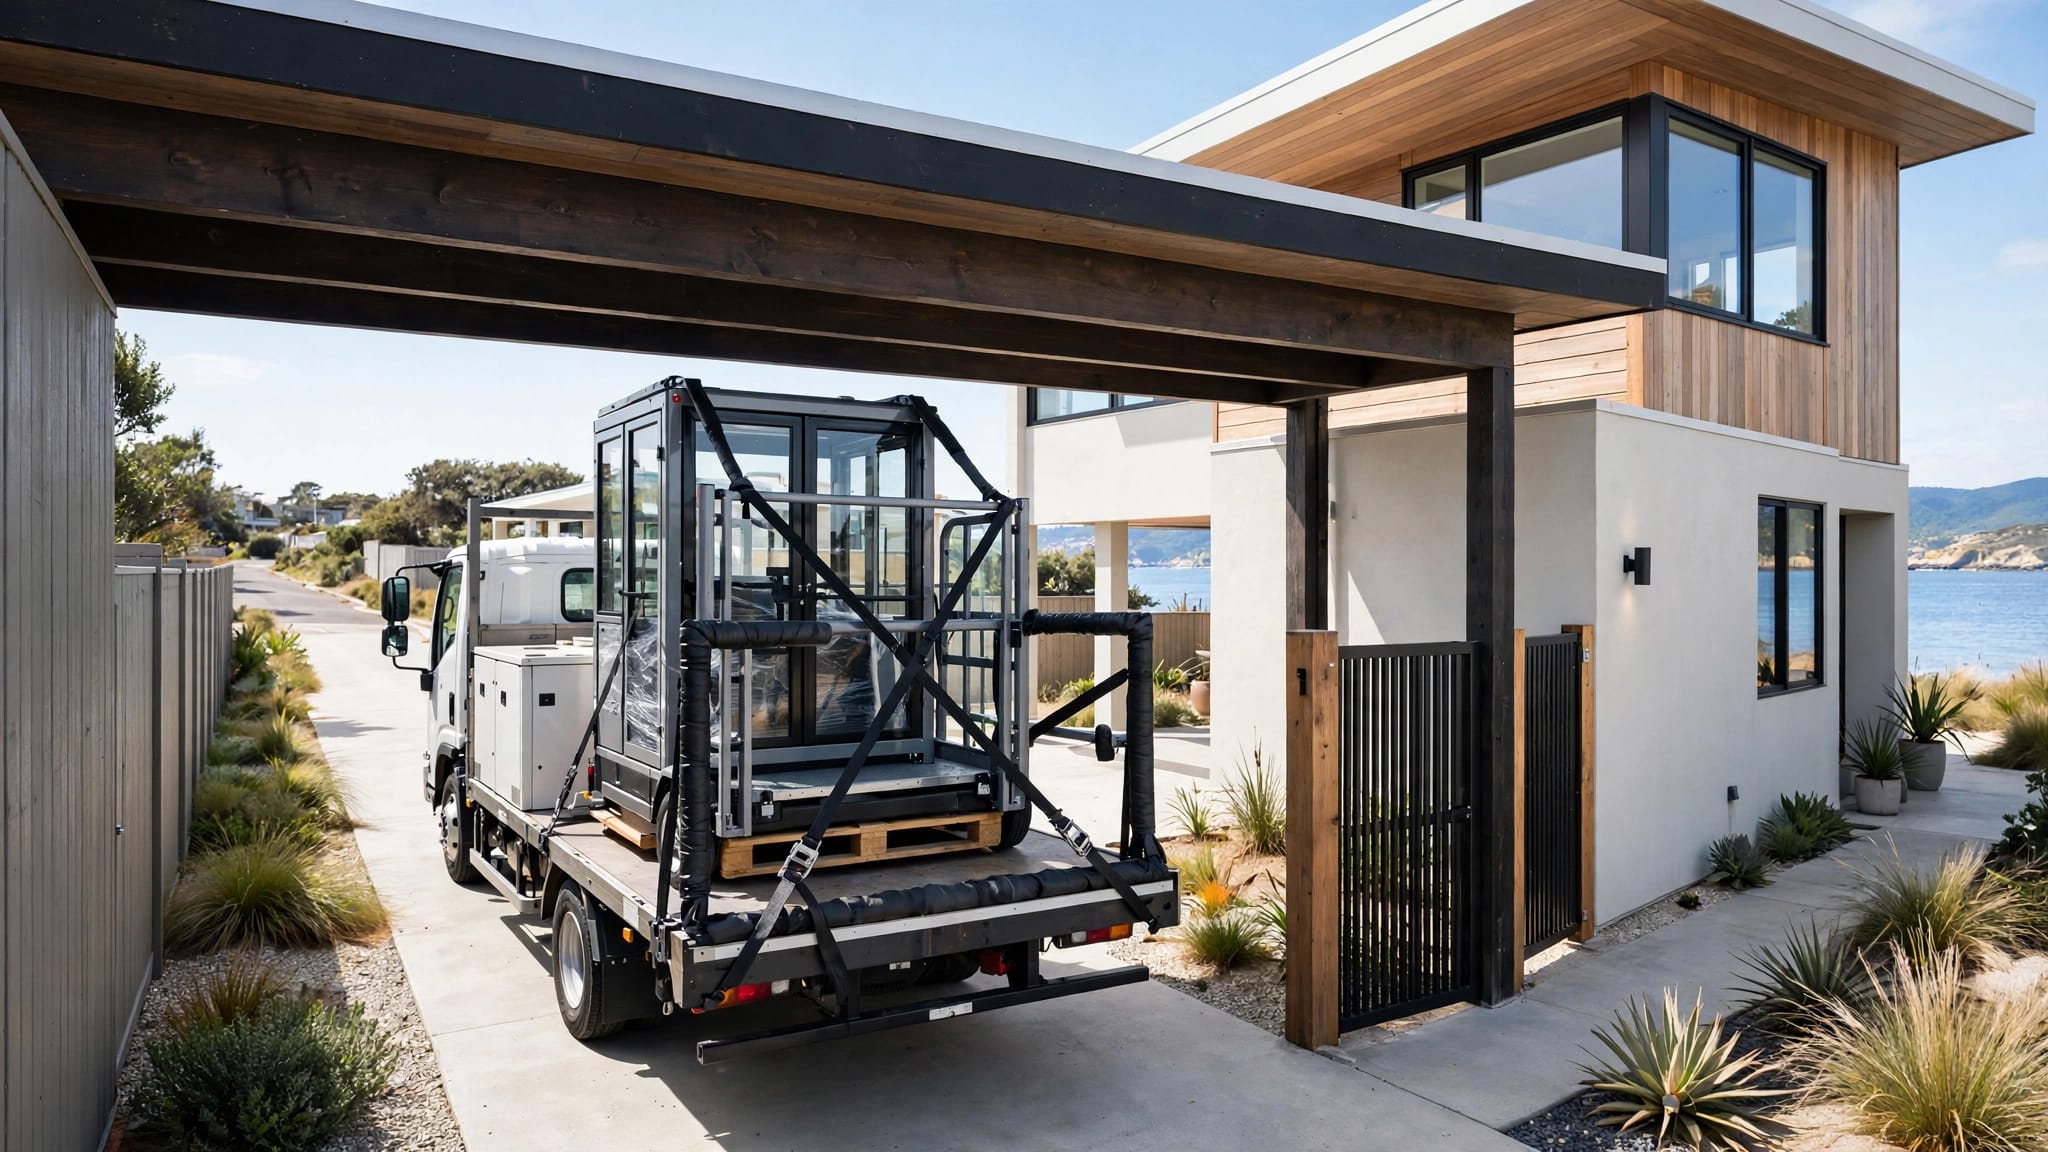
For an existing elevated home, exterior lift planning before construction can help clarify equipment needs before the layout becomes fixed.
The elevator entrance needs usable space on both sides of the trip. A perfect platform cannot fix a difficult approach or an upper landing that ends at a narrow doorway.
Plan the Route to an Accessible Outdoor Elevator
Slope is often the first design constraint. A gently sloped walk feels ordinary underfoot, while a steep incline can become hard to use during rain or when pushing a mobility device.
Keep walkways level whenever the site allows
Accessibility guidance treats a walking surface with a running slope greater than 1:20 as a ramp. That threshold gives designers a helpful starting point when grading a residential path.
Cross slope matters, too. A surface tilted too far sideways can pull a wheelchair or cart off course. Current accessibility guidance commonly uses a 1:48 maximum cross slope for accessible walking surfaces and ramps.
A level route is easier to maintain, safer in wet weather, and more comfortable for every visitor. On a sloped lot, it may require longer routing, retaining work, or a different elevator location.
Size ramps and landings for actual movement
Where a ramp is necessary, ADA-style guidance uses a 1:12 maximum running slope. Florida accessibility materials also limit a new-construction ramp run to 30 inches of rise before a landing is needed.
Landings at the top and bottom of each ramp run provide rest space and a stable place to turn. When a ramp changes direction, guidance commonly calls for a 60-by-60-inch clear landing.
Those figures are useful benchmarks, not a substitute for project review. Local codes, zoning rules, the selected elevator, and site conditions may call for different dimensions. An architect, contractor, accessibility consultant, manufacturer, or building official should confirm the final design.
Create a Safe Approach and Elevator Entry
The landing in front of the elevator is an active working area. A user may wait there, turn around, operate a call button, open a gate, or move from a wheelchair to the cab threshold.
Protect clear space at gates and doors
Measure the full approach, not only the elevator opening. Gate swing, door swing, wall corners, railing posts, and call stations can all affect turning room.
Keep controls within reach for the intended user. A gate should not force someone to balance on a slope or reverse down a ramp. Where carts or caregivers are part of daily use, allow room for them without blocking the route.
Make transitions smooth underfoot
The path, landing, and elevator threshold should meet with minimal abrupt changes in level. Rough seams, raised drain covers, and loose pavers can catch small front casters and create trip points.
Choose a firm, slip-resistant surface that holds up to wet shoes, wheels, and cleaning. Textured concrete, properly selected composite decking, and exterior-rated pavers can work when installed over a stable base.
Design for Rain, Salt Air, and Seasonal Weather
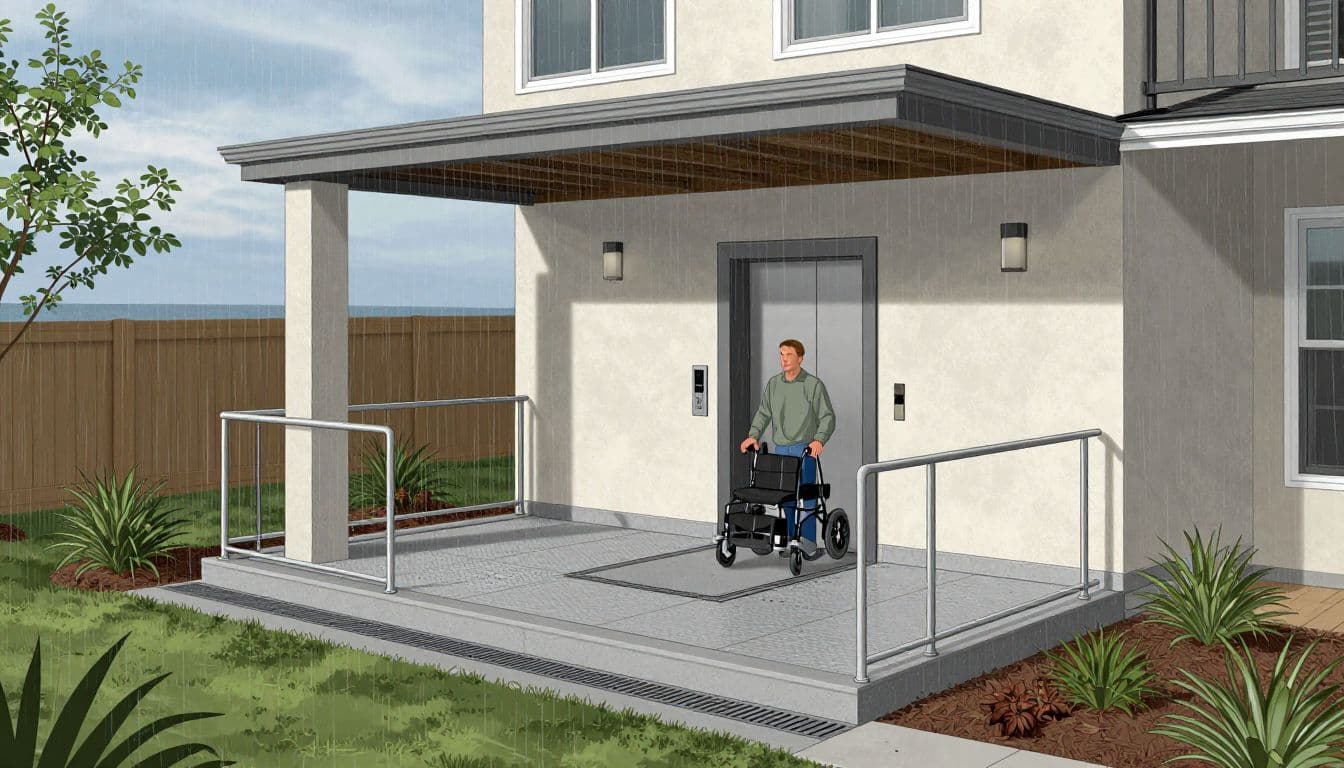
Outdoor access needs to work after a hard rain, not only on a dry installation day. Water that collects at the elevator landing can make the surface slick and may direct moisture toward equipment.
Send water away from the elevator
Grade surrounding surfaces so water moves away from the lift foundation, entry landing, and house. Downspouts should discharge where they cannot flood the route or wash out a ramp edge.
Landings need enough slope to drain without becoming uncomfortable to cross. Accessibility guidance also calls for wet-condition landings to prevent water accumulation. Coordinate finished grades, drain locations, footings, utility lines, and gate clearances before construction starts.
Detailed outdoor elevator drainage planning is especially helpful when a new path changes how water crosses an existing yard.
Specify durable exterior materials
Coastal homes face salt air, humidity, wind-driven rain, and intense sun. Select corrosion-resistant hardware, exterior-rated handrails, durable fasteners, and finishes that match the lift manufacturer's recommendations.
Avoid glossy flooring near the entry. Moss, algae, and leaf debris can also make textured surfaces slippery, so plan for cleaning access. Covered landings can reduce direct rain exposure, but they still need drainage and lighting.
Add Lighting, Power, and Emergency Planning
People use home elevators at dusk, during storms, and while carrying items. Low-glare lighting along the path, at turns, and around the elevator controls helps users see surface changes and gate hardware.
Place fixtures where they illuminate the walking surface without shining into a driver's eyes or bedroom windows. Motion sensors can help, although a manual control or reliable always-on path lighting may suit some homes better.
Discuss outage procedures with the elevator manufacturer and installer. Depending on the model and local requirements, the project may need an emergency phone, alarm, battery lowering, backup power, or another recovery method. Backup equipment does not replace a safe route, but it can reduce risk during an interruption.
Keep emergency access in mind as well. Gates, landscaping, and storage should never obstruct the elevator entrance or block a person from leaving the landing.
Coordinate Permits, Codes, and Site Reviews Early
Private homes do not always follow the same accessibility rules as public buildings. Still, ADA and ICC accessibility guidance offers useful geometry for designing a route that works well for more people.
Local building codes, accessibility standards, zoning, permits, flood conditions, structural requirements, elevator specifications, and manufacturer instructions determine what applies to a particular property. Coastal areas may also have local rules affecting setbacks, drainage, wind exposure, and construction details.
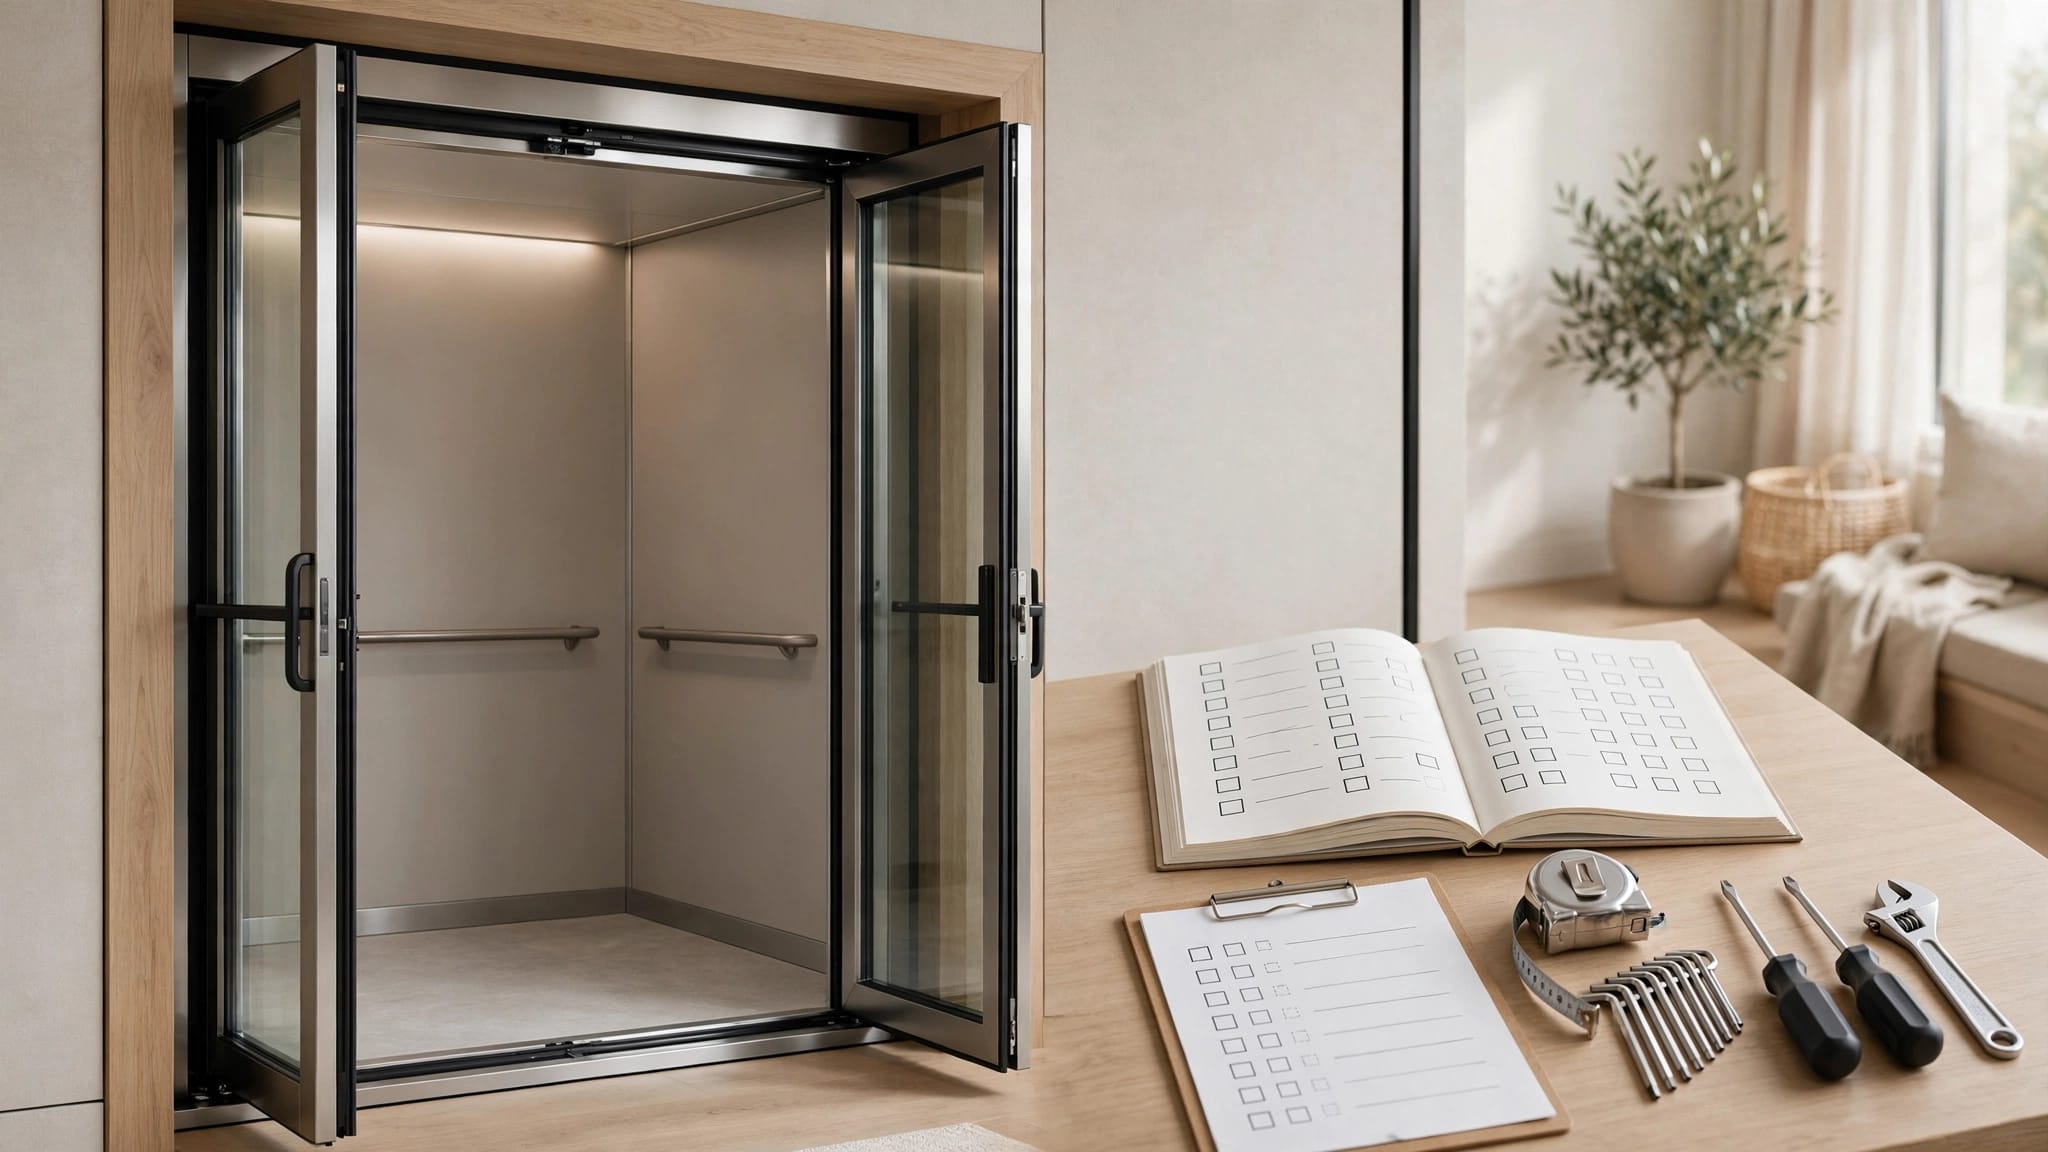
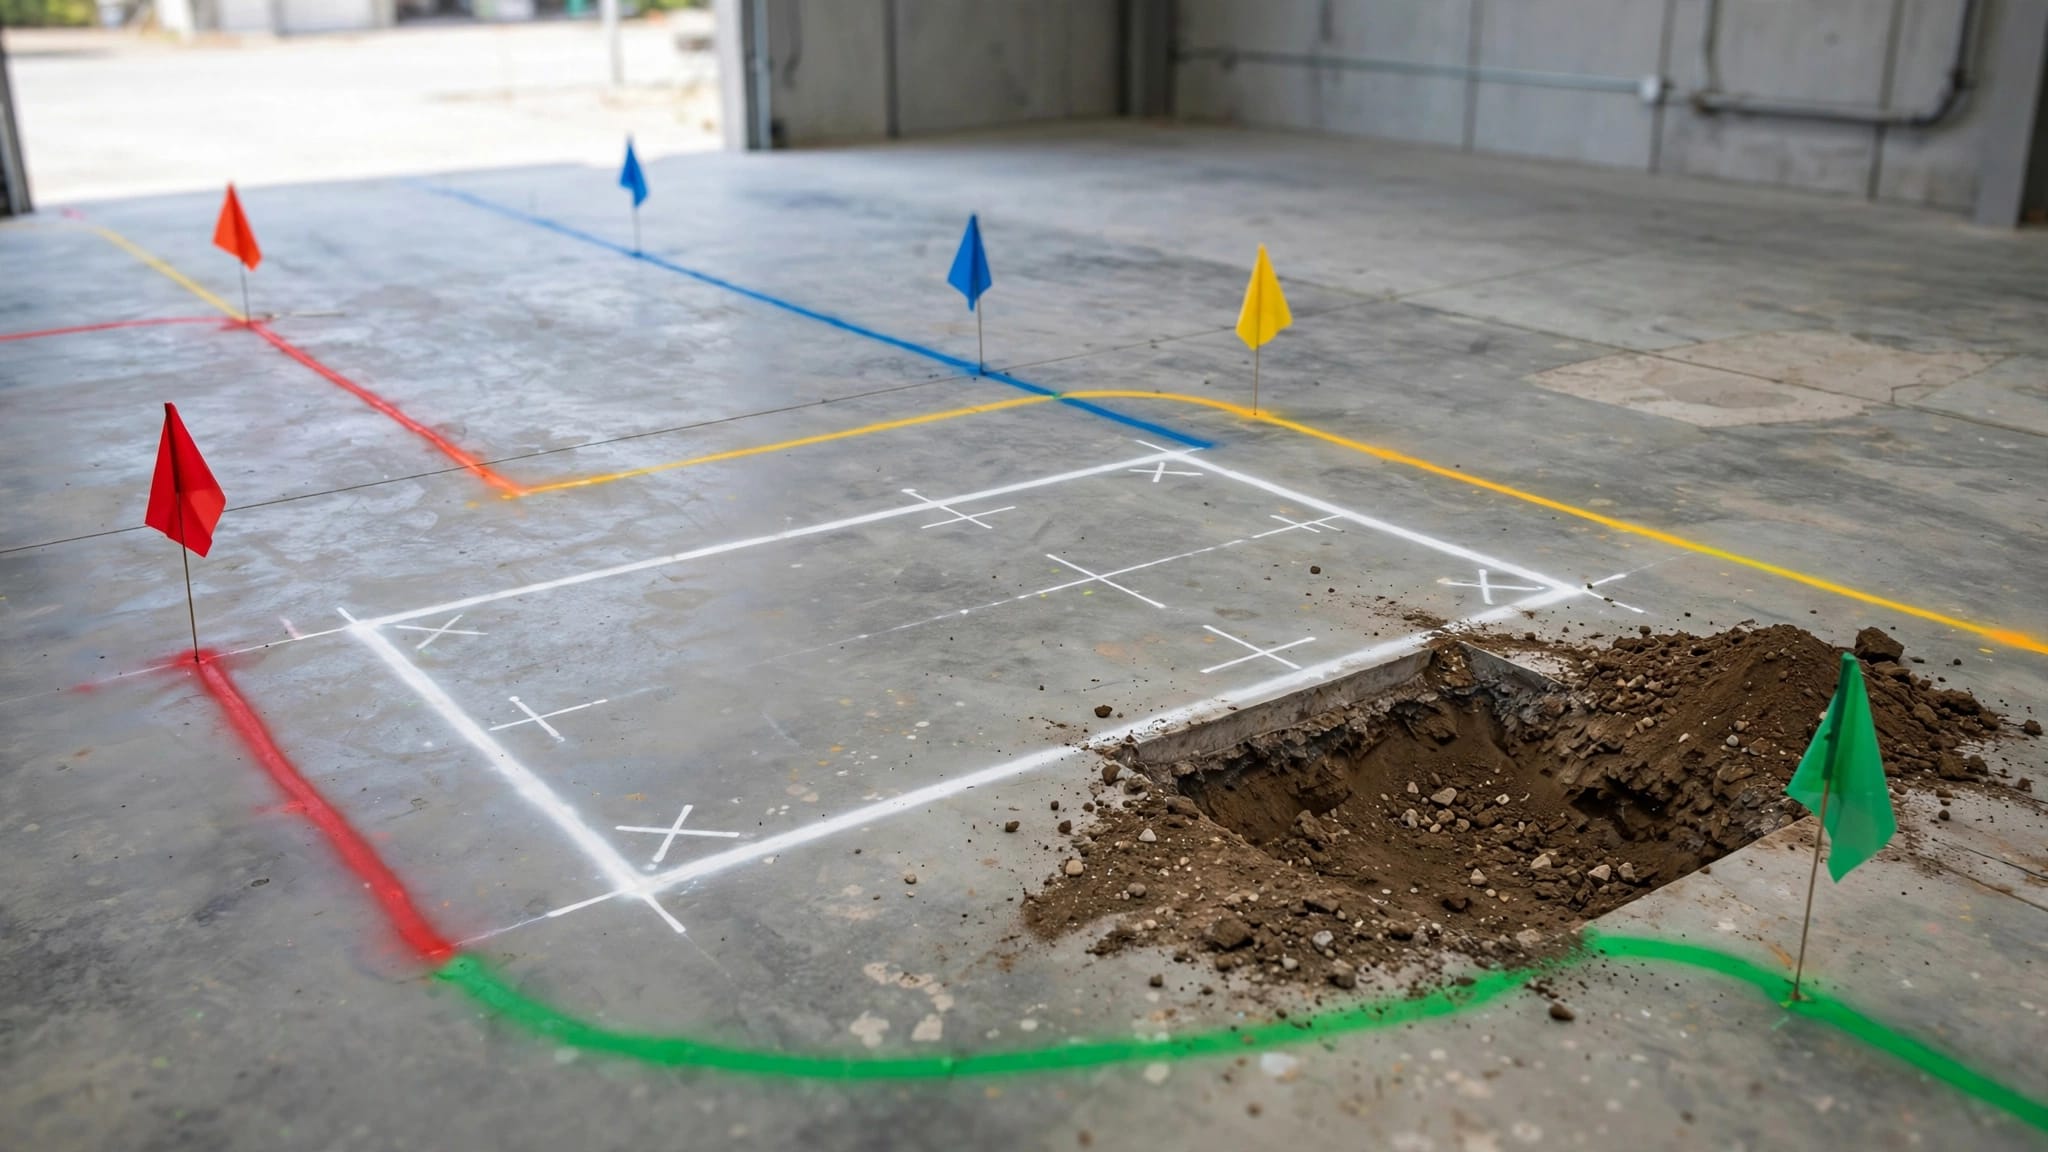
A site survey should record grades, landing depths, approach direction, gate swings, utility locations, and turning space. Share those measurements with the elevator manufacturer before ordering equipment. This early coordination can prevent a mismatch between the platform, tower, route, and upper entry door.
Key Takeaways for a Better Outdoor Route
- Plan the full trip from parking or grade level to the elevator and the home's upper entry.
- Keep the path continuous, level where possible, slip-resistant, well-lit, and free of obstacles.
- Treat slopes over 1:20 as ramp conditions, then review ramp geometry and landing needs with the project team.
- Provide usable turning and waiting space at every elevator entrance, especially where gates or doors swing.
- Direct runoff away from ramps, landings, foundations, and equipment.
- Match the lift to its intended use. Cargo lifts move materials, while passenger elevators and VPLs are designed for people under their applicable standards.
- Confirm the final layout with qualified local professionals and the equipment manufacturer before permits and construction.
A Route That Works When You Need It
A well-planned accessible outdoor elevator route is more than a path to a platform. It gives people a stable, comfortable way to reach their home in rain, darkness, and daily routines.
When the route, landing, drainage, and elevator are designed together, the finished access feels practical rather than improvised.
Frequently Asked Questions
Does an outdoor home elevator need a ramp?
Not always. If the route from grade to the elevator entry is already level enough, a firm accessible walking surface may be all that is needed. Once slope increases beyond a walking-surface threshold, ramp design rules may apply. Your designer and building official can confirm what applies at the property.
Can a cargo lift be used to carry people?
Only if the manufacturer has designed, rated, and approved that equipment for passenger use. A cargo lift intended for materials should carry groceries, furniture, tools, and other loads, not people. Choose passenger-compliant equipment or a VPL when personal accessibility is the goal.
How much space is needed in front of an elevator?
The answer depends on the lift type, gate configuration, user needs, and local requirements. Plan enough room to approach, stop, turn, operate controls, and pass through the opening without backing onto a slope or step.
What is the biggest outdoor route maintenance issue?
Standing water is often the first problem. Check drains, downspouts, ramp edges, textured surfaces, and landscaping after heavy rain. Removing algae, leaves, sand, and debris helps preserve traction and keeps the route usable.
Recent Posts