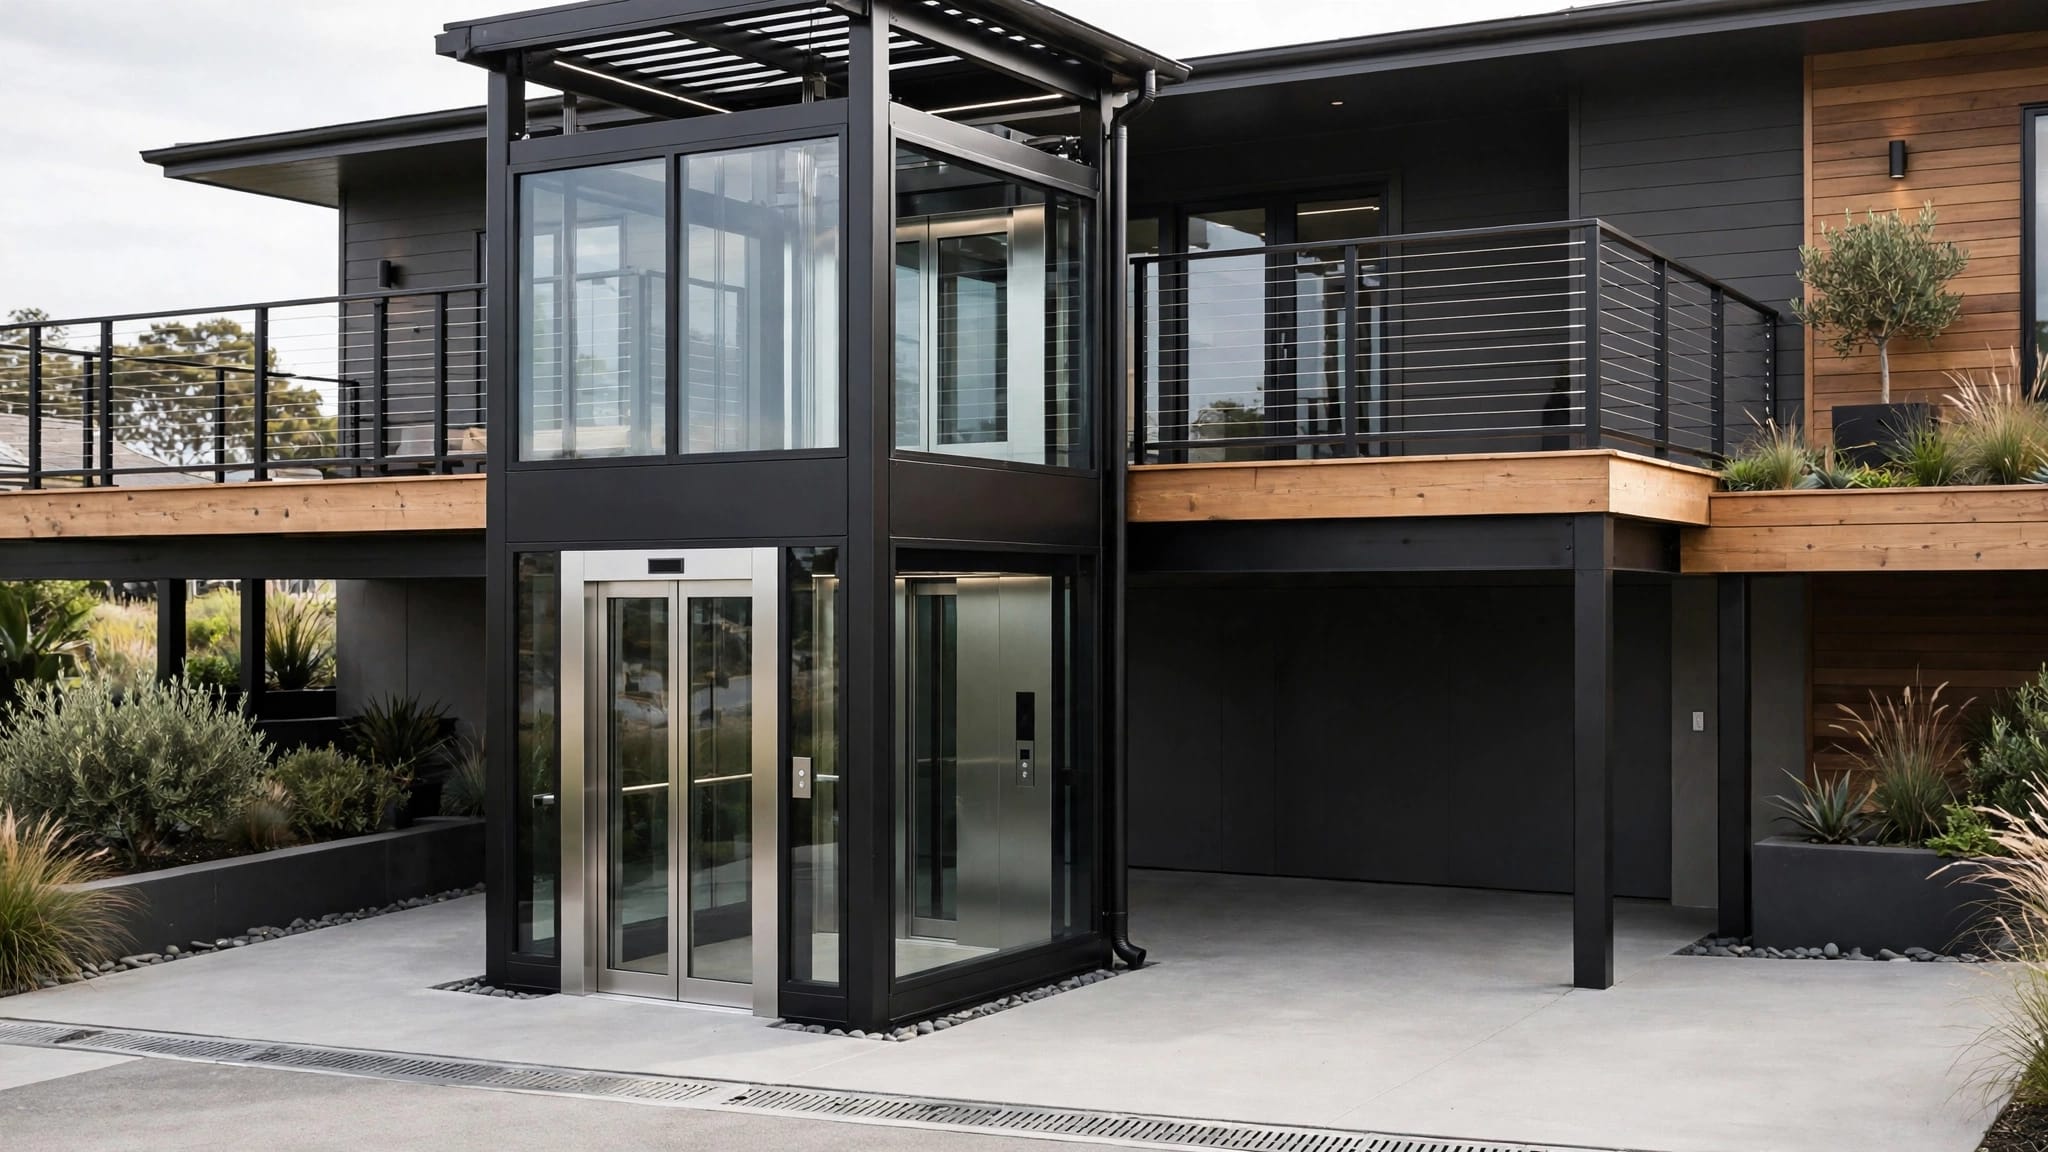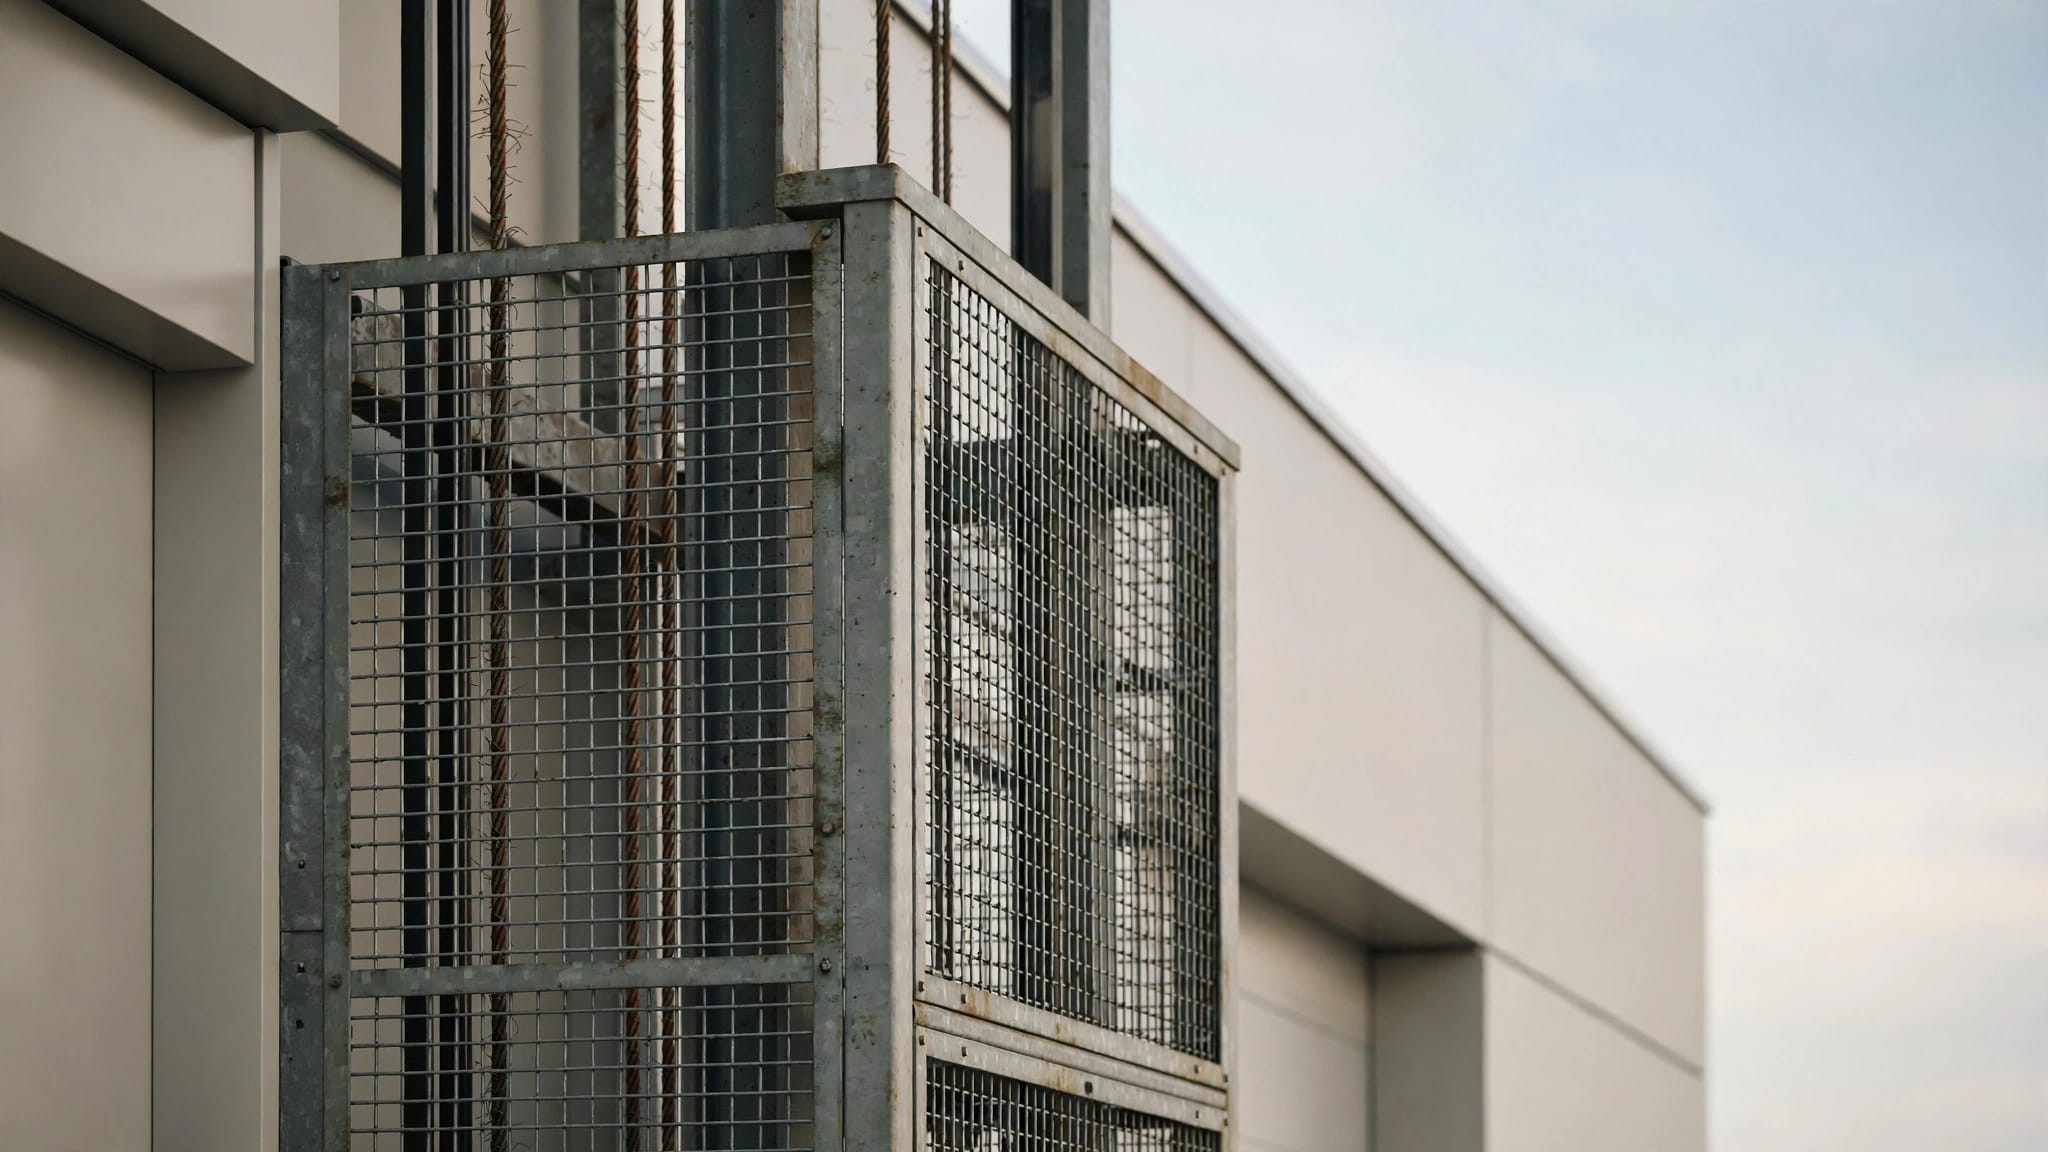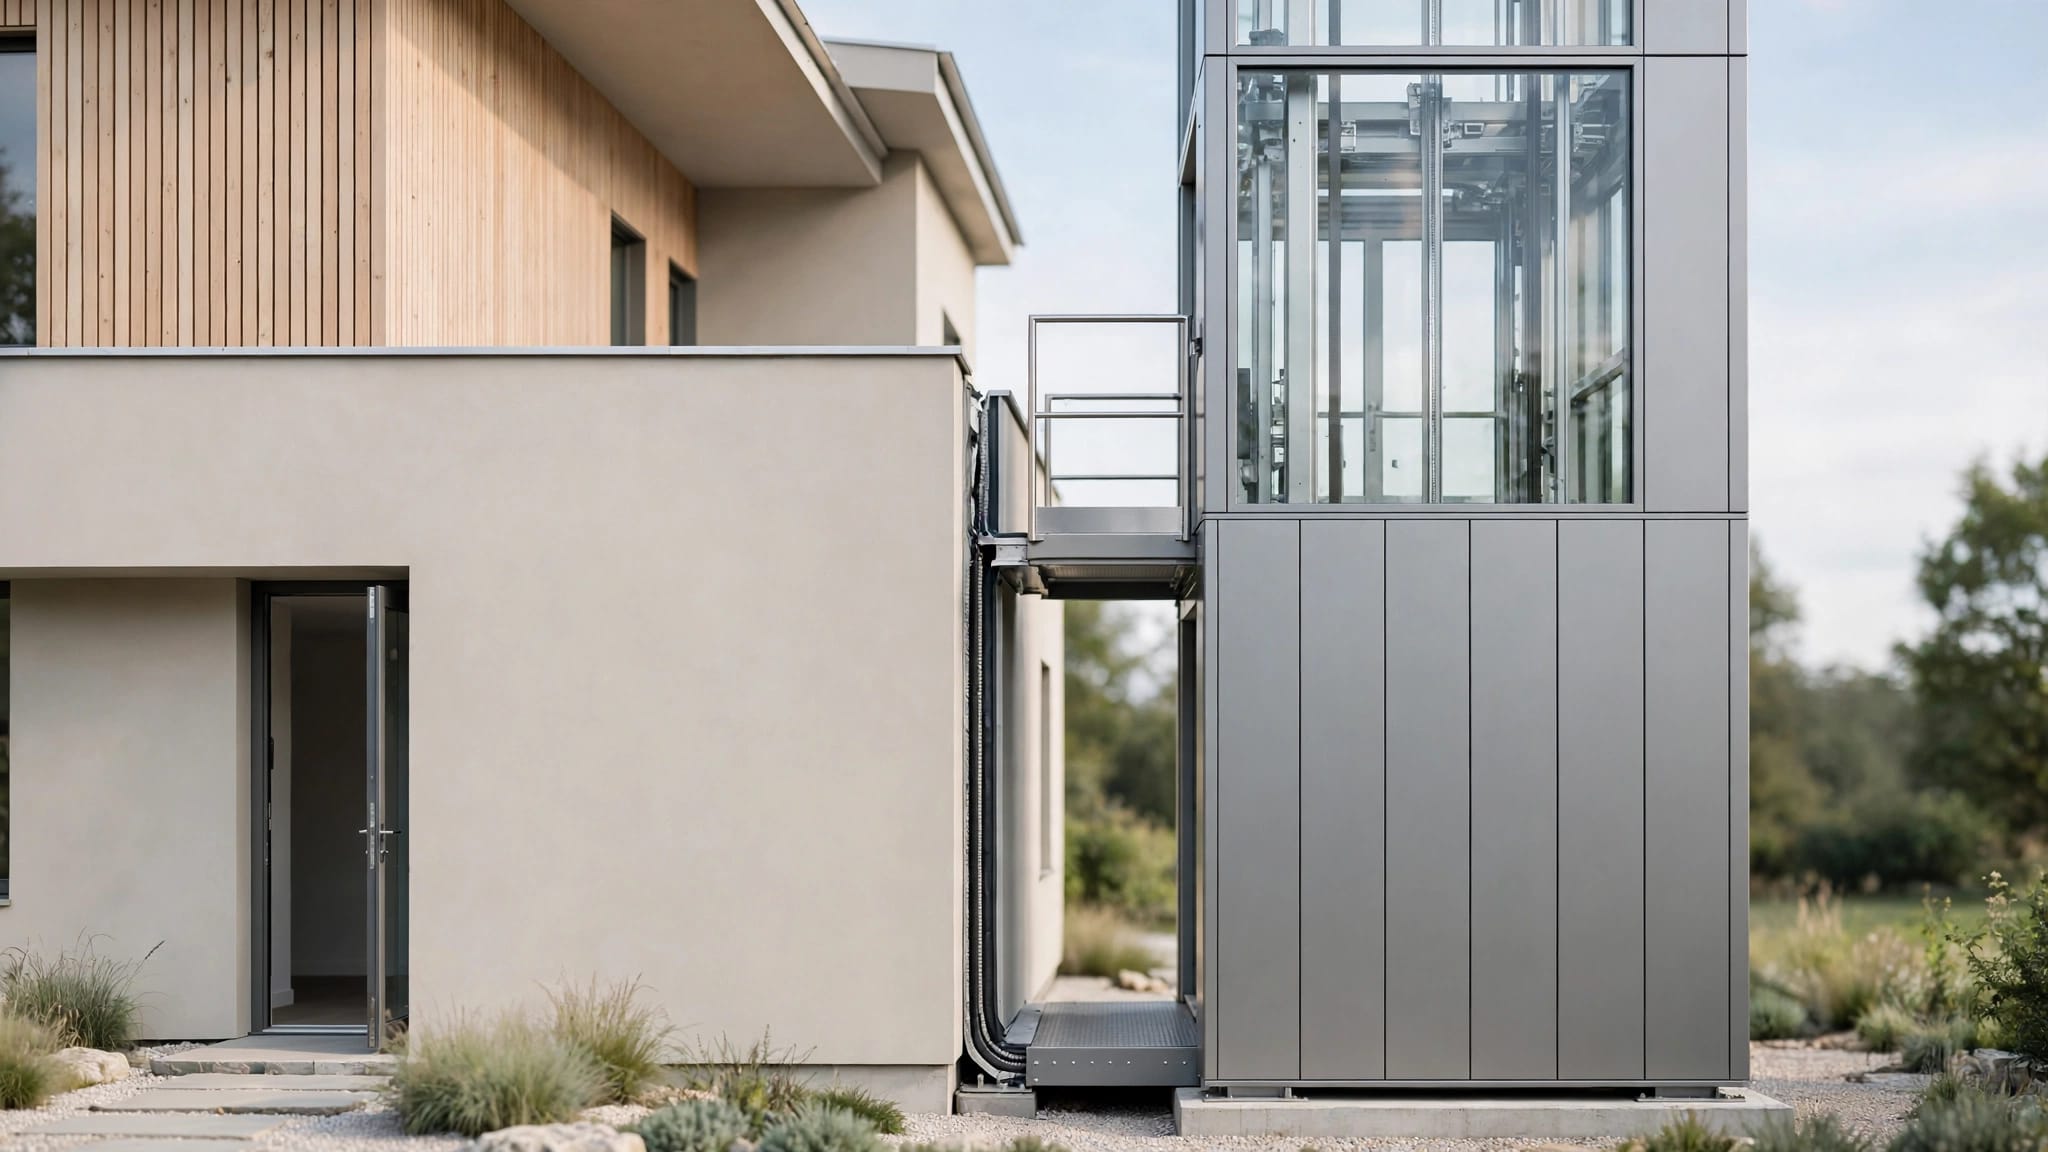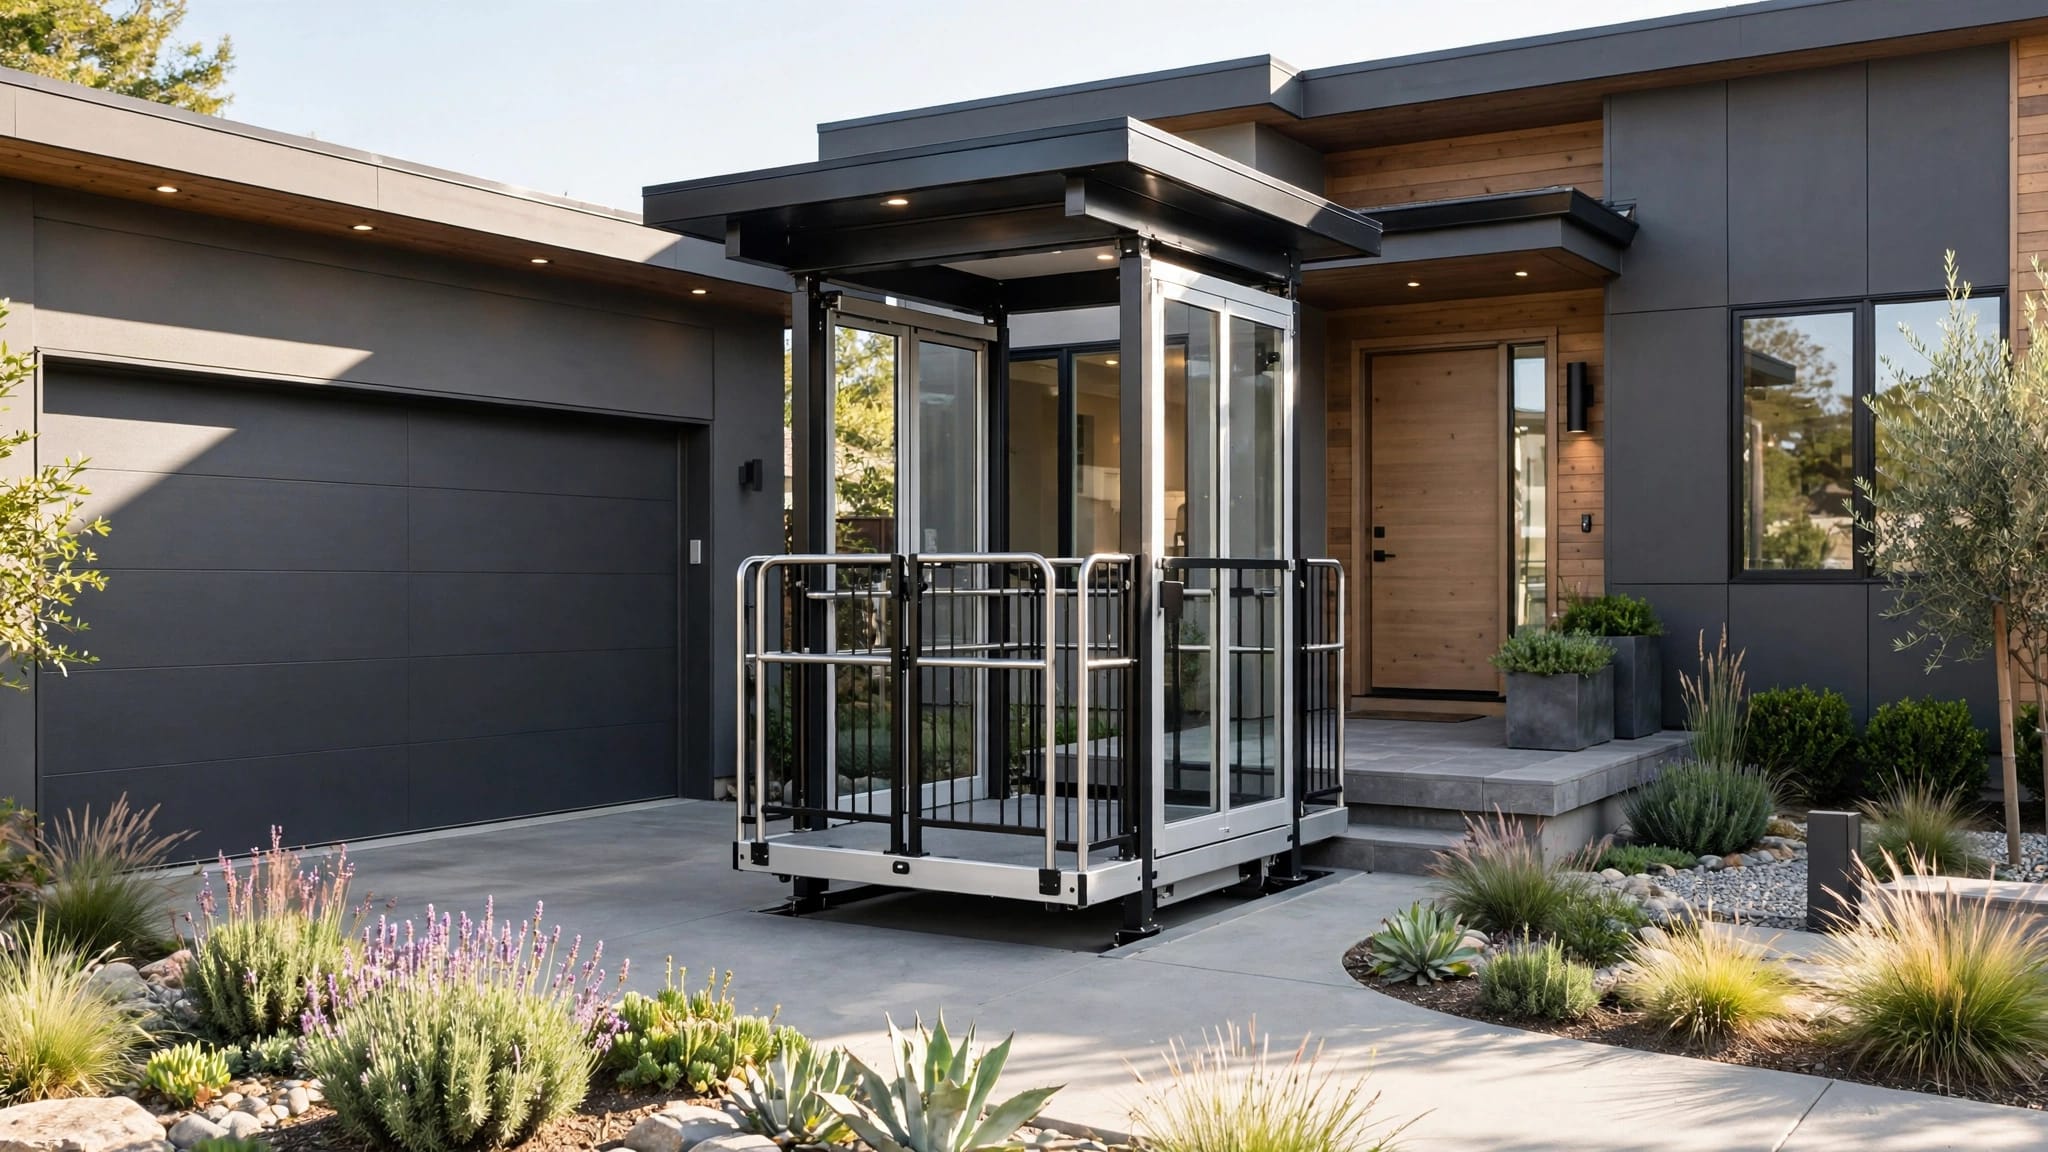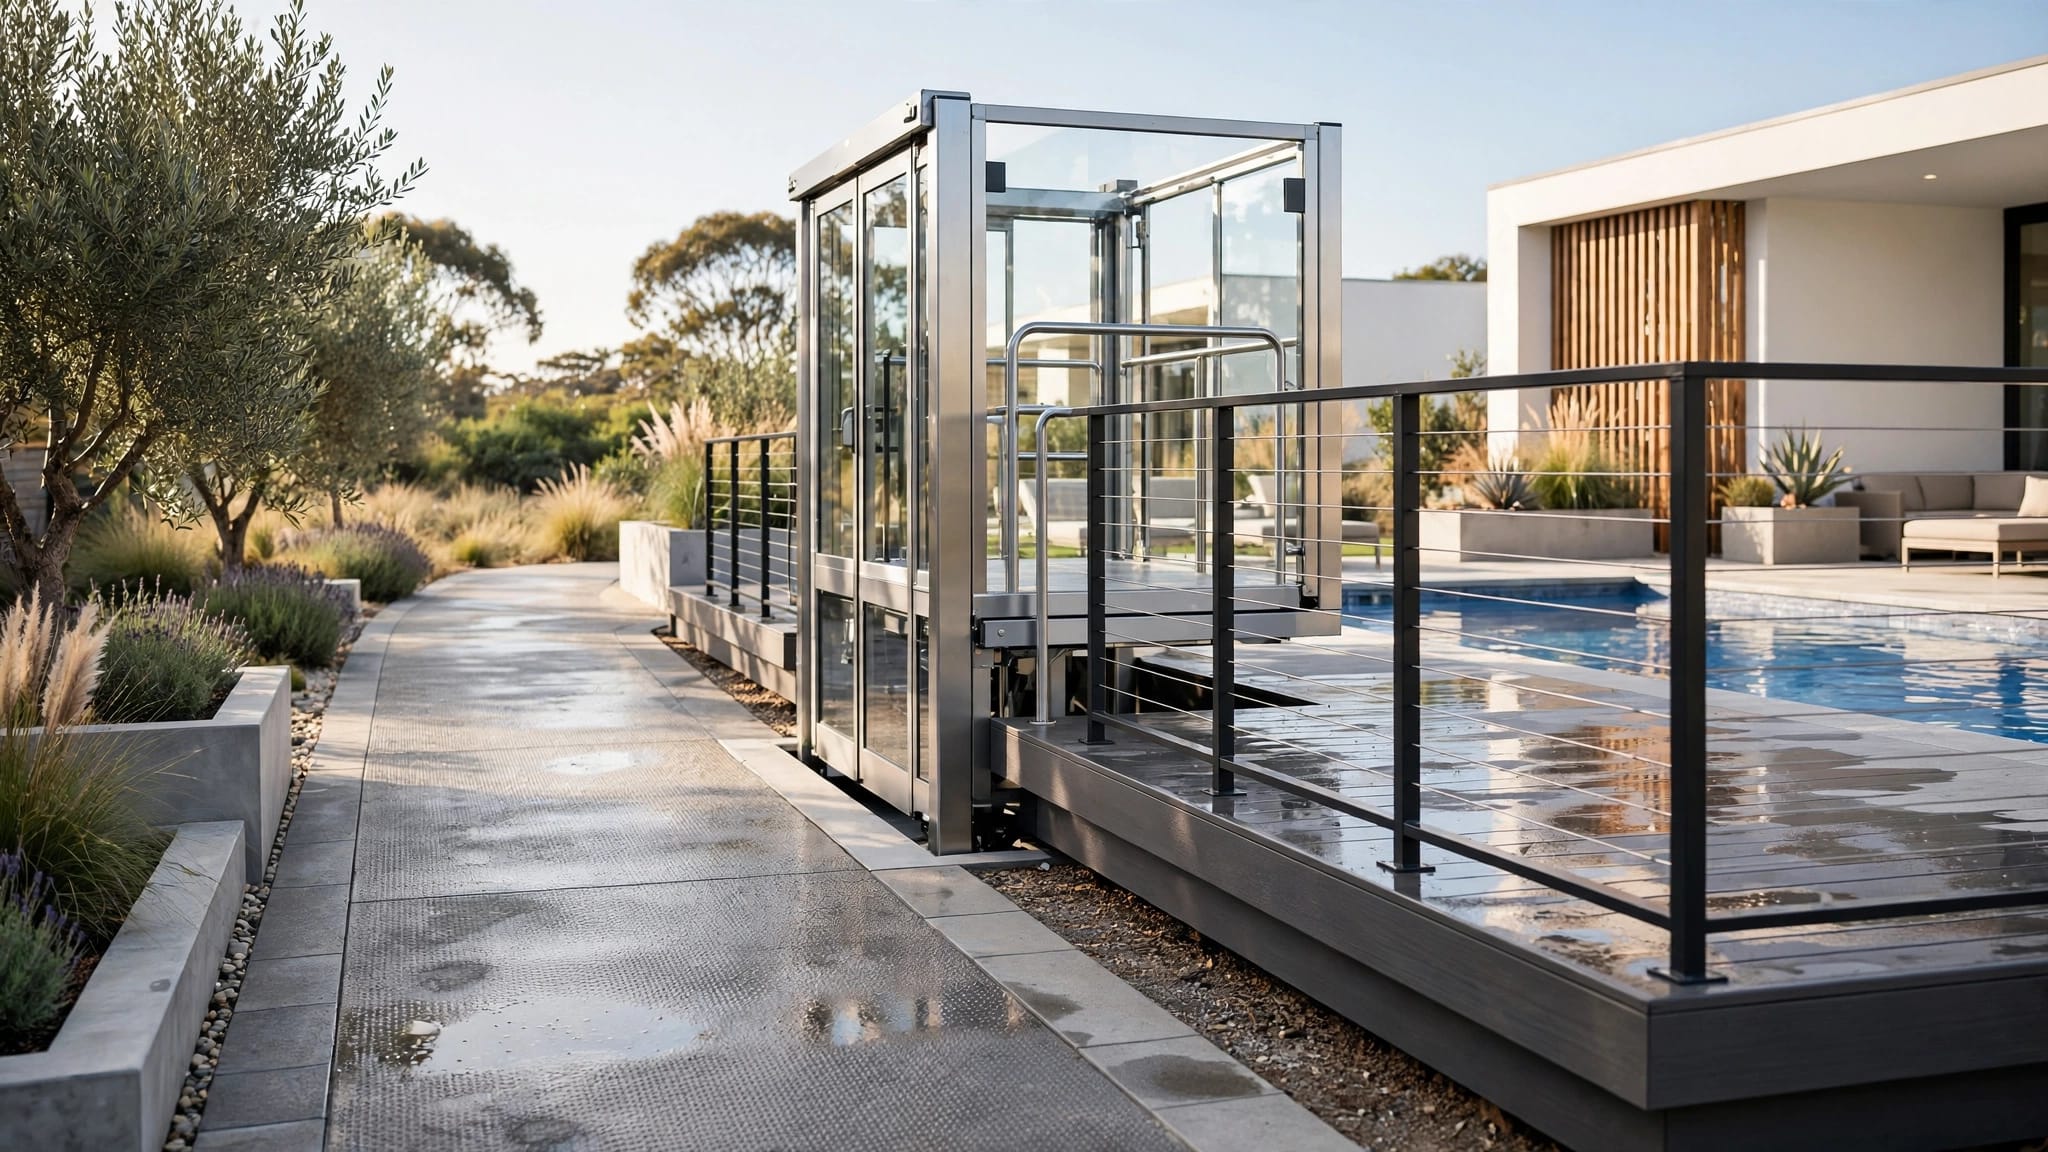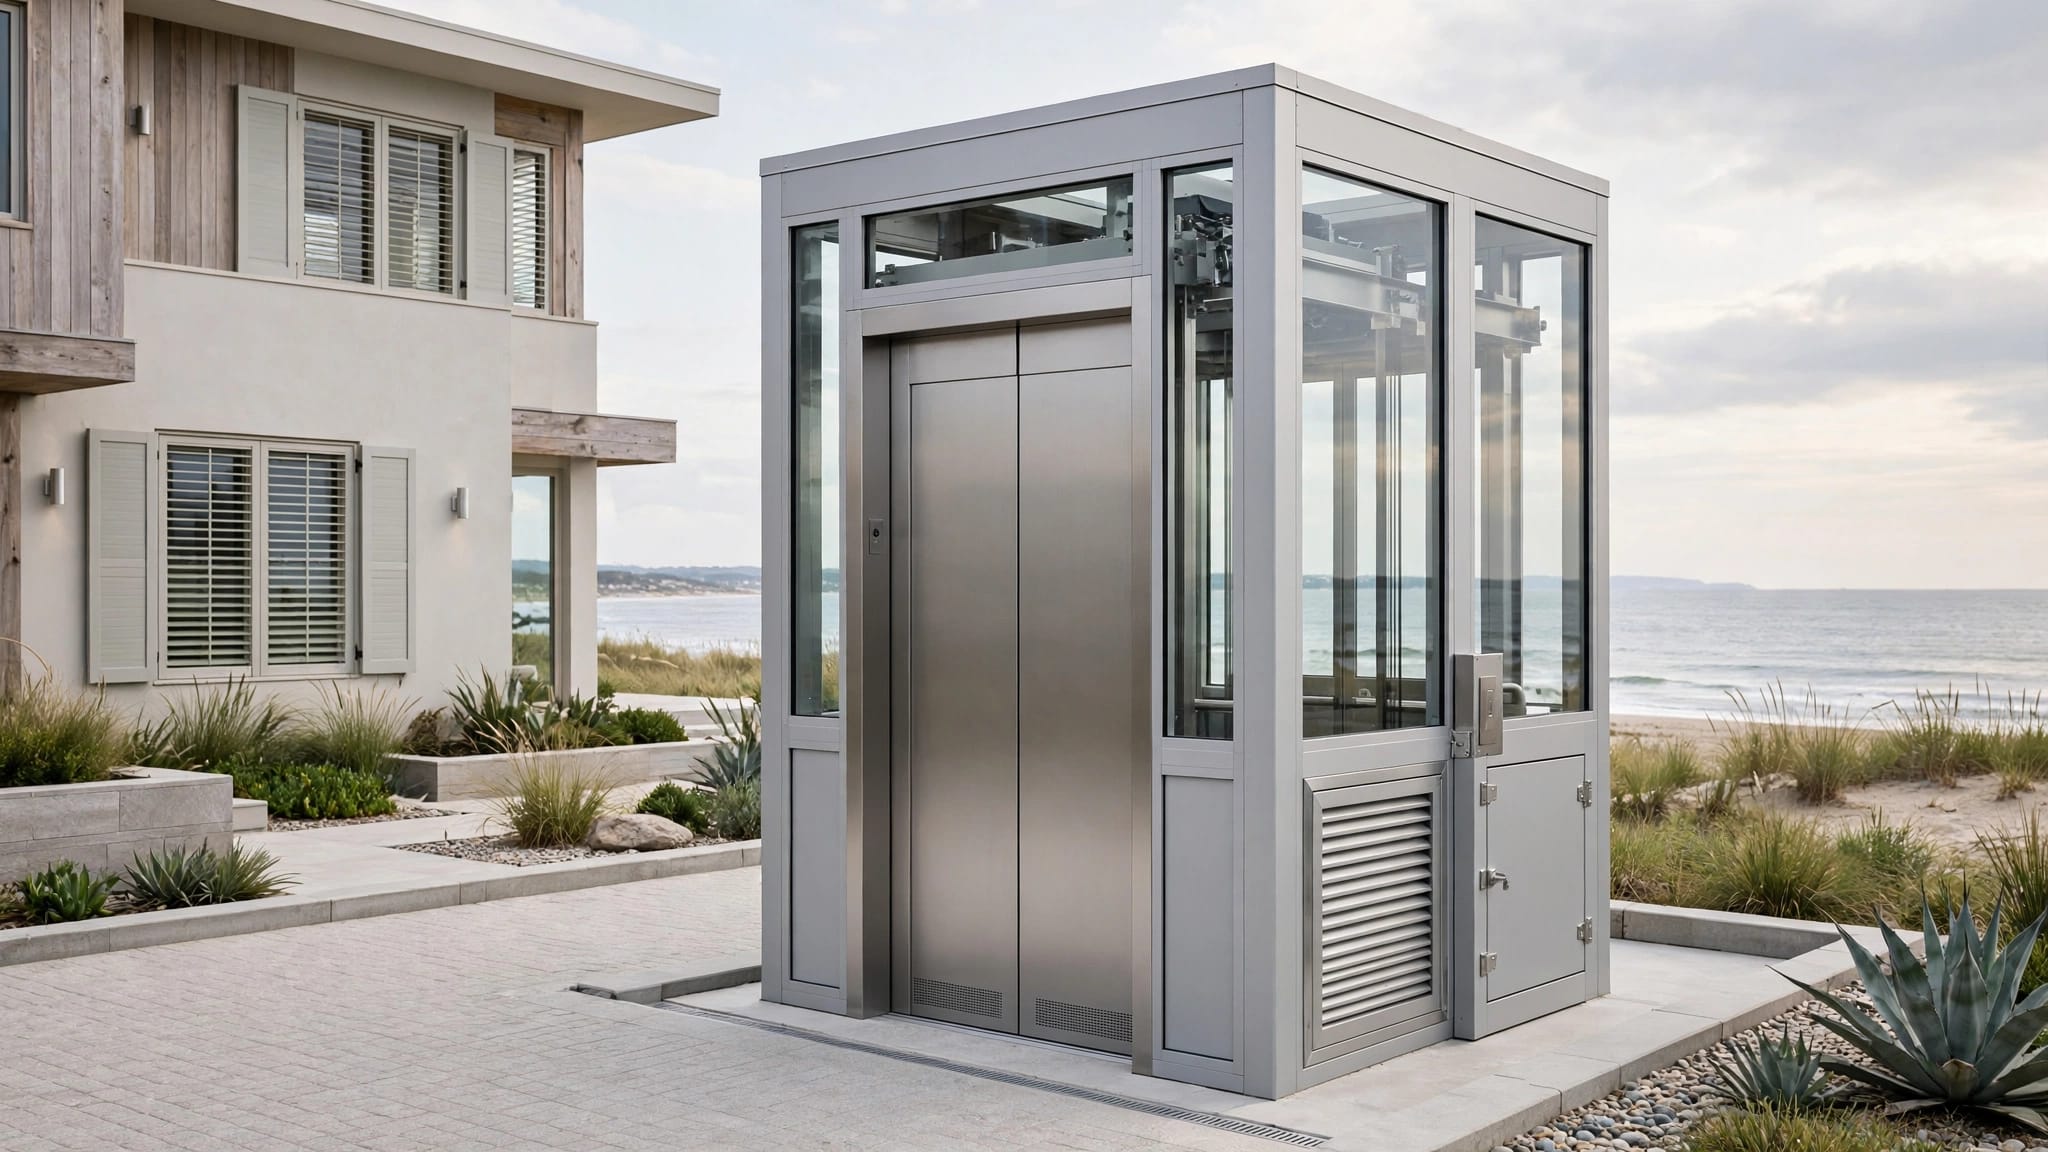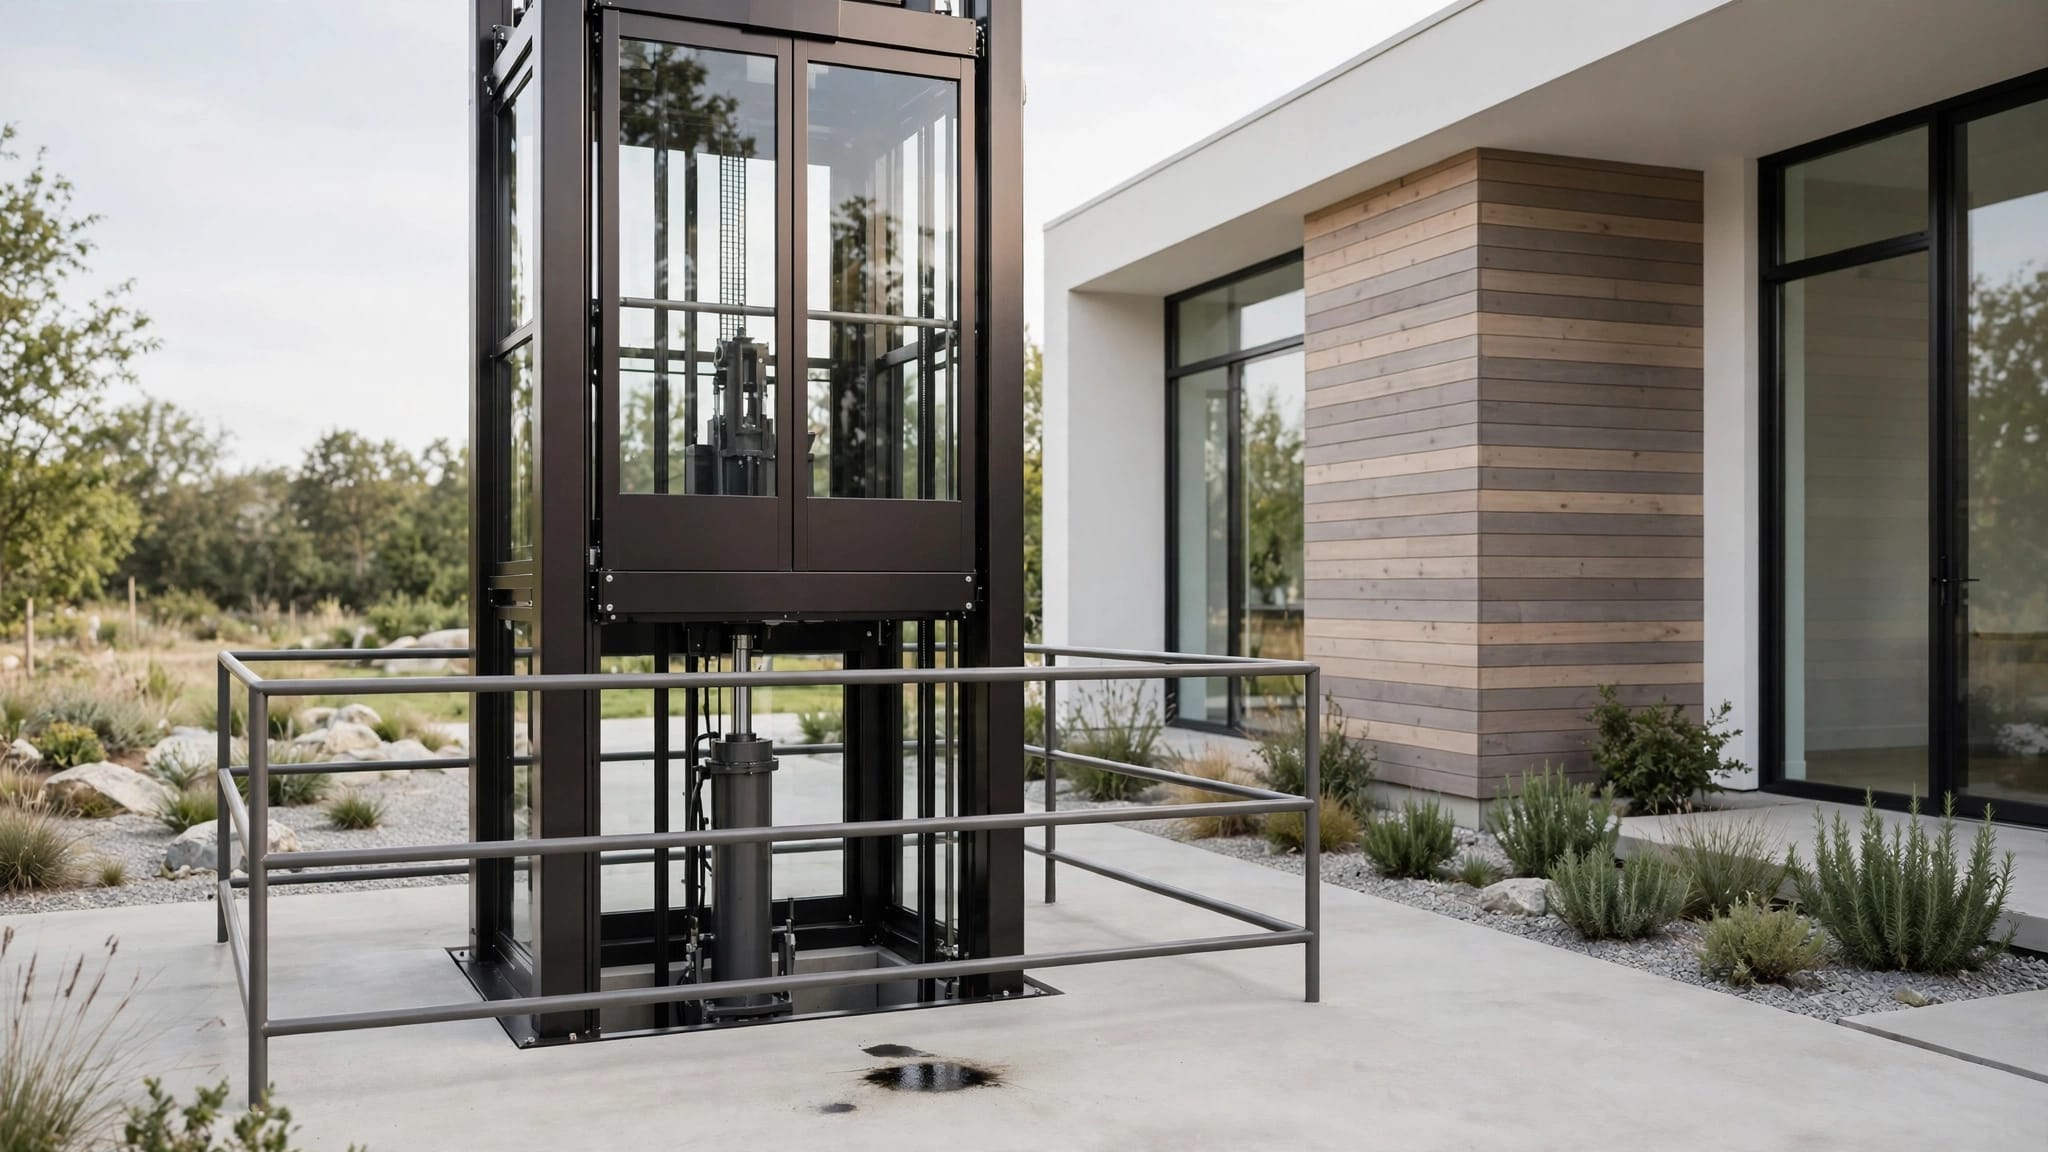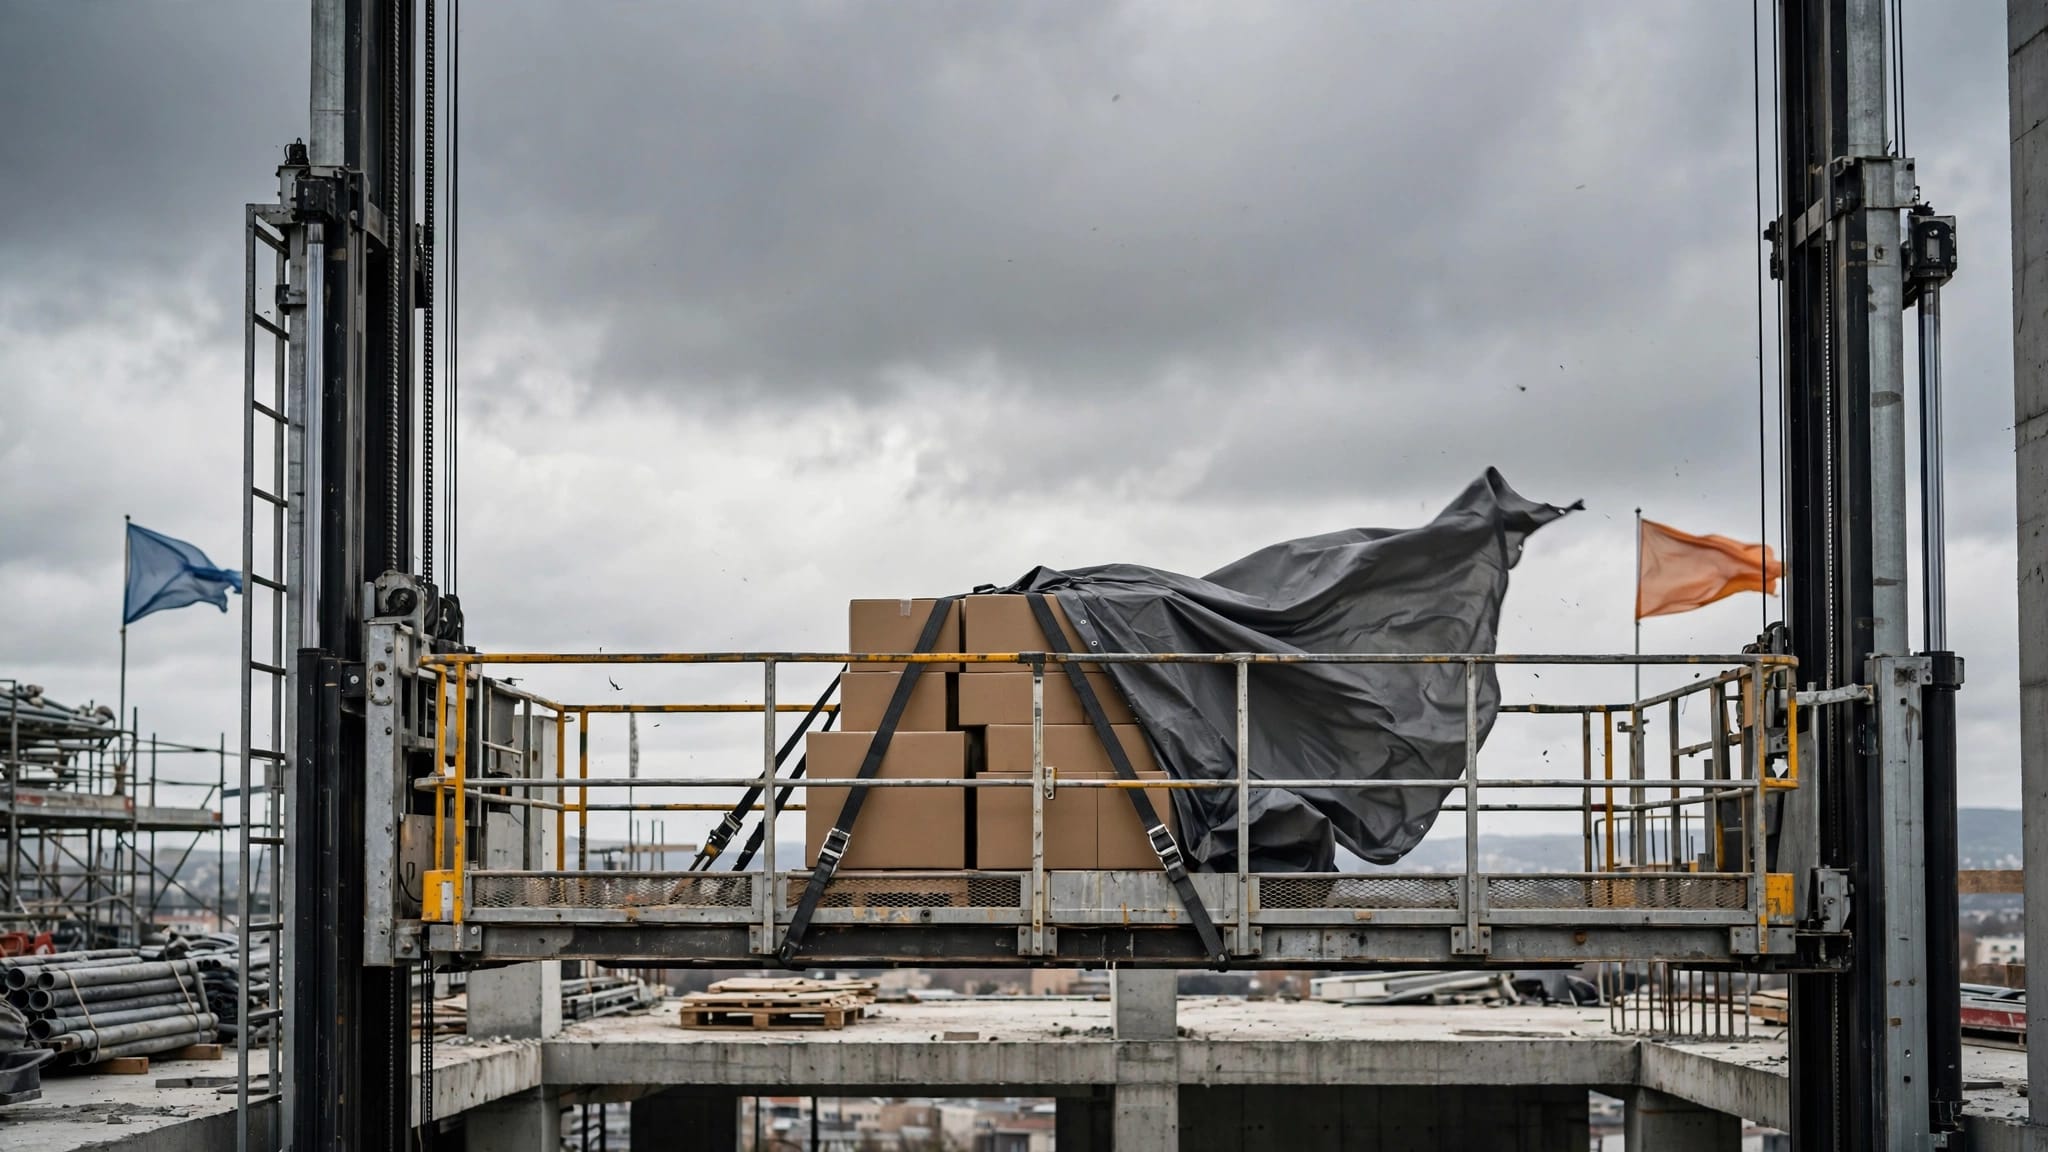

A lift can look finished while important safety details remain untested. An outdoor elevator checklist helps you inspect the installation, watch every demonstration, collect the right documents, and identify problems before accepting the property.
Your handover should cover the lift's approved use, outdoor protection, controls, emergency systems, load rating, and future service. Use this guide with a licensed inspection, the manufacturer's instructions, and local safety requirements.
Build an outdoor elevator checklist around the lift type
Start by identifying exactly what you have. A cargo lift, private residence elevator, passenger-compliant outdoor elevator, and vertical platform lift can look similar, but they don't have the same approved uses or safety requirements.
Confirm the equipment classification
Ask the installer to show the model number, serial number, data plate, and classification in the project documents. The U.S. Access Board identifies ASME A18.1 for vertical and inclined platform lifts and stairway chairlifts. Elevators generally follow the ASME A17.1/CSA B44 safety code family. Your installer should confirm the exact code path and applicable local requirements for your property.
- Confirm whether the unit is a cargo lift, passenger elevator, private residence elevator, or vertical platform lift.
- Ask whether passengers may ride, and how many people the design permits.
- Confirm whether the lift is limited to one mobility-impaired person, a wheelchair user with an attendant, household passengers, or materials only.
- Match the installed model and configuration to the signed contract and approved drawings.
A cargo lift should never carry people unless the manufacturer designed and approved it for passenger use. For a closer comparison of intended uses, review this guide to the cargo lift vs. passenger elevator.
Check the rated load and operating limits
The capacity plate must be present, readable, and consistent with the paperwork. Ask how weight is calculated when a wheelchair, passenger, tools, furniture, or building materials share the platform.
- Find the rated load label and photograph it for your records.
- Ask whether the limit changes at different landings or with optional gates and enclosures.
- Confirm the maximum platform area, travel distance, speed, and number of riders where applicable.
- Ask what happens when the load limit is exceeded.
Never test capacity by adding extra weight. The installer should explain the limit using the manufacturer's published information.
Inspect the outdoor installation before use
Outdoor equipment faces rain, snow, wind, dust, intense sunlight, salt air, and temperature changes. These conditions affect controls, fasteners, wiring, gates, seals, rails, and drainage.
Look for weather protection and enclosure defects
Walk around the entire lift with the installer. Check the enclosure, shaft or runway, landing doors, platform, roof, control cabinets, and exposed hardware.
- Look for standing water, water marks, damp wiring, damaged seals, or rust around joints and fasteners.
- Confirm that moving parts are guarded or enclosed as the design requires.
- Check that doors, gates, panels, and covers close fully without gaps caused by unfinished work.
- Ask how the enclosure handles wind-driven rain, dust, snow, and freeze-thaw conditions.
- Ask which exposed components use corrosion-resistant materials or protective coatings.
Salt air can damage electrical connections and metal parts even when the lift still runs. Review this explanation of salt-air damage to outdoor elevators, then ask which cleaning and inspection methods suit your location.
Verify drainage, access, and storm conditions
Water must move away from the lift, landings, controls, and structural connections. A clean platform doesn't prove that water is draining correctly below it.
- Check the lowest landing, pit, slab, and nearby ground for standing water.
- Confirm that drains, grates, and discharge paths are open and protected from debris.
- Make sure the approach to every landing is stable, clear, and free from trip hazards.
- Ask for the manufacturer's wind operating limits and storm shutdown procedure.
- Ask whether the platform should be parked at a particular landing during severe weather.
Don't modify drainage, covers, vents, or enclosure panels without written direction from the manufacturer or installer.
Watch a complete normal operating demonstration
The installer should operate the unit while you stand at each landing. Pay attention to movement, leveling, controls, sounds, and the way each door or gate behaves.
Test every landing and control
A proper demonstration includes a full trip in both directions, not only one short movement near the main floor.
- Run the lift from every landing using each normal control station.
- Confirm that the car or platform stops level with each landing.
- Test call buttons, directional controls, key switches, lights, and access controls.
- Check that the lift starts, stops, and restarts without unexplained error codes.
- Ask what sounds, vibration, or movement require you to stop using the equipment.
Keep people clear of the travel path during testing. Don't reach beneath the platform, place objects near moving parts, or attempt to adjust a control.
Test doors, gates, and interlocks
Interlocks prevent movement when a landing door or gate is open or unsecured. They are safety devices, not convenience features that the installer may bypass during handover.
- Open each landing door or gate and confirm the lift cannot run.
- Confirm each door or gate latches fully before movement begins.
- Check that the lift stops or remains locked when an access opening becomes unsecured.
- Ask whether any key, switch, or service override can bypass an interlock.
- Confirm that no temporary jumper, bypass, or disabled safety circuit remains in place.
Delay acceptance if a door can open during travel, a gate fails to latch, or anyone suggests leaving an interlock bypassed.
Require emergency and entrapment demonstrations
Power loss, equipment faults, and severe weather can stop an outdoor lift between landings. You need to know what the lift does, what you can safely do, and whom to call.
Practice emergency lowering and backup power
The installer should demonstrate the actual emergency-lowering process on the installed unit. A verbal description is not enough.
- Watch a controlled power-loss demonstration or approved emergency-operation test.
- Identify the manual lowering device, battery backup, hand pump, or other equipment used by this model.
- Confirm whether emergency lowering requires a key, tool, charged battery, or trained service person.
- Ask where the battery, disconnect, reset control, and emergency instructions are located.
- Confirm what the backup system does not power, such as normal travel, lighting, or communication.
Ask how the battery is tested, charged, replaced, and dated. Backup power can have a limited purpose, so don't assume it will operate the lift normally during an outage.
Test alarms and the entrapment procedure
Your handover should cover the alarm bell, emergency stop, emergency phone, two-way communication device, or other equipment included with the model.
- Test the alarm and confirm that the sound is audible where help would be available.
- Test the emergency communication device with the monitoring party or service provider.
- Ask what to do if a person is trapped between landings or inside the car.
- Confirm that occupants must not force doors, climb out, or bypass an interlock.
- Record the service number and local emergency contact procedure near the normal controls.
The installer should explain the difference between a normal stop, an emergency stop, and a power-failure condition. Keep instructions available in the home, and review the testing steps for outdoor elevator emergency phones and alarms.
Collect the complete handover file
A brochure doesn't provide enough information for safe ownership. Request model-specific documents that match the equipment installed at your home.
Ask for these documents
Use the outdoor elevator checklist while the installer gathers each item. Save digital copies, but keep printed emergency instructions in an accessible location.
- Owner's manual for the exact model and configuration.
- Installer manual, wiring diagram, and hydraulic or drive-system information.
- As-built drawings and the final equipment schedule.
- Manufacturer data plate details, serial number, and rated load.
- Emergency-lowering and power-loss instructions.
- Startup, commissioning, and final test records.
- Inspection or acceptance report from a qualified third party, where applicable.
- Permit, approval, or closeout records required for the project, where applicable.
The paperwork should identify the code family used for the equipment. ASME A18.1 covers platform lifts and stairway chairlifts, while ASME A17.1/CSA B44 applies to elevators. Ask the installer to explain any project-specific exception or alternate requirement in writing.
Record warranty and service details
Before signing, make sure you know who will support the lift after the builder leaves.
- Get the warranty period, exclusions, and claim procedure.
- Record the installer, manufacturer, service company, and emergency phone numbers.
- Ask whether storm damage, flooding, salt corrosion, or power surges affect warranty coverage.
- Confirm where replacement parts, keys, batteries, and special tools come from.
- Obtain a written maintenance schedule and the date of the first service visit.
Don't accept "the service department has your information" as a substitute for a contact name and phone number.
Set the maintenance routine before closing
Outdoor lift maintenance begins on the first day of ownership. The manufacturer sets the service requirements, and exposure, traffic, and lift type can change how often technicians need to inspect the equipment.
Learn what you can check safely
Homeowners can perform visual checks and basic cleaning only when the manual permits them. Never remove guards, enter restricted spaces, adjust controls, or work on electrical and mechanical systems yourself.
- Look for new rust, salt deposits, cracked seals, loose covers, damaged wiring, or water intrusion.
- Remove leaves, sand, and other debris from areas the owner manual identifies as safe to clean.
- Check that landings, gates, and the travel path remain clear.
- Listen for new scraping, grinding, unusual vibration, or repeated alarm sounds.
- Record the date and report problems before using the lift again if safety operation is uncertain.
Do not pressure-wash control cabinets or apply lubricant unless the manufacturer specifically permits it.
Schedule professional service and storm inspections
Ask the service provider to inspect the brake or stopping system, cables or chains, guides, gates, interlocks, controls, batteries, fasteners, drainage, and enclosure condition at the intervals in the manual.
Keep a copy of the outdoor lift maintenance checklist with your service records. After a hurricane, flood, tropical storm, lightning event, or extended outage, follow the manufacturer's shutdown instructions and arrange an inspection before use. These hurricane preparation steps for an outdoor home lift can also help your household prepare for severe weather.
Know when to delay sign-off
A working ride doesn't prove that the installation is ready for handover. Sign-off should wait until safety defects, missing documents, and incomplete training are resolved.
A lift that moves normally can still be unsafe if a gate interlock, emergency-lowering system, or communication device has not been tested.
Delay for safety or weather defects
- Delay sign-off if standing water, active leaks, damaged seals, exposed wiring, or water-damaged controls are present.
- Delay sign-off if corrosion affects structural parts, fasteners, hinges, rails, gates, or electrical connections.
- Delay sign-off if any door or gate fails to latch or permits movement while open.
- Delay sign-off if the lift shows unexplained errors, nuisance stops, unsafe leveling, or unusual movement.
- Delay sign-off if the installer cannot demonstrate emergency lowering, backup operation, alarms, or entrapment procedures.
Delay for incomplete handover information
- Delay sign-off if the capacity label, model number, or serial number is missing or unreadable.
- Delay sign-off if you receive no exact owner manual, emergency instructions, or maintenance schedule.
- Delay sign-off if no qualified service provider has accepted future maintenance responsibility.
- Delay sign-off if the installed equipment doesn't match the contract, drawings, or approved use.
- Delay sign-off if the installer asks you to sign before unresolved work is documented with a correction date.
Have a licensed inspector review any defect you can't evaluate confidently. Keep the signed correction list with the closing and warranty records.
Make handover a safety briefing, not a signature
The best outdoor elevator checklist ends with an owner who can operate the equipment safely and explain what happens during a fault. Confirm the lift type, load rating, weather protection, interlocks, emergency lowering, alarms, documents, and service plan before accepting the installation.
A careful handover takes more time than a quick ride between floors, but it gives your household clear limits and a reliable response when conditions change. Keep the completed checklist with the manuals, and update it whenever the lift is serviced or modified.
Recent Posts